


The Mini Brighton Crochet Hat Ornament, is the perfect addition to any Christmas Tree. This free crochet pattern is so much fun to make effortlessly combining vintage charm with farmhouse flair, allowing you to create a charming mini hat ornament that complements the Brighton Crochet Stocking Ornament.

Crafted using worsted weight yarn and a Clover pom pom maker, I’m sure this tiny little hat is going to become one of your favourite crochet ornaments to make this holiday season.
Whether you opt for a single colour or experiment with stripes, the possibilities are endless, allowing you to customize these crochet Christmas decorations beyond the traditional red and white palette.
Be sure to add to your favourite Free Christmas Crochet Patterns Crochet Pinterest boards so you can find this blog post whenever you are ready to make these little mini crochet Christmas hats.
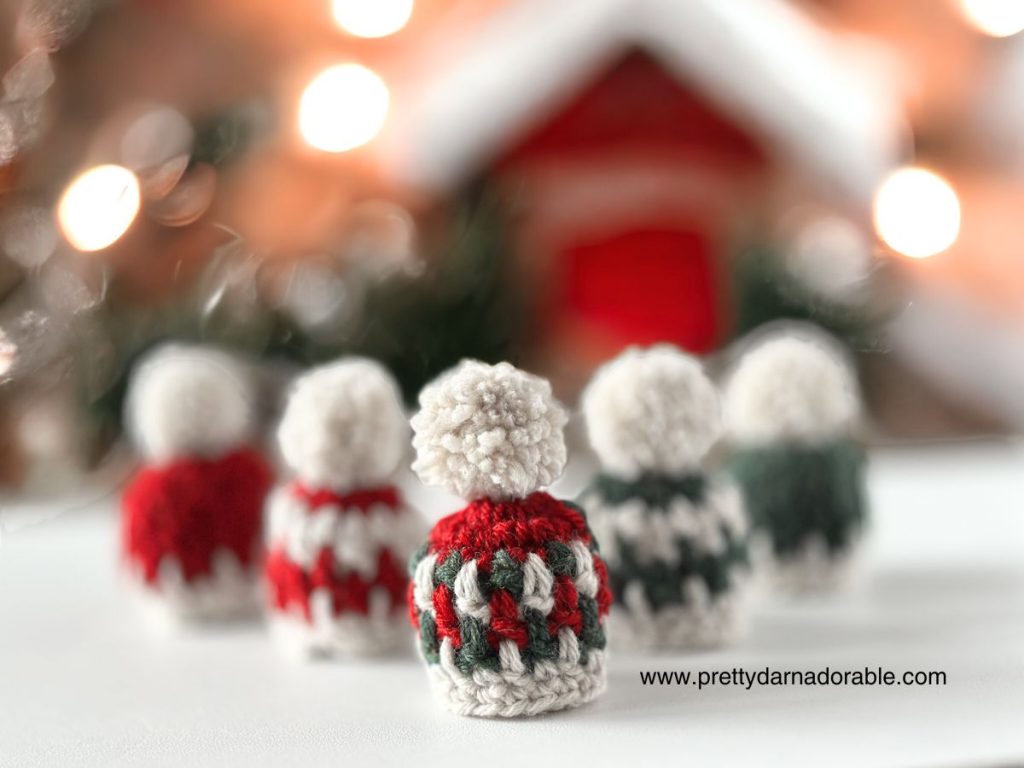
Just like the Brighton Crochet Stocking, these mini hat crochet Christmas ornaments can add a playful touch to Christmas morning.
Make for the whole family each in their favourite colour and make sure each little egg is wearing one of these ornament hats and grab a family photo at the breakfast table while these little egg cozies keep everything warm.
And don’t forget you! Christmas time is the perfect time to make yourself something for personal use. Usually we are all so busy cranking out the perfect handmade gift we don’t have time to treat ourselves but this is a great way to make sure we do this holiday season.
Scroll down for the FREE PATTERN
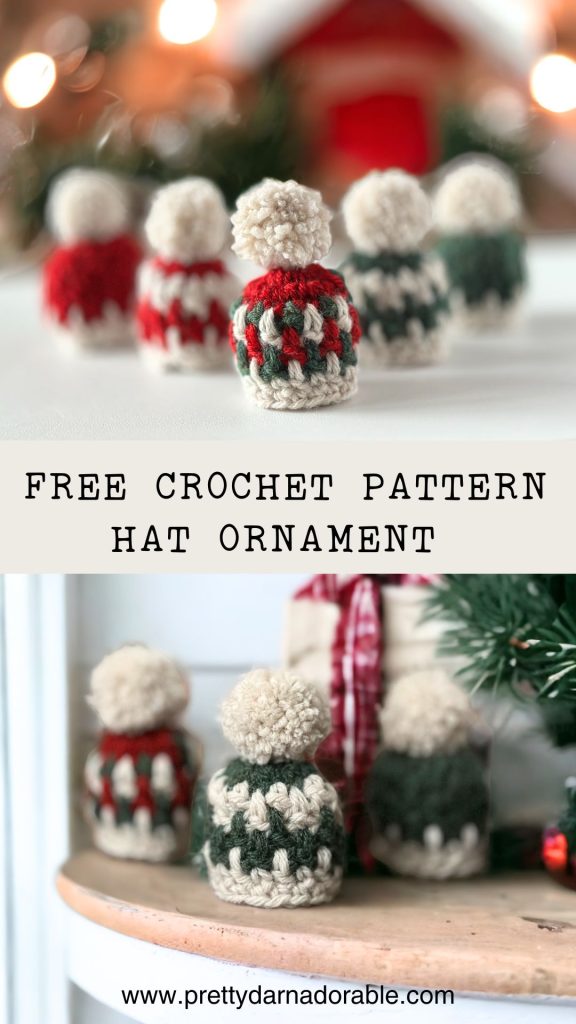
Construction of the Brighton Christmas Mini Hat Ornament
Creating this Mini Christmas Hat Ornament is a breeze. Starting at the top and working only 8 continuous rounds this is one of my fastest and easiest ornament patterns to make.
If you like you can finish off the top of the hat by adding a piece of yarn to the top of the hat for hanging.
Best Yarn for This Mini Hat Pattern
Dive into the Christmas spirit of seasons past and use up your acrylic yarn stash of red yarn and white yarn scraps from last Christmas season, or play with lots of different colours, turning them into adorable mini Santa hat ornament decorations by making them in all red and popping a white mini pompom on top and give away these cute ornaments.
More Free Christmas Ornament Crochet Patterns
Mini Brighton Christmas Hat Ornament Free Crochet Pattern
Skill Level
Easy
Abbreviations
- Ch – Chain
- Dc – Double Crochet
- Rnd – Round
- Sc – Single Crochet
- Sk – Skip
- Sp – Space
- St – Stitch
- Sts – Stitches
- Slst – Slip Stitch
Rpt – Repeat
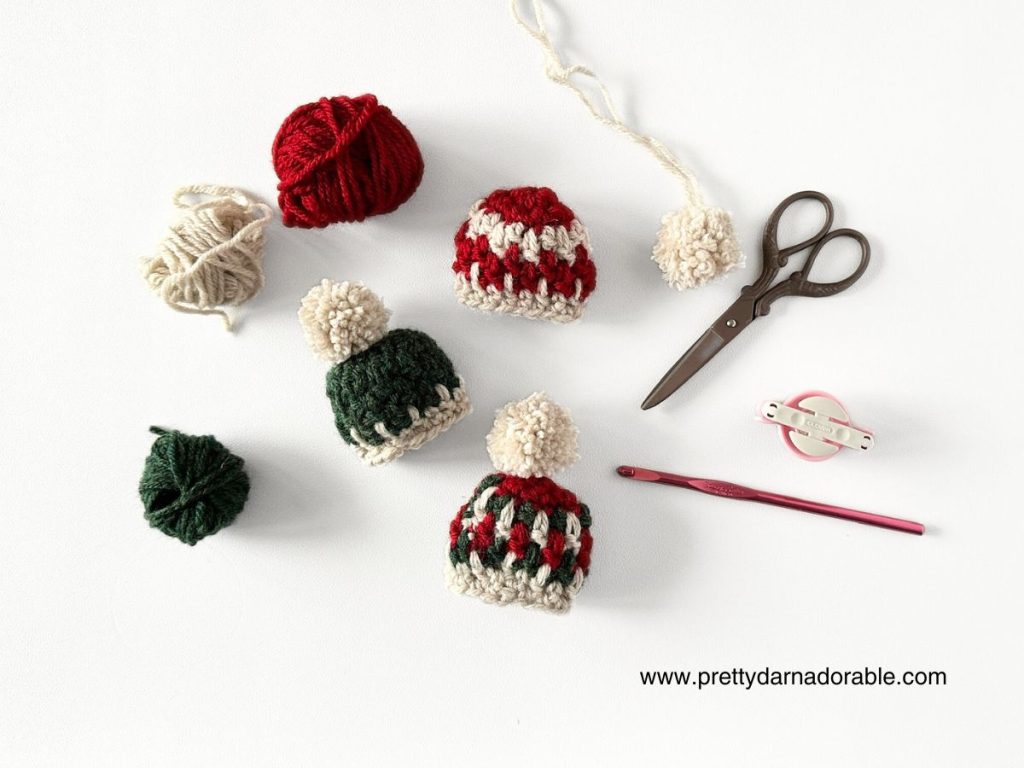
Materials Needed
- 5.50 mm crochet hook
- Worsted Weight Yarn
- Tapestry Needle
- Stitch Markers
- Scissors
Measurement
Not including pompom.
2 1/4″ x 2 1/2″ laying flat
Notes
- Joining slst does not count as a stitch. Do not include when counting stitches.
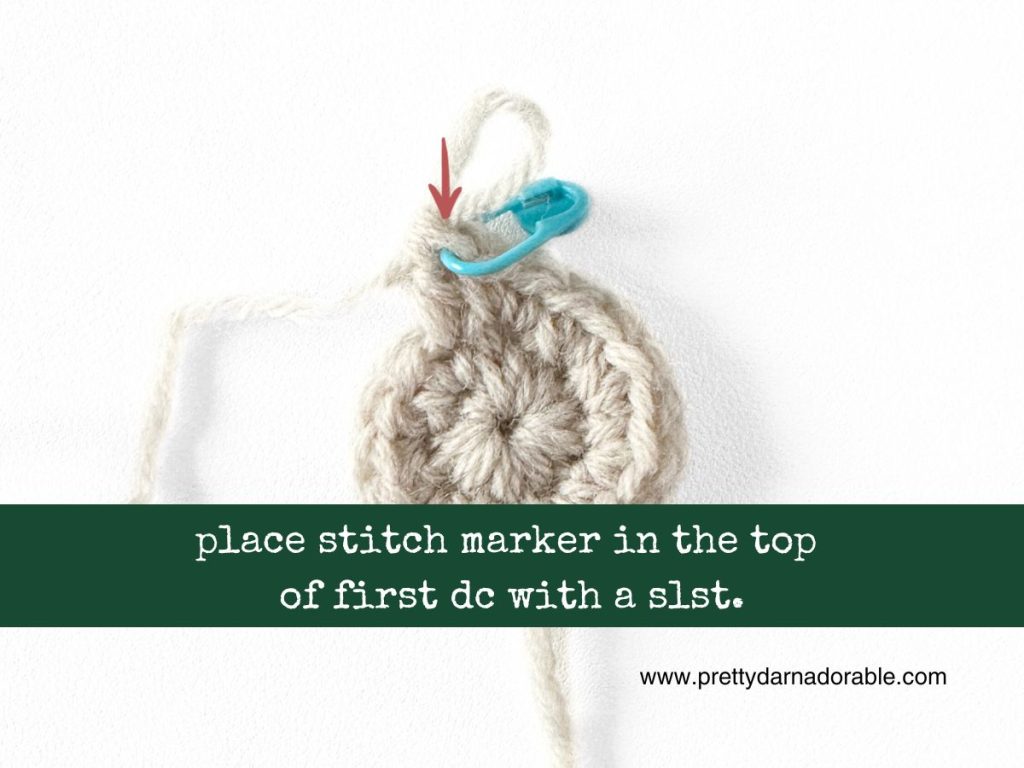
- Place a stitch marker in the 1st dc to mark the beginning of each round.
Colour Changes
For Striped Hat work each colour for two rounds and join to the top of first dc with a slst. Do not chain.
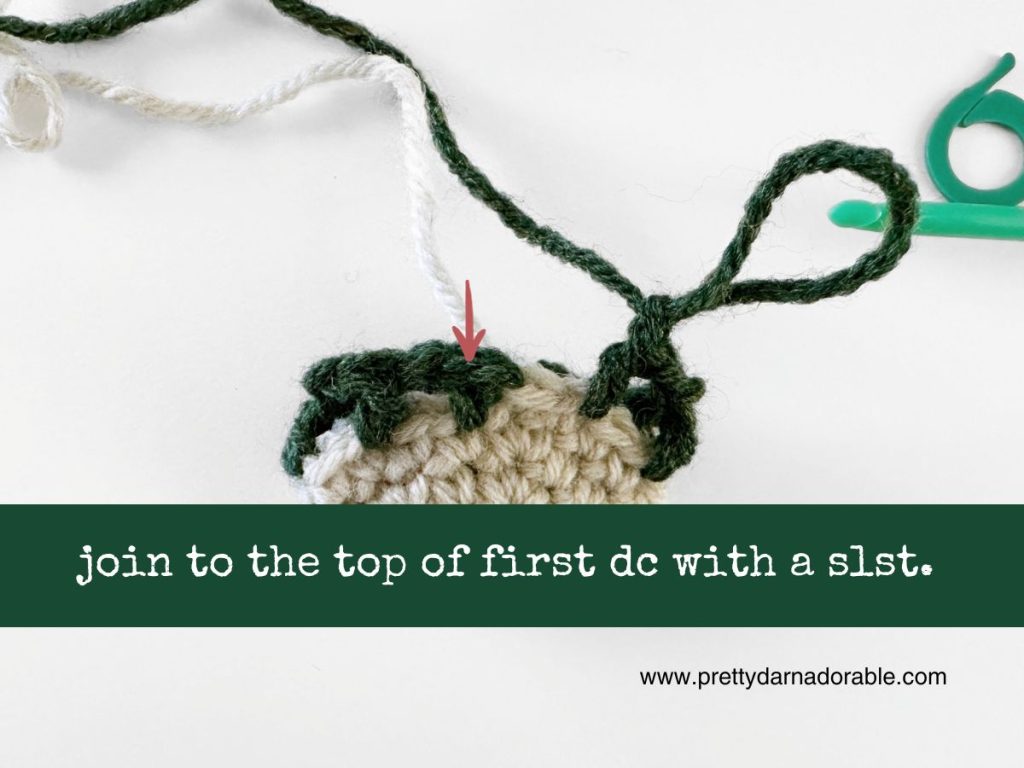
For Tri-Colour Hat make colour changes at each round and join to the top of first dc with a slst. Do not chain.
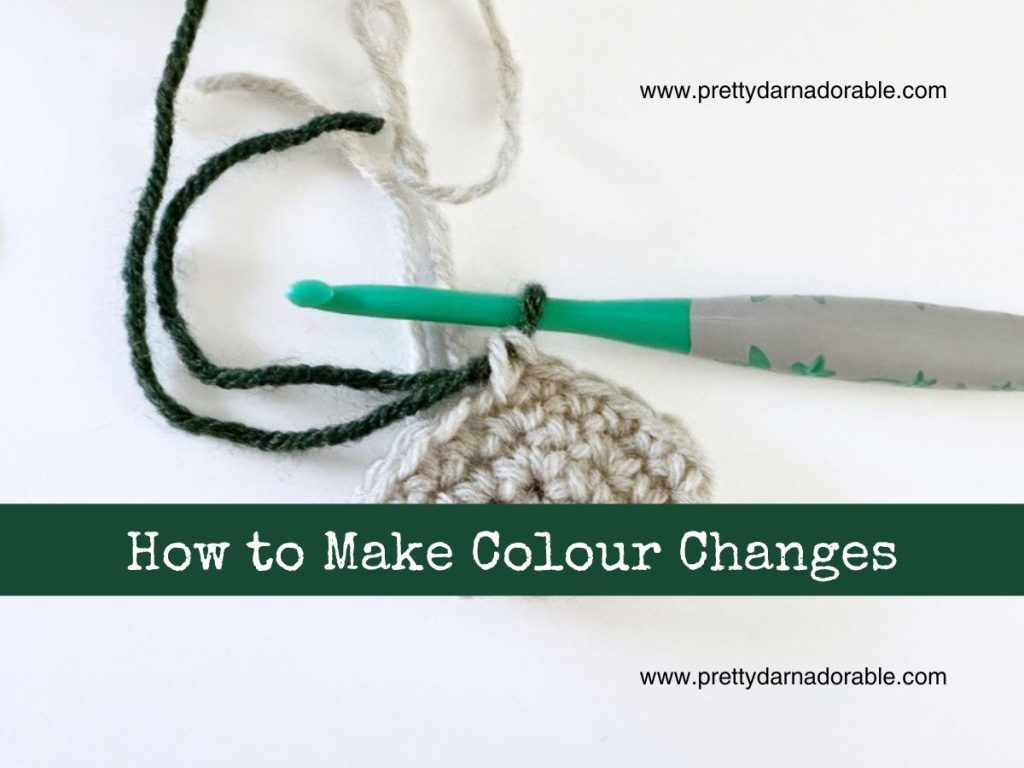
How to Make Colour Changes
Make colour changes by completing the last stitch with new colour and dropping the colour just used.
Instructions for Free Crochet Brighton Mini Hat Ornament
Ch 2
Rnd 1: Work 9 sc into 2nd ch from hook. (9)
Rnd 2: 2 sc in 1st and each st around. (18)
Place a stitch marker in the top of 1st dc of each round to mark the beginning of each round.
Rnd 3: Dc in 1st, ch 1, sk next st. *Dc in next st, ch 1, sk next st.* Rpt from *to* till end of round. Join to 1st dc with slst. (18)
For the following rounds make sure that the dc is worked over the chain stitch and in the skipped double crochet in the round below DO NOT work into the space itself.
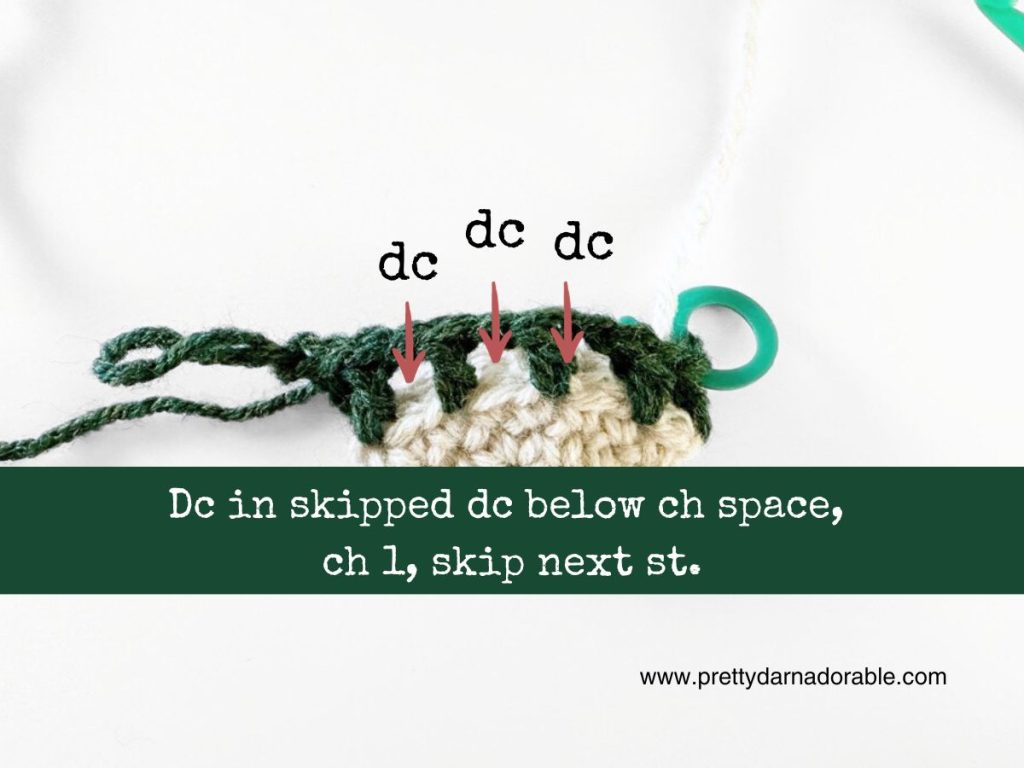
Rnds 4 – 6: Dc in 1st skipped dc below ch space, ch 1, skip next st, *Dc in skipped dc below ch space, ch 1 skip next st.* Rpt from *to* till end of rnd. Join to 1st dc with slst. (18)
Bottom Band of Hat
Change to contrast colour here
Rnd 7: *Dc in skipped dc below ch space, sc in next dc.* Rpt from * to * till end of rnd. Join with slst to 1st dc. (18)
Rnd 8: Sc in 1st and each st around. (18) Fasten off and weave in ends.
How To Make A Pom Pom
- To make the pom-pom, follow these simple steps using the Clover 1 3/8 inch pom-pom maker or any item about 1 1/2 to 2 inches in width, such as a fork, a piece of cardboard, or your two fingers:

1. Wrap Yarn:
– Wind yarn around the chosen item (fork, cardboard, or fingers) until it reaches about 1 inch in thickness.
2. Secure Middle:
– Slide the wound yarn off the item and tie a piece of yarn tightly around the middle. Leave the ends long; these will be used to attach the pom-pom to the hat.
3. Cut Loops:
– Cut all the loops on both sides of the tied yarn, effectively creating a bundle of loose yarn strands.
4. Trimming:
– Trim the pom-pom to the desired size and shape. The more yarn you wrap initially, the denser the pom-pom will be.
Attach to Hat
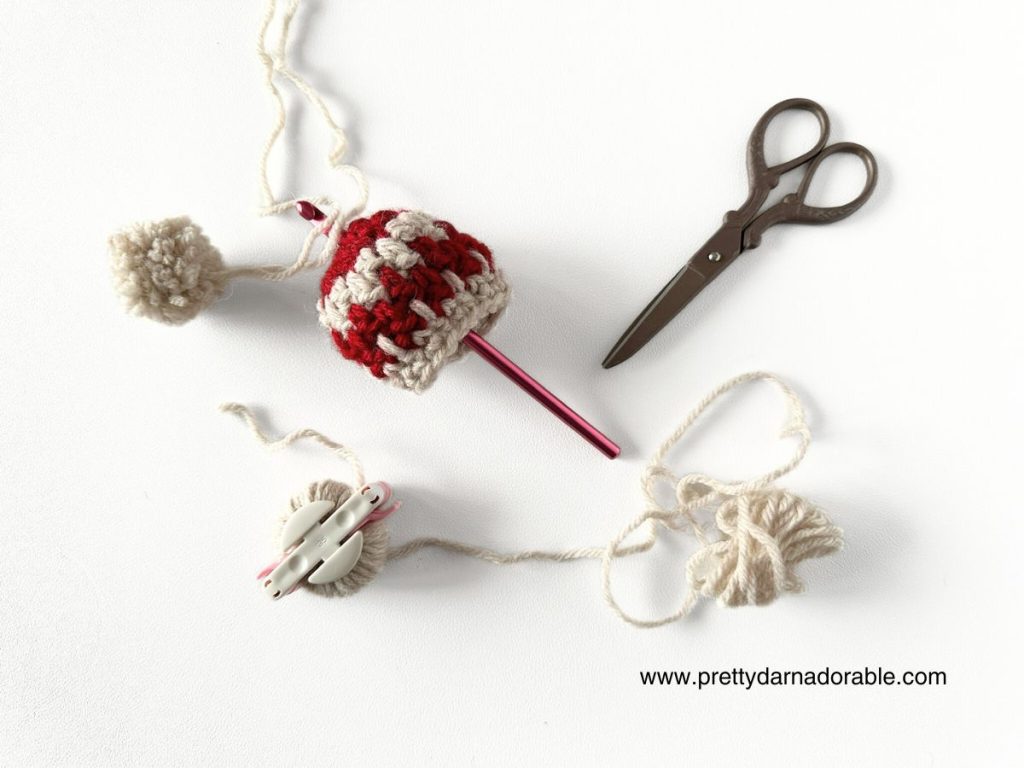
– Attach the pom-pom to the top of the hat, securing it in place using the long ends of yarn tied around the middle.
6. Hanger (Optional):
– Lastly, if desired, attach a piece of yarn as a hanger. Pull a piece about 6-8 inches long, tie a knot, and trim the end. You can pull the knot to the inside of the hat for a neat finish.

Finish off and neatly weave in any loose ends.
Now your Mini Brighton Hat Ornament is ready to spread holiday cheer!
Enjoy creating these charming Mini Brighton Christmas Hat Ornaments, and may they become cherished heirlooms in your festive celebrations!
Get Social with Me
Thank you for making me part of your day! If you enjoyed making it and want more crochet inspiration, be sure to follow me on social media and subscribe to my YouTube channel. I share all my latest patterns, tips, and tutorials there, and you don’t want to miss out!
Plus, if you make something using one of my patterns, I would absolutely love to see it – and I bet other crocheters would, too.
So, use the links below to connect with me on your favourite platforms, and let’s create something beautiful together. Thank you for your support, and happy hooking!
