This ribbed crochet pumpkin pattern is one of those patterns that looks like it took far more work than it actually did.
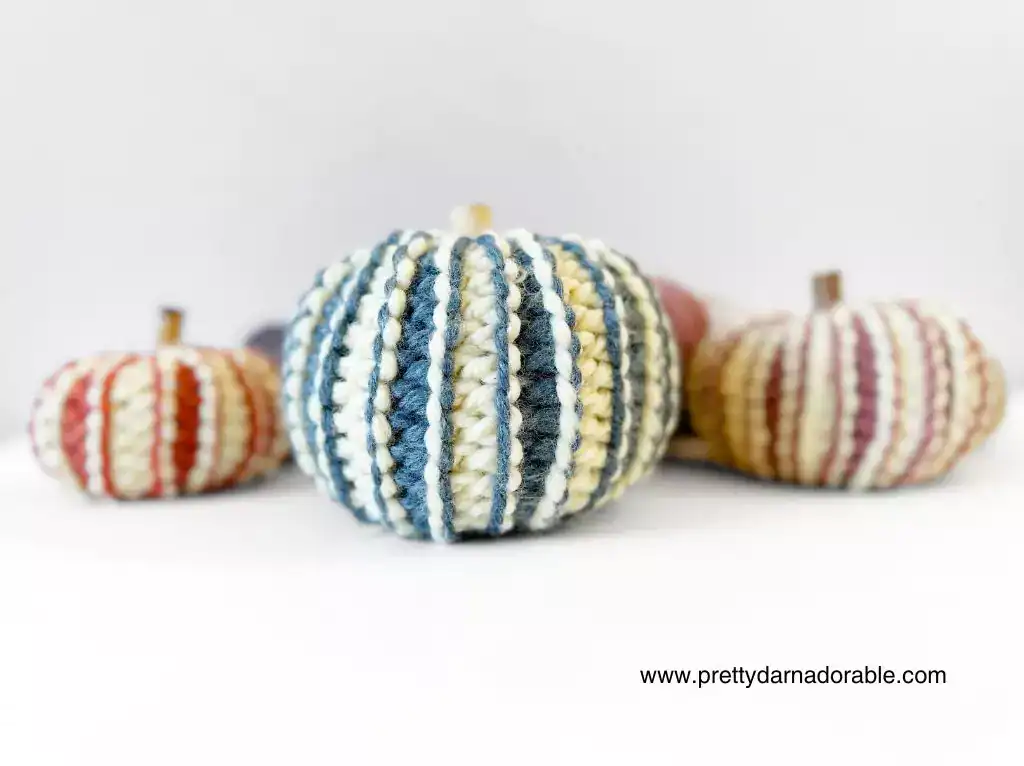
The Rustic Rib Pumpkin starts as a simple flat rectangle worked almost entirely in slip stitch. By alternating between the front loop and back loop, you get that deep ribbed texture that almost looks knit once the pumpkin is stuffed and shaped.
There are five different sizes, from Extra Small to Extra Large, and because the construction is so simple, it is really easy to play around with the size too.
I originally made mine with super bulky yarn, but this is also a great stash pattern. Two strands of chunky yarn held together work really well, and changing your yarn and hook size gives you all sorts of options for smaller and larger pumpkins.
Scroll down for the complete free crochet pumpkin pattern and video tutorial.
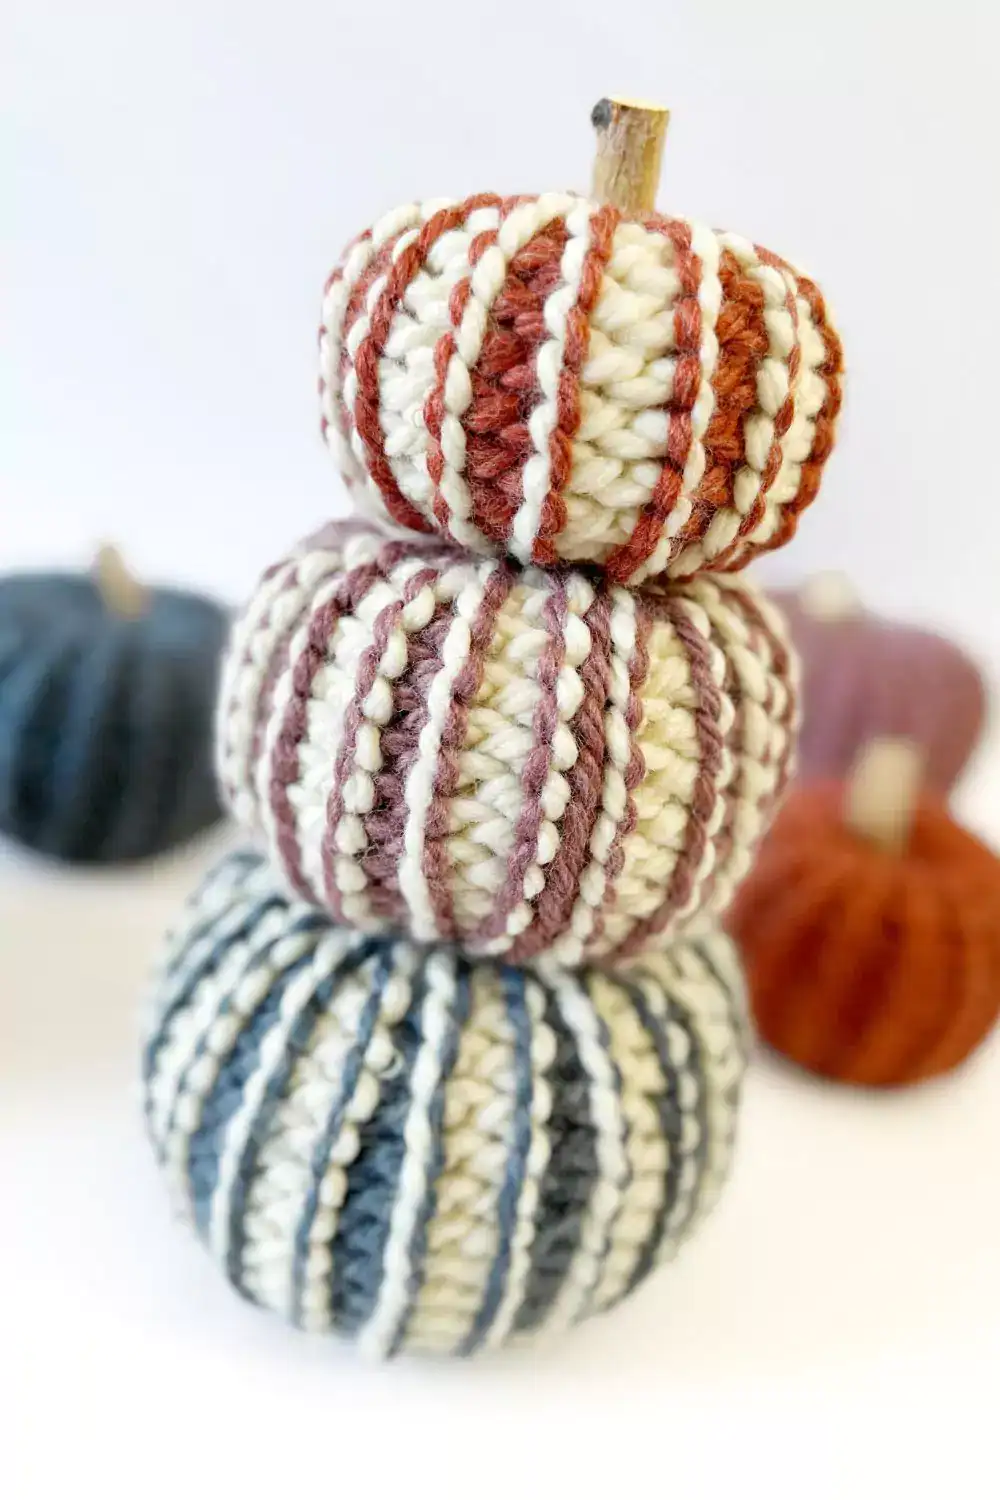
Rustic Rib Pumpkin Pattern at a Glance
- Skill Level: Beginner friendly
- Sizes: Five sizes from Extra Small to Extra Large
- Yarn: Super bulky weight yarn or two strands of chunky yarn held together
- Hook Size: 10.00 mm for the original pumpkins
- Construction: Worked flat as a rectangle, seamed, stuffed and shaped
- Stitches Used: Chain and slip stitch
- Texture: Alternating front loop and back loop slip stitches create the deep ribbing
- Video Tutorial: Yes
- Pattern: Free on the blog with an ad-free printable PDF available
- Easy to Customize: Change your yarn, hook size, starting chain or number of rows to make different sizes
Why This Easy Crochet Pumpkin Pattern Works So Well
There really isn’t much to the construction of this pumpkin.
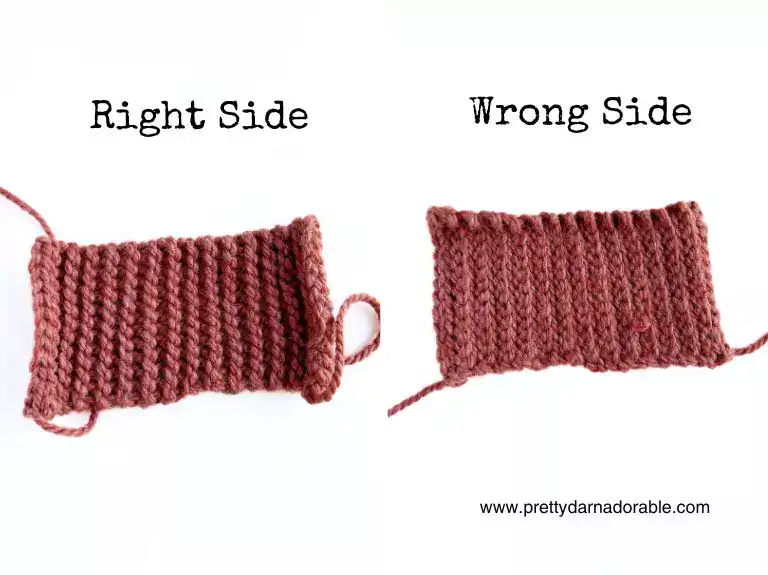
You start with a foundation chain and work back and forth in rows. After the first row, you alternate a row of slip stitches worked in the back loop with a row worked in the front loop.
Once you have the repeat row down, you just keep going until your rectangle reaches the measurement for the pumpkin size you are making.
Then you fold it, join the short ends, gather the top and bottom, stuff it and give it a good pull through the centre.
And because the ribbing does so much of the work for you, you really don’t have to worry about making perfect pumpkins. Once they are stuffed and shaped, they all take on a slightly different shape anyway.
Yarn and Hook Options
One of the best things about this free crochet pattern is that you can play around with different yarns.
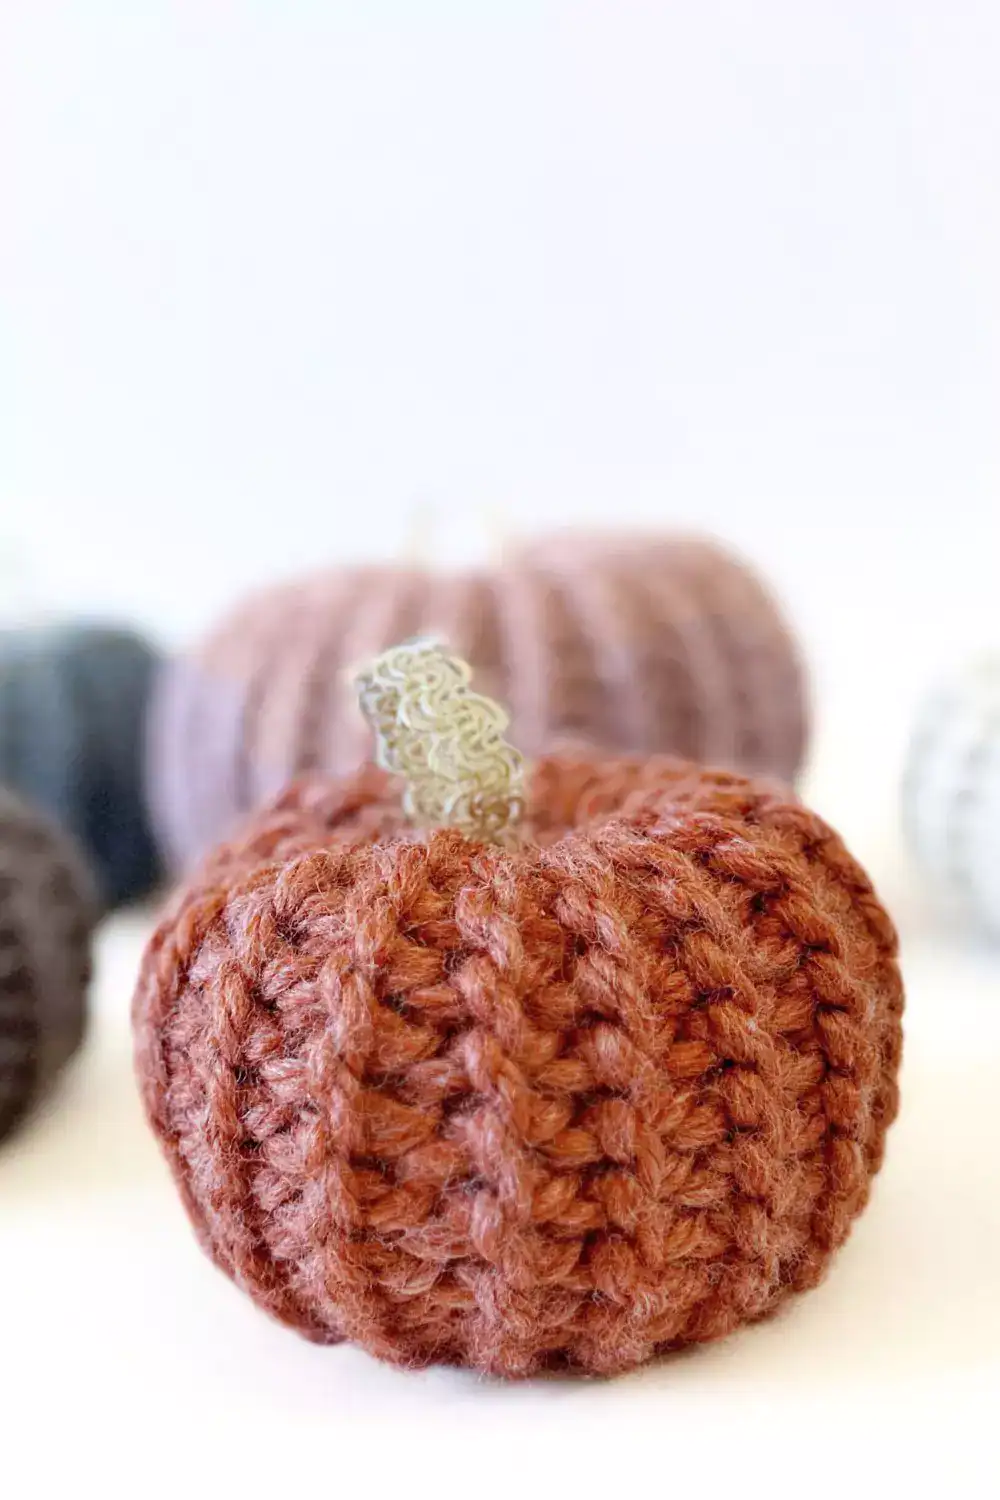
For the original Rustic Rib Pumpkins, I used super bulky yarn with a 10.00 mm crochet hook.
Some of my samples were made with Lion Brand Re-Spun Thick & Quick, and I also used Lion Brand Wool-Ease Thick & Quick in Fisherman, Mustard and Charcoal.
But you definitely do not need to buy yarn just for this pattern.
Two strands of chunky yarn held together work really well. You can also try bulky yarn, doubled worsted weight yarn or whatever you happen to have tucked away in your stash.
Just keep your fabric fairly dense.
Slip stitch ribbing creates a stretchy fabric, so if you switch to a lighter yarn, you may need to adjust your hook size. You want your stitches loose enough that they are easy to work into, but tight enough that the stuffing doesn’t show once the pumpkin is filled.
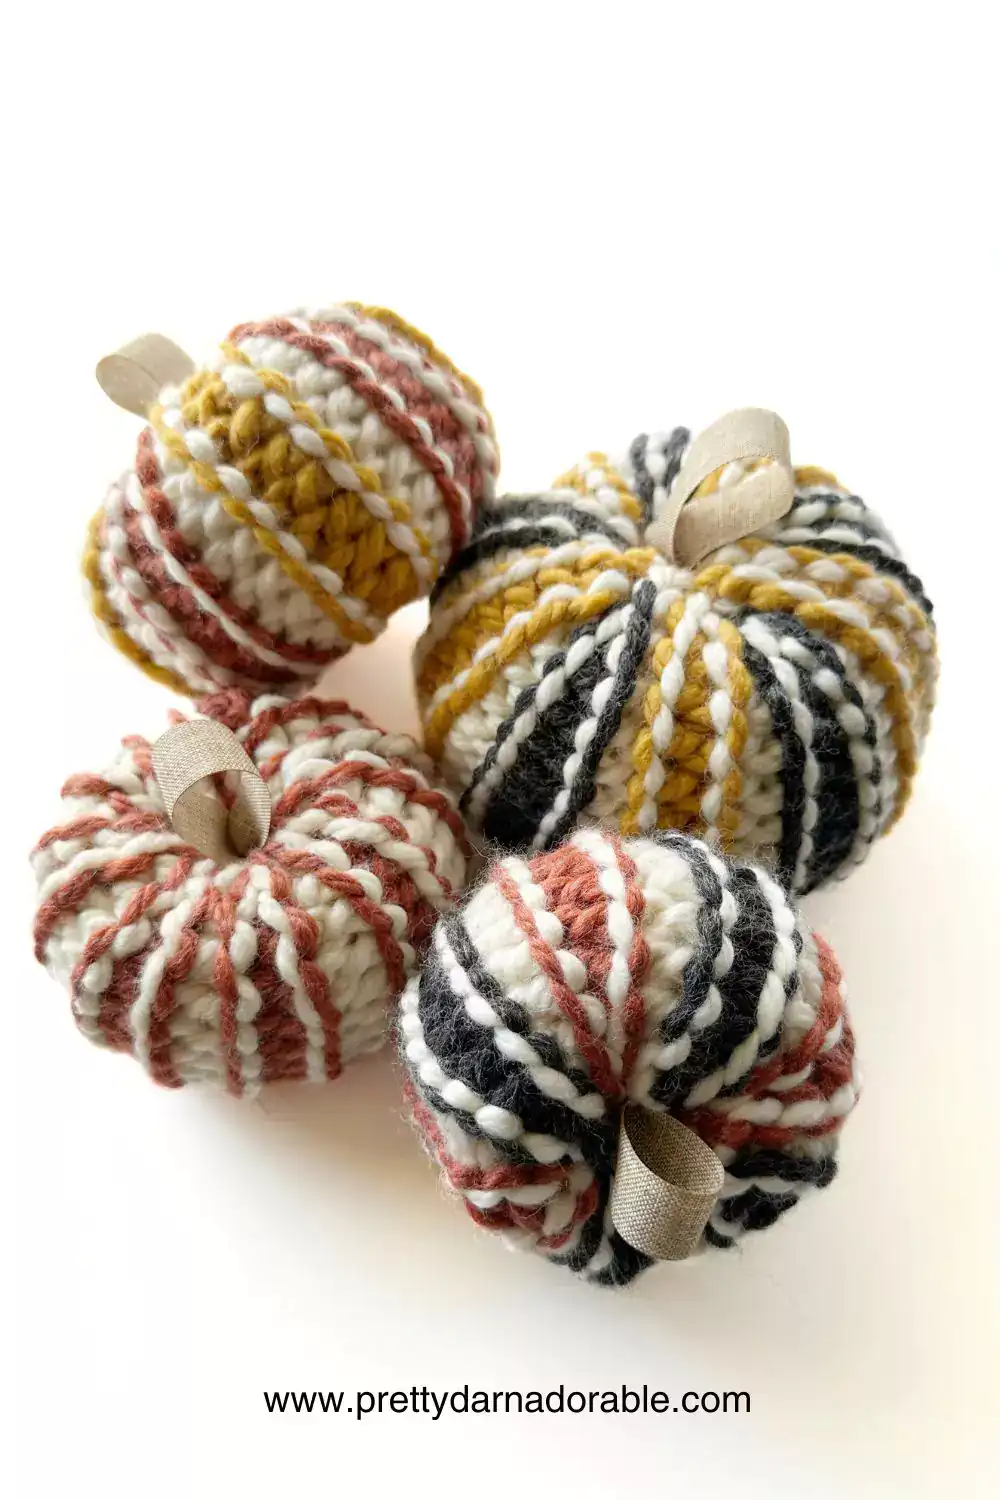
Yarn Weight Substitution Guide
| Yarn | Suggested Hook | Adjustment |
|---|---|---|
| Super Bulky | 10 mm | Use pattern as written |
| 2 Strands Chunky | 9 to 10 mm | Use pattern as written |
| Bulky Weight | 8 mm | Add approximately 2 to 4 chains |
| 2 Strands Worsted | 8 mm | Add approximately 3 to 5 chains |
Think of these as a starting point rather than a hard rule. Different yarns behave differently, so adjust your hook if your fabric feels too loose or too stiff.
How to Change the Size of Your Pumpkin
This pattern is really easy to resize once you understand what each part of the rectangle does.
The starting chain determines the approximate height of your pumpkin.
Want a shorter pumpkin? Start with fewer chains.
Want it taller? Add a few.
The number of rows determines the width around the pumpkin. Work fewer rows for a smaller pumpkin, or keep repeating Rows 2 and 3 for larger pumpkins.
You can also change both the yarn and hook.
A thinner yarn with a smaller hook is a really easy way to make mini pumpkins, while thicker yarn will naturally make a bigger, chunkier pumpkin.
Before joining the rectangle, fold it in half and have a look at the proportions. I prefer mine on the squat side rather than tall and skinny.
The Centre Pull Shaping Trick
This is my favourite part because it makes such a difference to the finished pumpkin.
Once your pumpkin is stuffed and both openings are closed, thread a long yarn needle with about 24 inches of matching yarn.
Push the needle through the centre of the top of the pumpkin and bring it out through the centre of the bottom.
Pull yarn firmly until you start to see the centre dip in.
Take the needle back through from the bottom to the top and pull again.
I like to do this three times.
As you tighten the yarn, the stuffing moves outward and the ribbed stitches start forming those chunky pumpkin sections.
If you don’t pull quite enough, your pumpkin will stay fairly round. Pull too tightly and it can get a little too flat.
Just adjust it until you like the shape.
Watch the Rustic Rib Pumpkin Video Tutorial
If you haven’t worked slip stitch ribbing before, I definitely recommend watching the video tutorial.
You can see exactly where I place my hook when working in the front and back loop, how loosely I work my slip stitches and how the finished rectangle comes together.
Tips for beginner crocheters! Watch the video all the way through a few times so that you know what to expect.
Purchase Ad Free Pattern – Instant Download!
Purchase the ad-free PDF for a smooth, distraction-free crocheting experience anytime, anywhere.
Already a subscriber? Check your latest email for your special discount code. Not subscribed yet? Sign up here to get yours!
Thanks so much for supporting my blog!
Notes
- For the starting chain only try to keep the tension fairly tight.
- For the remainder of the pumpkin keep stitches loose: It’s important to work your stitches very loosely throughout this pattern, especially when slip stitching. Tight stitches can make it difficult to insert the hook into the next row, which may lead to frustration.
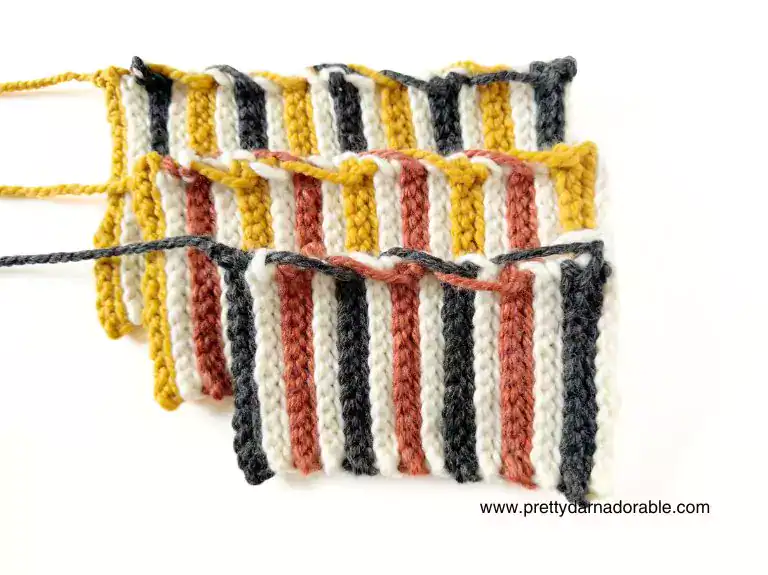
- Colour Changes: Colour changes are done every two rows. Be sure that the last two rows of the pumpkin are worked in a different colour than the first two rows – this is very important to ensure even striping of the pumpkin. It is okay if your pumpkin is slightly shorter or longer than indicated on pattern. See the photo below
- Join the tube securely: When folding the short ends together to form a tube, you can either slip stitch or sew with a tapestry needle (I found using a slip stitch made a much cleaner seam). Make sure your seam is secure to avoid gaps in the pumpkin body.
- Stuff it firm, but flexible: When stuffing the pumpkin, I recommend filling it quite full for a better final shape. If you prefer a squishier texture, use less filling, but ensure the shape is even.
- Adding a stem or decoration: Consider using twigs, ribbon, or even cinnamon to top your pumpkin. You could match the look to your home decor or to suit who will be using the pumpkin.
Rustic Rib – Free Crochet Pumpkin Pattern
Skill Level
Beginner
Abbreviations
- blo – back loop only
- ch – chain
- flo – front loop only
- sc – single crochet
- sk – skip
- st – stitch
- sts – stitches
- sl st – slip stitch
- rpt – repeat
- Rs – right side
Gauge
Not required for this pattern. Finished dimensions are approximate and will change with the amount of stuffing used and tension of each individual crocheter.
Finished Measurements (diameter x height)
Note these sizes will vary depending on how full you stuff your pumpkin and how tight you pull the centre through the bottom of the pumpkin.
- Extra Small 3.5” x 2.5”
- Small 4” x 3”
- Medium 4.5” x 3.5”
- Large 5” x 4”
- Extra Large 5.5” x 4.5”
Construction Timeline by Size
| Pumpkin Size | Crochet Time | Assembly Time |
| Extra Small | 20-25 minutes | 10 minutes |
| Small | 30-35 minutes | 12 minutes |
| Medium | 40-45 minutes | 15 minutes |
| Large | 50-55 minutes | 18 minutes |
| Extra Large | 60-70 minutes | 20 minutes |
Materials Needed
- 10.00 mm hook
- Tapestry Needle
- Stitch Marker
- Poly-Fil or any other stuffing
- 5” Yarn Needle
- Twig, ribbon or cinnamon stick for stem.
- E6000 glue or glue and hot glue gun (if needed)
- Super Bulky Weight Yarn (shown here Lion Brand Re-Spun Thick & Quick)
- Colours used: Whipped Cream, Sephia Rose, Cinnamon Stick, Night Sky, Cameo, Espresso.
- I also used Lion Brand Thick & Quick in Fisherman, Mustard & Charcoal
Yarn Requirements
- X Small Pumpkin – Yarn: 45g, 29m, 1.59 oz, 32 yds
- Small Pumpkin – Yarn: 55g, 36m, 1.94 oz, 39 yds
- Medium Pumpkin – Yarn: 75g, 48m, 2.65 oz, 53 yds
- Large Pumpkin – Yarn: 95g, 61m, 3.35 oz, 67 yds
- X Large Pumpkin – Yarn: 110g, 70m, 3.88 oz, 78 yds
Please note that the actual amount of yarn needed may change depending on the yarn chosen always purchase a little more than you think you may need..
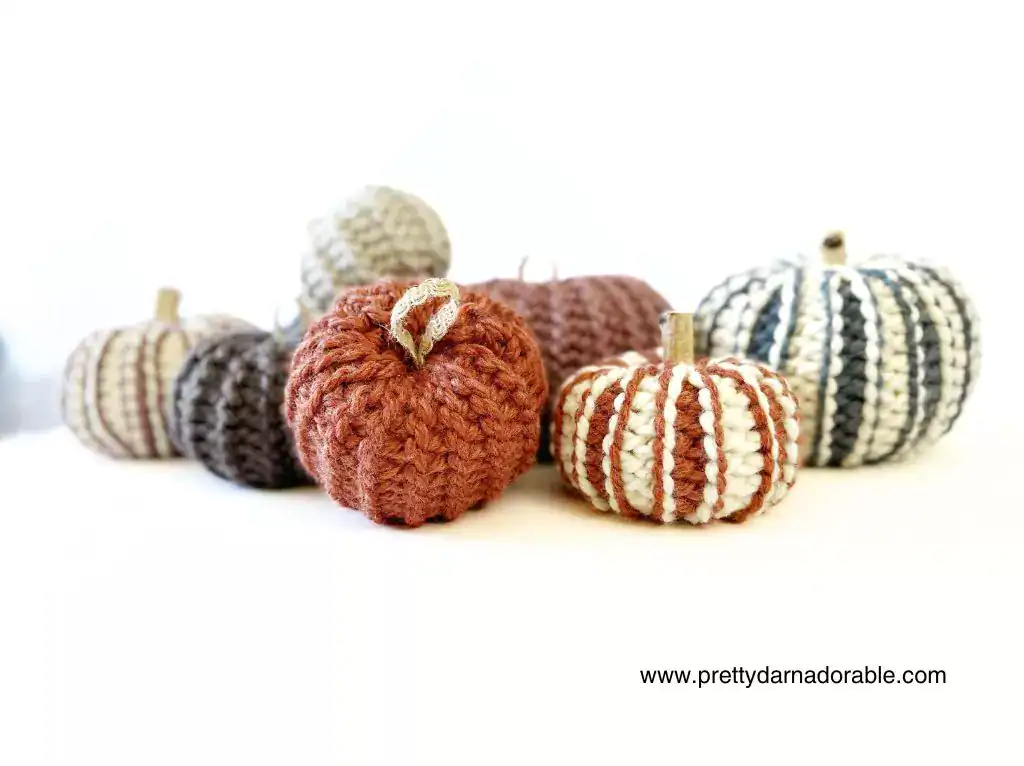
Yarn Weight Substitution Guide
| Yarn Weight | Recommended Hook | Pattern Adjustment |
| Super Bulky (original) | 10mm | Use as written |
| 2 Strands Chunky | 9-10mm | Use as written |
| Bulky Weight | 8mm | Add 2-4 chains |
| 2 Strands Worsted | 8mm | Add 3-5 chains |
Extra Small Pumpkin
If making a striped pumpkin colour changes are done every two rows.
Using 10.00 mm hook, ch 13.
Row 1: Slst in 2nd ch from hook and each ch across. Turn. (12)
Row 2: Slst in blo of each slst across. Turn. (12)
Row 3: Slst in flo of each slst across. Turn (12)
Rpt rows 2 and 3 until pumpkin measures 10” across.
Continue to “finishing steps” below.
Small Pumpkin
If making a striped pumpkin colour changes are done every two rows.
Using 10.00 mm hook, ch 15.
Row 1: Slst in 2nd ch from hook and each ch across. Turn. (14)
Row 2: Slst in blo of each slst across. Turn. (14)
Row 3: Slst in flo of each slst across. Turn (14)
Rpt rows 2 and 3 until pumpkin measures 11” across.
Continue to “finishing steps” below.
Medium Pumpkin
If making a striped pumpkin colour changes are done every two rows.
Using 10.00 mm hook, ch 17.
Row 1: Slst in 2nd ch from hook and each ch across. Turn. (16)
Row 2: Slst in blo of each slst across. Turn. (16)
Row 3: Slst in flo of each slst across. Turn (16)
Repeat rows 2 and 3 until pumpkin measures 12” across.
Continue to “finishing steps” below.
Large Pumpkin
If making a striped pumpkin colour changes are done every two rows.
Using 10.00 mm hook, ch 19.
Row 1: Slst 2nd ch from hook and each ch across. Turn. (18)
Row 2: Slst in blo of each slst across. Turn. (18)
Row 3: Slst in flo of each slst across. Turn (18)
Repeat rows 2 and 3 until pumpkin measures 13” across.
Continue to “finishing steps” below.
Extra Large Pumpkin
If making a striped pumpkin colour changes are done every two rows.
Using 10.00 mm hook Ch 21
Row 1: Slst in 2nd ch from hook and each ch across. Turn. (20)
Row 2: Slst in blo in each slst across. Turn. (20)
Row 3: Slst in flo in slst across. Turn (20)
Repeat rows 2 and 3 until pumpkin measures 14” across.
Continue to “finishing steps” below.
Finishing Steps
- Fold the rectangle with the right sides facing each other.
- Align the short ends, then join them either by sewing or slip stitching across the edge to create a tube. Leave an extra long tail for closing the ends of the crochet pumpkin.
- Close the bottom of the pumpkin. Using a yarn needle and tail of yarn weave the needle back and forth between stitches and pull as you go until the bottom of pumpkin is closed. Keep the yarn on the needle for the next step.
- Close the top – Using a yarn needle and tail of yarn weave the needle back and forth between stitches do not pull closed.
- Stuff it – At this point you will want to stuff your pumpkin with poly-fil to desired firmness. I filled mine to about medium density it made for easier shaping when done. If you want them to be a bit squishier use less filling.
- Pull the yarn until the top of pumpkin is closed.
- Keep the yarn on the needle for the next step. Once the top of the pumpkin is closed push the needle from the top through the bottom of the pumpkin 2-3 times and fasten off.
Top it off
Now that your pumpkin is stuffed and closed, it’s time to add a fun finishing touch! There are many ways to top off your pumpkin, so think about where or how it will be used. For a classic, rustic look, you can use a twig or cinnamon stick as the stem.
If you’d like a softer, more playful option for little hands, try a loop of ribbon. To add a bit more character, tie a small bow of jute twine or velvet ribbon around the base of the stem, or glue on some faux leaves for a seasonal flair. Secure your chosen topper with hot glue or E6000 glue, ensuring it stays in place.
Stem & Topper Options by Use Case
| Use Case | Best Topper | Attachment Method |
| Baby/Toddler Safe | Ribbon loop | Sewn through top |
| Rustic Farmhouse | Natural twig | Hot glue or E6000 |
| Scented Display | Cinnamon stick | Hot glue |
| Gift/Market Sale | Jute twine bow + faux leaves | Hot glue combination |
Did you make any of these?
I would love to see what you have made be sure to mention @prettydarnadorable or tag me using #prettydarnadorable on Instagram so I can see your creations!
F.A.Q.
Variegated yarn works beautifully with this pattern and creates an organic, multi-toned effect without changing colors manually. The slip stitch ribbing will create vertical color striping naturally as the yarn colors pool. Choose a variegated yarn with colors that shift gradually rather than abruptly for the most cohesive look.
Stuffing amount varies by desired firmness, but approximate amounts are: Extra Small (1 cup), Small (1.5 cups), Medium (2 cups), Large (2.5 cups), and Extra Large (3+ cups). The pumpkin should feel firm but slightly squeezable, not rock-hard or floppy. Distribute stuffing evenly before closing the top opening.
Yes, cotton yarn creates a denser, more structured pumpkin compared to acrylic. Because cotton has no stretch, use a hook one size larger than recommended for your cotton yarn weight to maintain fabric flexibility. Cotton pumpkins hold their shape exceptionally well and have a sophisticated, weighted feel perfect for farmhouse or modern decor.
The squat pumpkin shape depends on correct width-to-height proportions in your rectangle. Before seaming, fold the rectangle in half to check that it forms a square shape. If it’s more rectangular (taller than wide when folded), add more rows to increase width. The center pull-through technique also creates vertical definition that makes the pumpkin appear wider and more authentic.
Most Important Insights to Remember
- Slip stitch ribbing worked in alternating front and back loops creates a knit-like vertical texture that naturally forms pumpkin ribs when the piece is assembled and shaped with center pull-through stitching.
- The rectangle should form a near-perfect square when folded in half before seaming, which ensures proper width-to-height proportions for an authentic squat pumpkin shape rather than a round ball.
- Foundation chains should be worked with tighter tension while all subsequent rows use looser tension to create stable edges without producing stiff, inflexible fabric that resists gathering and shaping.
- Hook size must be adjusted based on yarn weight to maintain fabric density that prevents stuffing from showing through the naturally stretchy slip stitch fabric while allowing enough drape for smooth assembly.
- The triple center pull-through technique transforms a stuffed tube into a dimensional pumpkin by compressing center stuffing outward and forcing the ribbed texture into 5-7 distinct vertical segments that mimic real pumpkin anatomy.
- Whether you make just one or a whole patch, the Rustic Rib Pumpkin free crochet pattern is a quick, beginner-friendly project that adds instant fall charm to your home. With its simple slip stitch ribbing, chunky texture, and endless size and colour options, it’s the perfect mix of easy and customizable. Grab your hook, some super bulky yarn, and a bit of stuffing — in less than an evening, you’ll have a cosy, handmade pumpkin ready to display or gift.
Be sure to download these free crochet pumpkin tags below.