


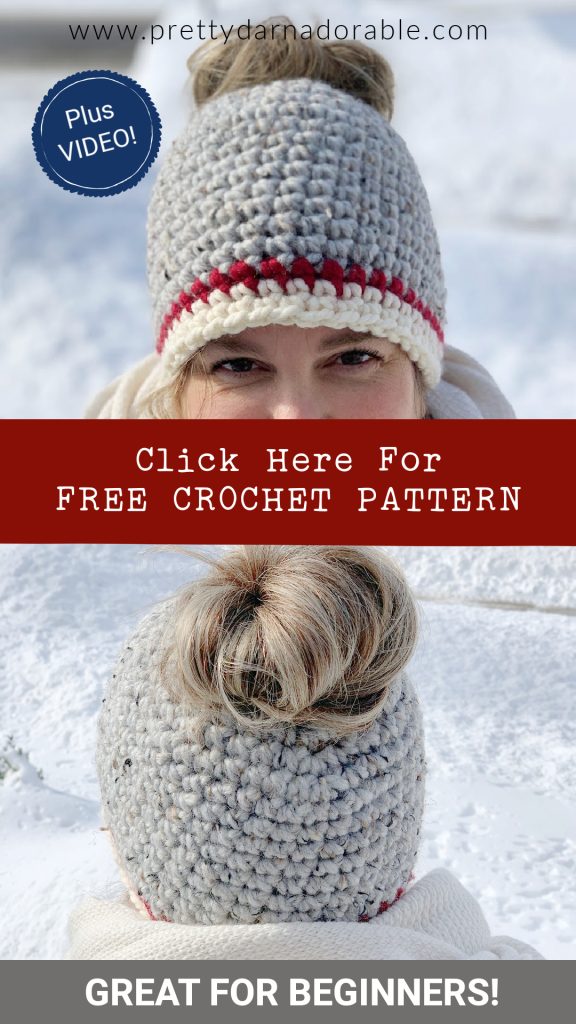

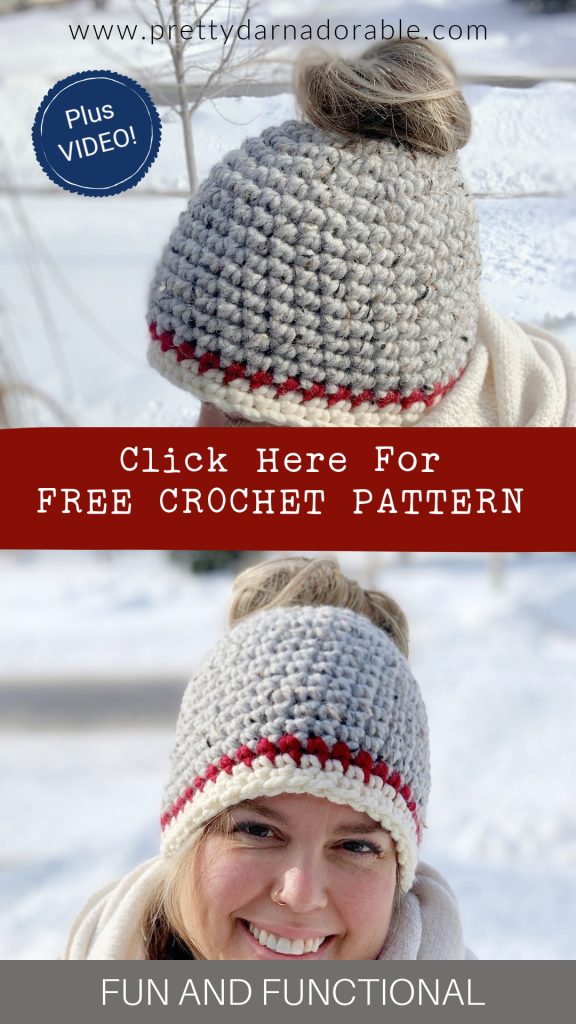
Make for toddler, child and adult.
I’m so happy to finally be adding more sizes to my a free crochet pattern for simple messy bun hat! Using only basic crochet stitches this is a great pattern for both beginners and seasoned enthusiasts alike.
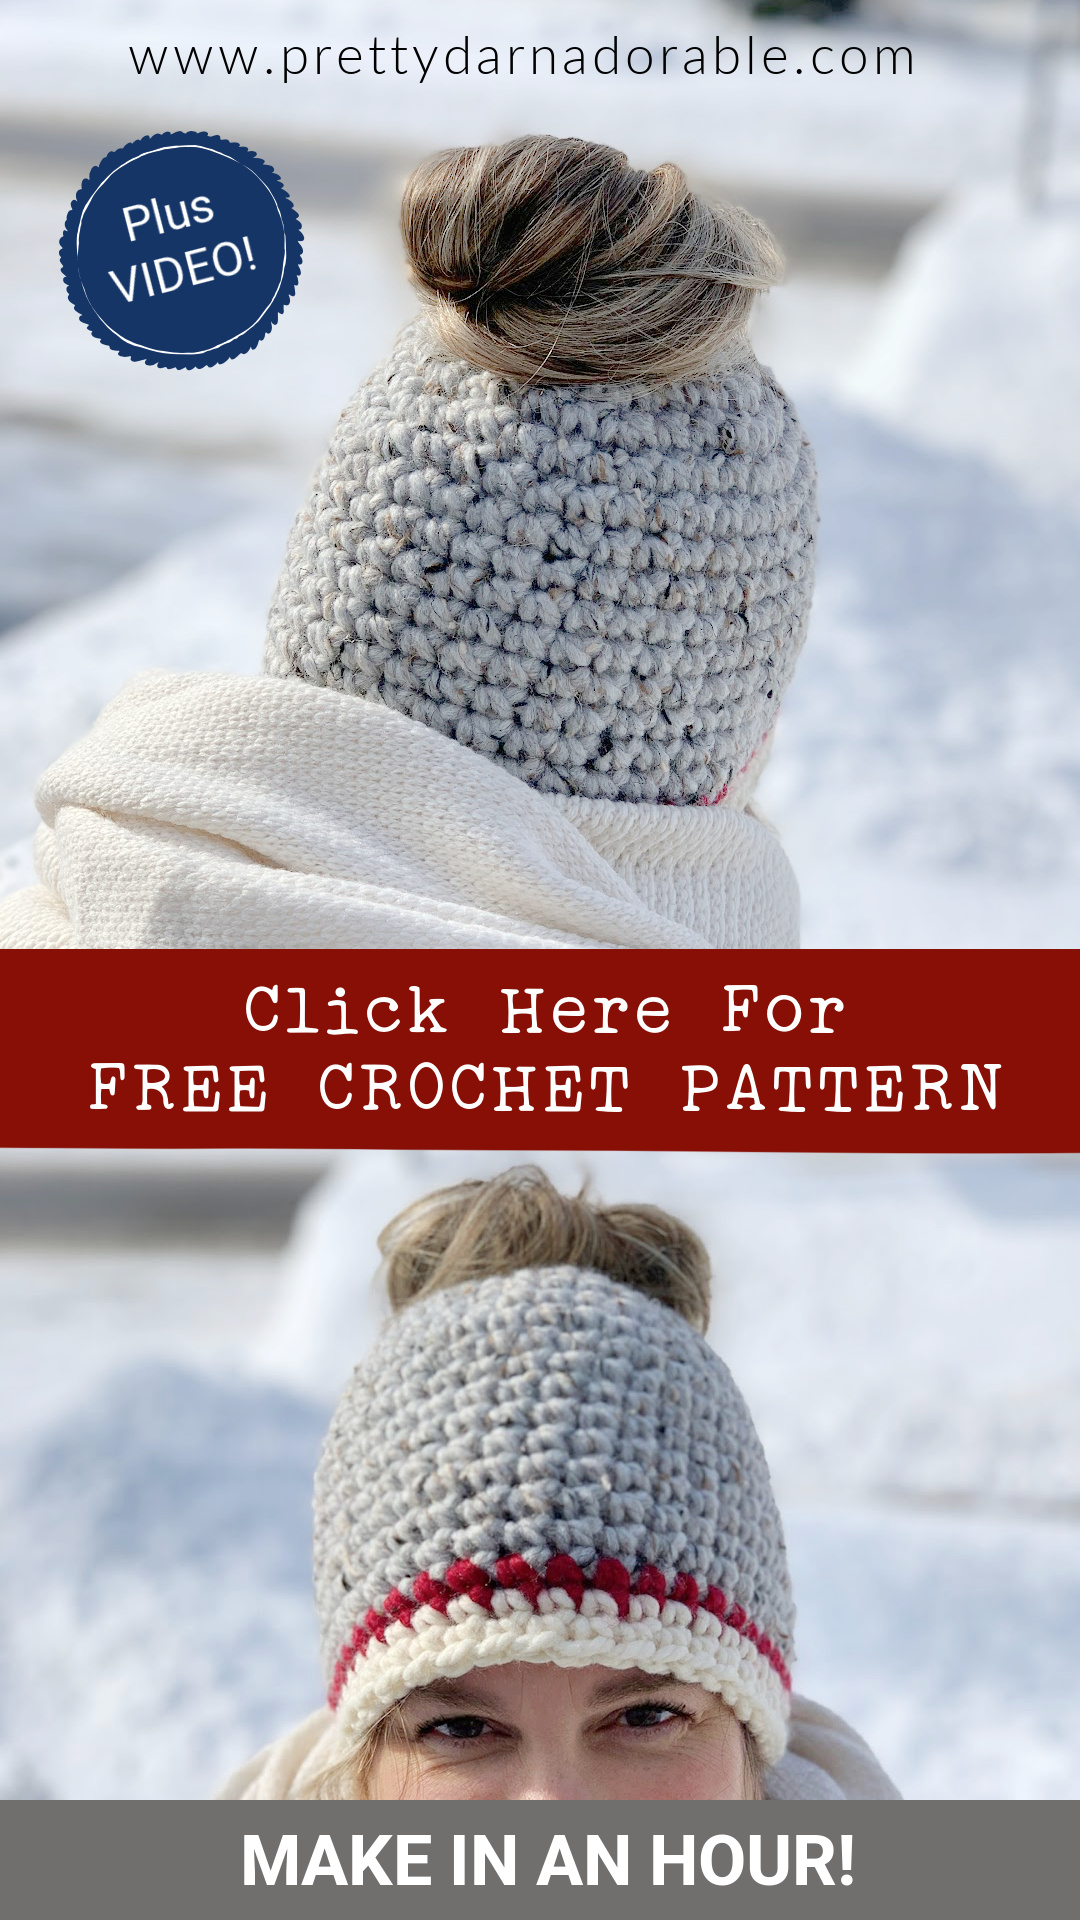
This ponytail hat crochet pattern makes a cozy beanie for those chilly days but also a stylish solution for individuals with long hair, thanks to its unique hair elastic opening for a messy bun or ponytail.

This messy bun crochet hat pattern includes instructions for toddler, child and adult size, making it the perfect gift for all your family members from the little girl in your life or like my family the man can add this to their winter wardrobe .
This design features a convenient opening with just the right amount of stretch at the crown by using a stretchy hair tie, making it an ideal choice for those who love to wear a hair bun and don’t want it squished by a regular hat.
If you are a beginner be sure to scroll down and watch the messy bun video tutorial.
All you need is some super bulky yarn a stitch marker your hooks and somewhere to watch the video and within an hour or so you will have this beanie done.

Resizing this messy bun hat pattern couldn’t be easier.
Check out more FREE CROCHET HAT PATTERNS here
Notes
- The Free Crochet Messy Bun Hat Pattern offers sizes for toddlers, children, and adults, making it versatile for all ages.
- This pattern features a cozy beanie design with an elastic opening for messy buns or ponytails.
- You can easily follow the video tutorial to create your hat using basic crochet stitches and super bulky yarn.
- Check out additional crochet patterns and tutorials for more creative options.
- Resizing the messy bun hat pattern is simple, ensuring a perfect fit for everyone.
Yarn Chosen for This Messy Bun Hat
For this crochet messy bun hat I decided to use Wool-Ease Thick N Quick yarn by Lion Brand. Below are just some of the reasons I love this yarn so much!
Purchase Easy to Print Ad Free Pattern on Etsy
Tag me on Instagram @prettydarnadorable
Purchase Ad Free Pattern – Instant Download!
Purchase the ad-free PDF for a smooth, distraction-free crocheting experience anytime, anywhere.
Already a subscriber? Check your latest email for your special discount code. Not subscribed yet? Sign up here to get yours!
Thanks so much for supporting my blog!
How to do Colour Changes
Do colour changes before working into the first sc of the previous round.
1. Finish the Last Stitch with Colour A:
Complete the last stitch of your current colour (Colour A) up to the point where you have two loops on your hook.
2. Introduce Colour B:
Before completing the last step of your current stitch with Colour A (usually a yarn over and pull through), prepare to switch to Colour B. To do this, drop Colour A, and pick up Colour B. Hold Colour B behind your work.
3. Complete the Stitch with Colour B:
Now, use Colour B to finish the last step of the stitch. This will secure Colour B in place, then insert hook into first sc.
4. Crochet Over the Yarn Tails:
To hide the yarn tails and prevent them from coming undone, crochet over them as you work your next few stitches. This will lock the tails in place and save you from having to weave them in later.
5. Continue with Colour B:
Simply continue crocheting with Colour B as your new working yarn. You can follow pattern’s instructions or create your colour pattern as you go.
6. Drop Unused Yarn:
Because we are changing colours every round simply drop your working yarn before picking up the next colour at each round.
7. Change Colours as Needed:
Repeat these steps whenever you need to change colours in your project. Remember to always complete the last step of the stitch with the new colour.
Easiest crochet messy bun hat free pattern below
Be sure to scroll down to watch video.
SKILL LEVEL
Beginner
ABBREVIATION
- ch – chain
- sc – single crochet
- sk – skip
- st – stitch
- sts – stitches
- slst – slip stitch
- rpt – repeat
GAUGE
4″ x 4″ square – 8 single crochet and 9 rows
Looking to make just a regular beanie for everyday wear that is perfect for men too? Check out this crochet beanie pattern here.
MATERIALS (affiliate links below)
- 9.0 mm hook (finishing band of hat)
- 10 mm hook (main part of hat)
- Tapestry Needle
- Stitch Markers
- Super Bulky Yarn I used Wool Ease ThickNQuick by Lion Brand
- One skein will make any size hat
- Hair Elastic
FINISHED MEASUREMENTS FOR CROCHET MESSY BUN HAT
- 1 – 3 Years 16.5” x 6”
- 3-10 Years 18” x 6.75”
- Adult 19.5” x 7.5”
- Adult XL 21” x 8.25”
Crochet Messy Bun Hat Pattern for Toddler 1 – 3 Years
*Hat is worked in continuous rounds. Do not join.
Use a stitch marker at the beginning of round for easier counting
Rnd 1: Using 10 mm hook work 18 sc around a hair elastic.
Rnd 2: 1 sc in 1st 2 sts *2 sc in next st, 1 sc in next 2 sts* rpt from * to * till end of rnd (24)
Rnd 3: 1 sc in 1st 3 sts *2 sc in next st, 1 sc in next 3 sts* rpt from * to * till end of rnd (30)
Rnd 4: 1 sc in 1st 9 sts *2 sc in next st, 1 sc in next 9 sts* rpt from * to * till end of rnd (33)
Rnds 5 – 11: Sc in 1st st and each st around. (33)
CONTRAST BAND
Fasten off and join red yarn with slst at fasten-off point.
Change to 9.00 mm hook and continue below
Rnd 12: Sc in 1st st and each st around. (33)
Fasten off and join cream yarn with slst.
Rnds 13-14: Sc in 1st st and each st around. (33).
Fasten off weave in ends and keep cozy!
Crochet Messy Bun Hat Pattern for Child 3 – 10 Years
*Hat is worked in continuous rounds. Do not join.
Use a stitch marker at the beginning of round for easier counting
Rnd 1: Using 10 mm hook work 18 sc around a hair elastic.
Rnd 2: 1 sc in 1st 2 sts *2 sc in next st, 1 sc in next 2 sts* rpt from * to * till end of rnd (24)
Rnd 3: 1 sc in 1st 3 sts *2 sc in next st, 1 sc in next 3 sts* rpt from * to * till end of rnd (30)
Rnd 4: 1 sc in 1st 4 sts *2 sc in next st, 1 sc in next 4 sts* rpt from * to * till end of rnd (36)
Rnds 5-12: Sc in 1st st and each st around. (36)
CONTRAST BAND
Fasten off and join red yarn with slst at fasten-off point.
Change to 9.00 mm hook and continue below
Rnd 13: Sc in 1st st and each st around. (36)
Fasten off and join cream yarn with slst.
Rnds 14-15: Sc in 1st st and each st around. (36)
Fasten off and weave in ends.
Crochet Messy Bun Hat Pattern for Adult
*Hat is worked in continuous rounds. Do not join.
Use a stitch marker at the beginning of round for easier counting
Rnd 1: Using 10 mm hook work 18 sc around a hair elastic.
Rnd 2: 1 sc in 1st 2 sts *2 sc in next st, 1 sc in next 2 sts* rpt from * to * till end of rnd (24)
Rnd 3: 1 sc in 1st 3 sts *2 sc in next st, 1 sc in next 3 sts* rpt from * to * till end of rnd (30)
Rnd 4: 1 sc in 1st 4 sts *2 sc in next st, 1 sc in next 4 sts* rpt from * to * till end of rnd (36)
Rnd 5: 1 sc in 1st 11 sts *2 sc in next st, 1 sc in next 11 sts* rpt from * to * till end of rnd (39)
Rnds 6-14: Sc in 1st st and each st around. (39)
CONTRAST BAND
Fasten off and join red yarn with slst at fasten-off point.
Change to 9.00 mm hook and continue below.
Rnd 15: Sc in 1st st and each st around. (39)
Fasten off and join cream yarn with slst.
Rnds 16-17: Sc in 1st st and each st around. (39)
Fasten off and weave in ends.
Adult XL
*Hat is worked in continuous rounds. Do not join. Use a stitch marker at the beginning of round for easier counting
Rnd 1: Using 10 mm hook work 18 sc around a hair elastic.
Rnd 2: 1 sc in 1st 2 sts *2 sc in next st, 1 sc in next 2 sts* rpt from * to * till end of rnd (24)
Rnd 3: 1 sc in 1st 3 sts *2 sc in next st, 1 sc in next 3 sts* rpt from * to * till end of rnd (30)
Rnd 4: 1 sc in 1st 4 sts *2 sc in next st, 1 sc in next 4 sts* rpt from * to * till end of rnd (36)
Rnd 5: 1 sc in 1st 5 sts *2 sc in next st, 1 sc in next 5 sts* rpt from * to * till end of rnd (42)
Rnds 6-15: Sc in 1st st and each st around. (42)
Fasten off and join red yarn with slst at fasten-off point.
Change to 9.00 mm hook and continue below
Rnd 16: Sc in 1st st and each st around. (42)
Fasten off and join cream yarn with slst.
Rnds 17-19: Sc in 1st st and each st around. (42)
Fasten off and weave in ends.
I hope you had lots of fun making this pattern and that you find it extra sizes helpful!
Hello! I am a beginner and after redoing the second row “9” times, I still only get 22 stitches.
By any chance , is the pattern reading the wrong number of 24?
Please help as I am trying to do this as a Christmas gift.
Thanks so much for your quick response…
Denise!!! You are so right!! Thanks so much for letting me know I will fix that now 🙂
Hope you are enjoying the pattern otherwise xo
In you adult XL Row 15 is 42 stitches; then row 16 is 39 stitches; row 17-19 is 42 stitches. Might need a correction there.