


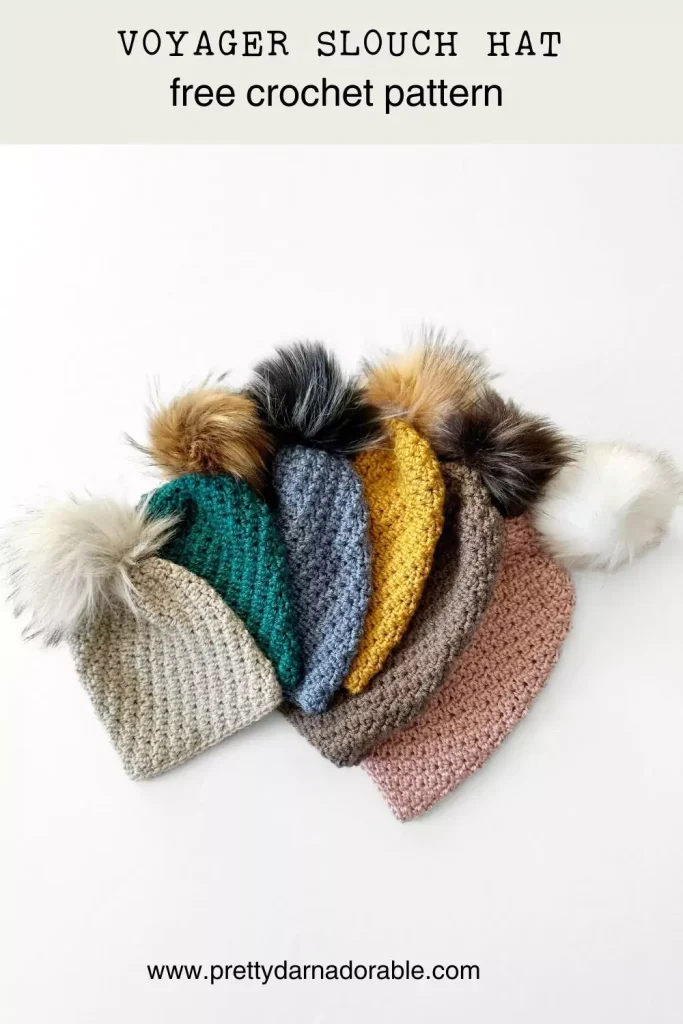
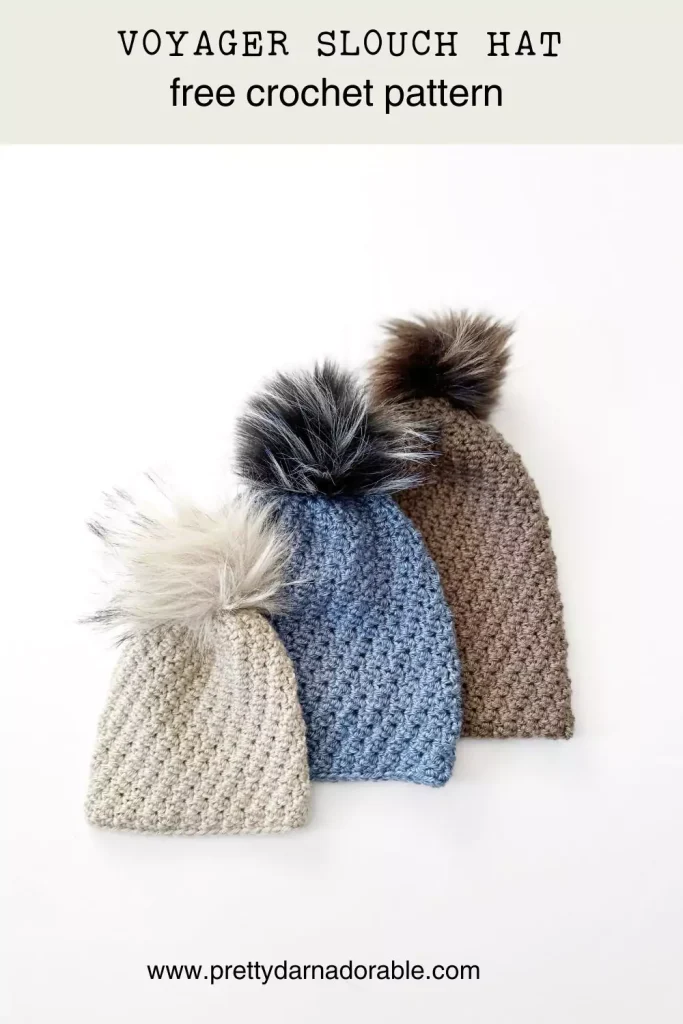

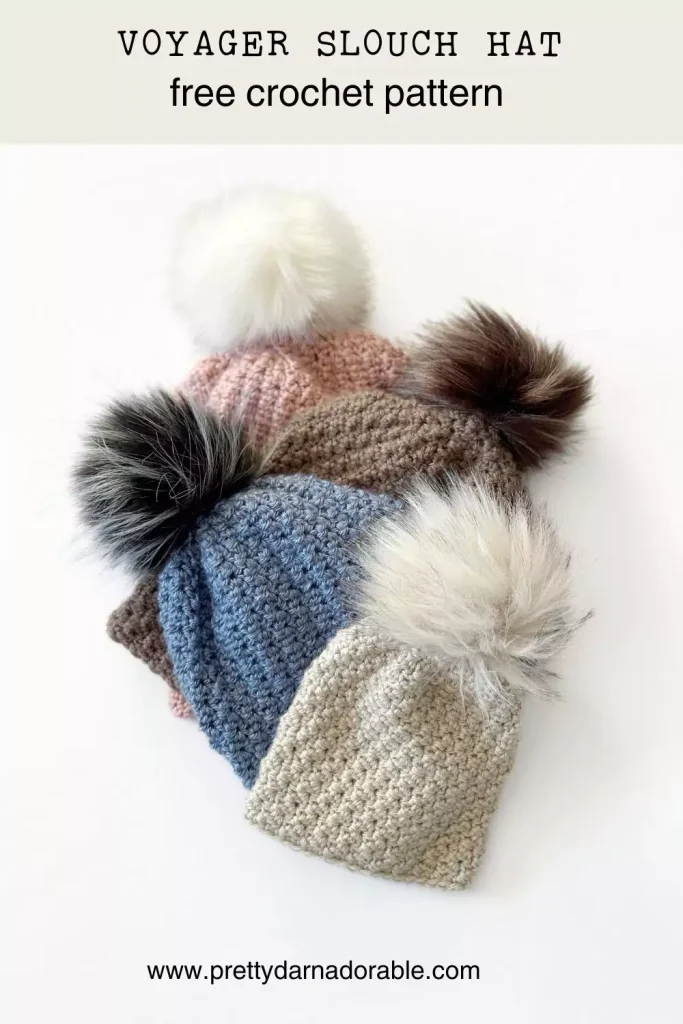
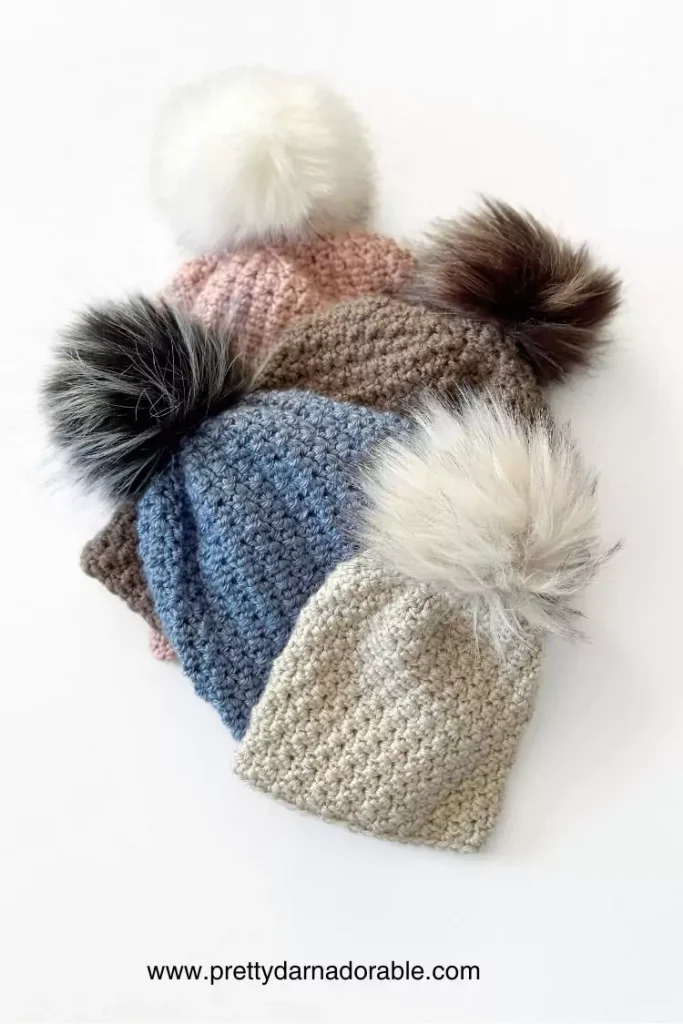
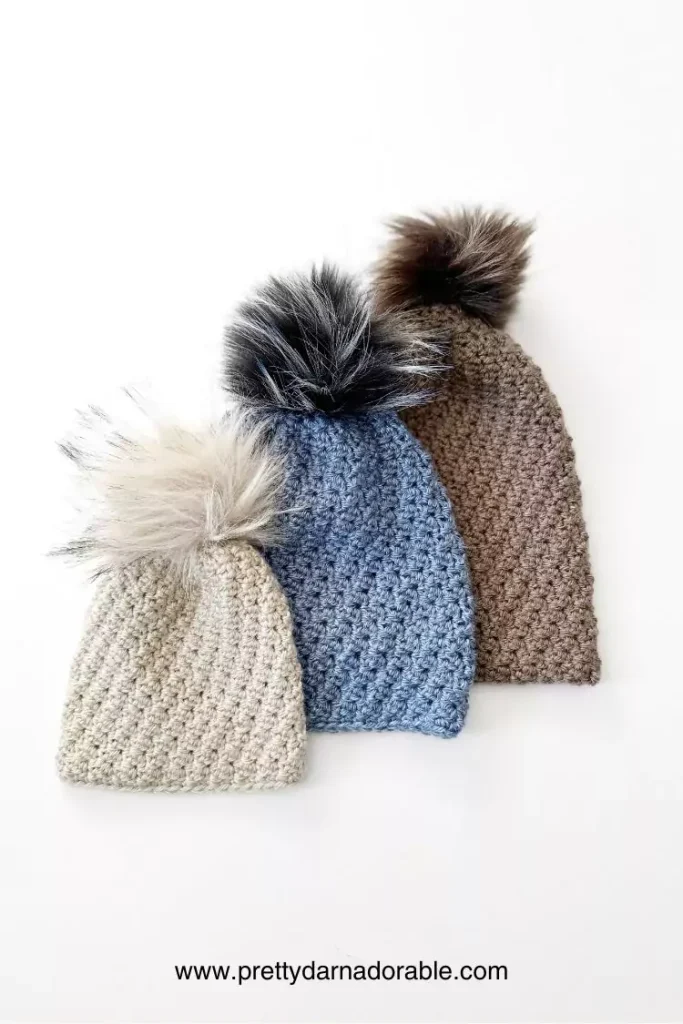
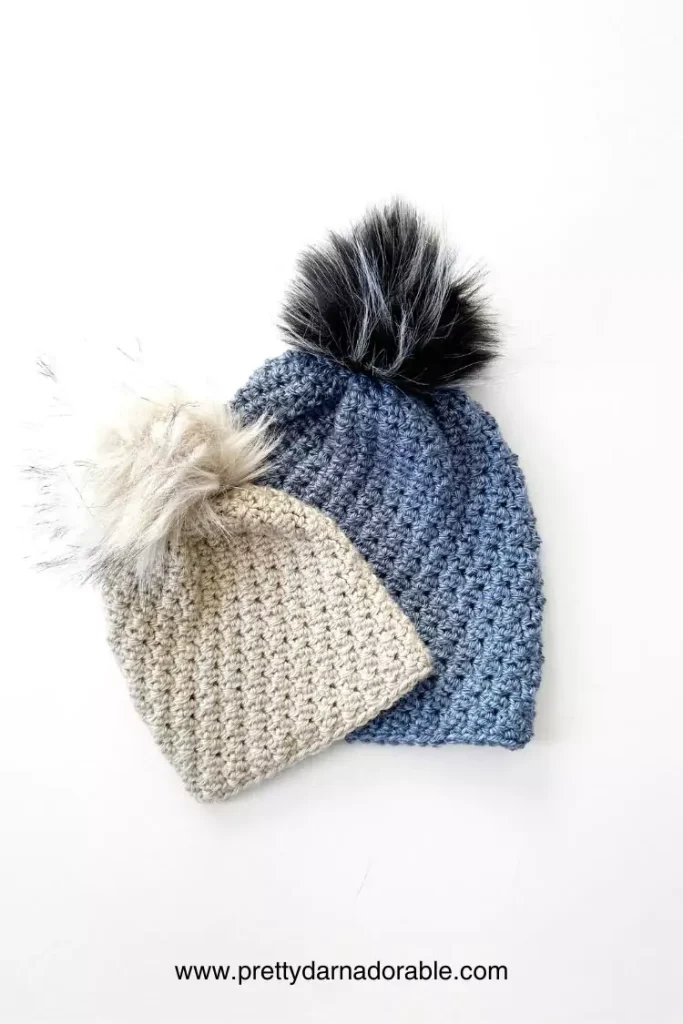
The Voyager Slouch Beanie is the perfect example of how mastering basic stitches can lead to something truly beautiful. This cozy, stylish hat has been a best-seller in my Etsy shop, and now I’m excited to offer it as a free crochet slouch hat pattern here on my blog!
With the holidays around the corner, these hats make great gifts and are the perfect project to have on repeat—especially if you enjoy Christmas Hallmark movies as much as I do! And yes, I really do!
This pattern features a gorgeous texture created by working basic stitches—single crochet and double crochet. Made in continuous rounds with worsted weight yarn and a 6.50 mm crochet hook, it’s beginner-friendly and easy to follow.
Plus, I’ve included multiple sizes, from baby to adult, so you can create the perfect fit for anyone! When you realize how easy these crochet hats are they will be flying off hooks and this slouchy hat pattern might just become a favourite so be sure to PIN it so you can come back to it and make it when you are ready.

FAQs
The Yarn
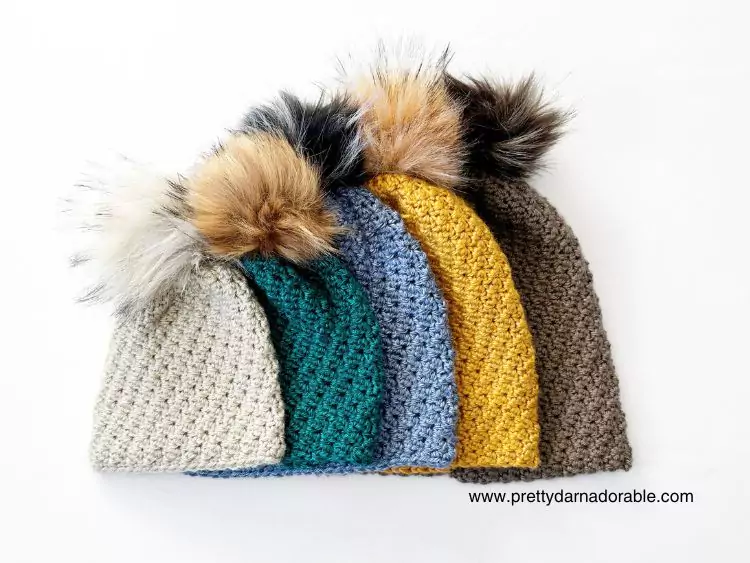
For this slouchy hat, you’ll want to use worsted weight yarn—my personal favorite for this hat is Lions Brand Heartland. This yarn has a soft beautiful texture, and a beautiful drape but also comes in a wide array of solid colors, making it a good choice for any style.
I haven’t made this in a thicker yarn so I’m not sure the drape of the slouch would be as nice. When selecting your yarn, you may also consider using comparable worsted weight yarn that you might already have in your stash. Be sure to let me know in the comments what yarn you chose and how it turned out!
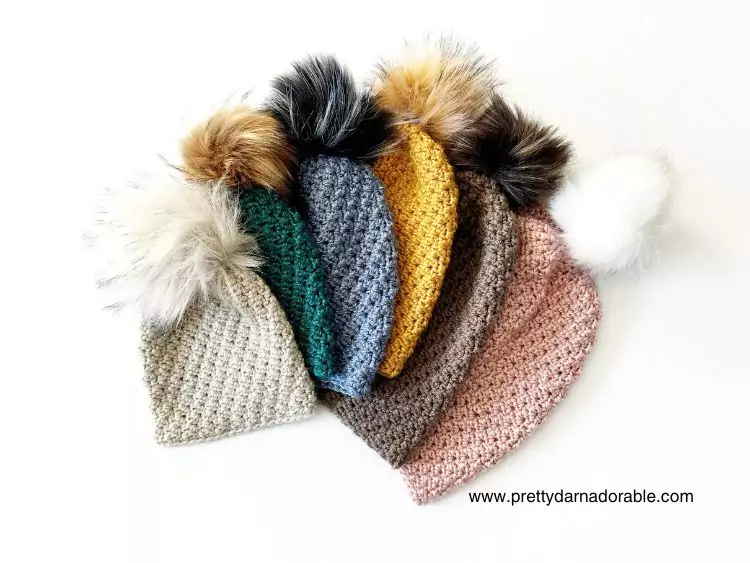
Construction of Your Hat
This crochet slouch hat is made by starting with a chain of 2 at the top of the hat (feel free to use a magic circle) and working in increasing continuous rounds. You begin with single crochets, then increase through several rounds using a (sc, dc) pattern to reach the desired stitch count.
Most Popular
Hat Patterns

Note: The increase rounds at the top of the hat may appear different due to the rapid increases, resulting in a slight ripple; however, this ripple will correct itself as you work the textured stitches down the body of the hat. After reaching the desired height, join with a slip stitch, fasten off, weave in ends, and turn the hat right side out.
What I love most about this project is that it’s perfect for quick crochet projects. Whether you’re making it for yourself or as a great gift, it’s sure to be a hit! Plus, this slouchy beanie pattern includes every size to fit different sizes, including child sizes and adult sizes.
Notes
- The increase rounds at the top of the hat may appear different due to the rapid increases, resulting in a slight ripple; however, this ripple will correct itself as you work the textured stitches down the body of the hat.
- This slouch crochet hat is worked with the inside of the finished hat facing out. When your hat is finished reveal the beautiful texture by turning the hat from what is the inside and face it out. Then weave in ends and add pompom if desired.
- Gauge is Key: Always check your gauge before starting. This pattern is designed for worsted weight yarn, but your tension can vary, so it’s essential to match the gauge to ensure the correct hat height and fit. If needed, adjust your hook size up or down to meet the gauge.
- Continuous Rounds: The body of the hat is worked in continuous rounds, meaning you won’t join at the end of each round. Instead, use a stitch marker to keep track of your first stitch to avoid losing your place.
- Yarn Substitutions: While the pattern calls for Lion’s Brand Heartland yarns like Red Heart Super Saver or comparable worsted weight yarn, will also work. You can experiment with different yarns. However, ensure the yarn is not too bulky or too thin to maintain the slouchy effect.
- Use of a Larger Hook: To keep the hat lightweight and slouchy, use the recommended 6.50 mm crochet hook. Using the recommended hook size for worsted weight yarn will not only result in a smaller hat, but will also affect the overall slouch.
- Stitch Counts Matter: Pay close attention to your stitch count on each round to ensure the hat’s shape stays consistent. Missing stitches could lead to an uneven smaller or larger fitting hat. Checking your stitch count at every round is a must for new crocheters!
- All stitches shown in () are worked into the same stitch.
Purchase Ad Free Pattern – Instant Download!
Purchase the ad-free PDF for a smooth, distraction-free crocheting experience anytime, anywhere.
Already a subscriber? Check your latest email for your special discount code. Not subscribed yet? Sign up here to get yours!
Thanks so much for supporting my blog!
Voyager Slouch – Free Crochet Pattern Instructions
Skill Level
Beginner
Abbreviations
- ch – chain
- dc – double crochet
- sc – single crochet
- sk – skip
- st – stitch
- sts – stitches
- sl st – slip stitch
- rpt – repeat

Check Your Gauge!
Because this pattern is worked in the round the gauge is based on single crochet stitches worked in rows.
Gauge may vary slightly depending on yarn used. 12 rows + 12 sc = 4” X 4”
A gauge swatch is vital for a well-fitting crochet hat. It determines stitch tension and measures the number of stitches and rows.
Comparing it to the pattern’s gauge ensures the final hat fits as desired. Adjust hook or tension if needed for a perfectly fitting hat.
Finished Measurements & Yarn Requirements
0 to 3 months:
- Width: 15”
- Height: 8”
- Yarn: 50g, 78m, 1.76 oz, 85 yds
3 to 6 months:
- Width: 16”
- Height: 8.5”
- Yarn: 55g, 86m, 1.94 oz, 94 yds
6 to 12 months:
- Width: 17”
- Height: 9”
- Yarn: 60g, 94m, 2.12 oz, 102 yds
12 months to 3 years:
- Width: 18”
- Height: 9.5”
- Yarn: 80g, 125m, 2.82 oz, 137 yds
3 to 10 years:
- Width: 19”
- Height: 10”
- Yarn: 90g, 140m, 3.17 oz, 154 yds
Adult:
- Width: 21”
- Height: 10.5”
- Yarn: 100g, 156m, 3.53 oz, 171 yds
Adult XL:
- Width: 22”
- Height: 11”
- Yarn: 115g, 179m, 4.06 oz, 196 yds
Please note that the actual amount of yarn needed may change depending on the yarn chosen always purchase a little more than you think you may need..
Materials Needed
- 6.50 mm hook
- Tapestry Needle
- Stitch Marker
- #4 Worsted weight yarn (see chart above for amounts) – Lion’s Brand Heartland
- Measuring Tape
Yarn Gauge:
Gauge must be matched for the correct fit of this hat, matching the recommended yarn gauge can assist in successful substitution and result in a more accurate finished product.
Did you make any of these?
I would love to see what you have made be sure to mention @prettydarnadorable or tag me using #prettydarnadorable on Instagram so I can see your creations!
Baby 0 – 3 Months
Hat is worked in continuous rounds do not join. Hat is worked with wrong side facing you.
Using 6.50 mm hook ch 2
Rnd 1: Work 6 sc in 2nd ch from hook (6)
Rnd 2: Sc in 1st st, (sc, dc) in each st around (11)
Rnd 3: (Sc, dc) in 1st st and each st around (22)
Rnd 4: (Sc, dc) in 1st st and each st around (44)
Rnd 5: Sk 1st st, (sc, dc) in next dc *sk next st, (sc, dc) in next dc* rpt from *to* end of rnd. (44)
Repeat Rnd 5 until hat measures 8 inches from crown to bottom of hat.
Join with slst to 1st st of previous round, fasten off and weave in ends. Turn hat right side out.
Baby 3 – 6 Months
Hat is worked in continuous rounds do not join. Hat is worked with wrong side facing you.
Using 6.50 mm hook ch 2
Rnd 1: Work 6 sc in 2nd st from hook (6)
Rnd 2: (Sc, dc) in 1st st and each st around (12)
Rnd 3: (Sc, dc) in 1st and each st around (24)
Rnd 4: Skip 1st st, (sc, dc) in 1st dc *sk next st, (sc, dc) in next dc* rpt from *to* end of rnd. (24)
Rnd 5: (Sc, dc) in 1st and each st around (48)
Rnd 6: Sk 1st st, (sc, dc) in next dc *sk next st, (sc, dc) in next dc* rpt from *to* end of rnd (48)
Repeat Rnd 6 until hat measures 8.5 inches from crown to bottom of hat.
Join with slst to 1st st of previous round, fasten off and weave in ends. Turn hat right side out.
Baby 6 – 12 Months
Hat is worked in continuous rounds do not join. Hat is worked with wrong side facing you.
Using 6.50 mm hook ch 2
Rnd 1: Work 7 sc in 2nd st from hook (7)
Rnd 2: (Sc, dc) in 1st and each st around (14)
Rnd 3: Skip 1st st, 1 hdc in 1st dc. *Sk next st, (sc, dc) in next dc* rpt from *to* end of rnd, (13)
Rnd 4: (Sc, dc) in 1st and each st around (26)
Rnd 5: Skip 1st st, (sc, dc) in 1st dc *sk next st, (sc, dc) in next dc* rpt from *to* end of rnd, (26)
Rnd 6: (Sc, dc) in 1st and each st around (52)
Rnd 7: Skip 1st st, (sc, dc) in 1st dc *sk next, (sc, dc) in next dc* rpt from *to* end of rnd (52)
Repeat Rnd 7 until hat measures 9 inches from crown to bottom of hat.
Join with slst to 1st st of previous round, fasten off and weave in ends. Turn hat right side out.
Toddler 1 – 3 Years
Hat is worked in continuous rounds do not join. Hat is worked with wrong side facing you.
Using 6.50 mm hook, ch 2
Rnd 1: Work 7 sc in 2nd st from hook (7)
Rnd 2: (Sc, dc) in 1st st and each st around (14)
Rnd 3: Skip 1st st, (sc, dc) in 1st dc *sk next, (sc, dc) in next dc* rpt from *to* end of rnd. (14)
Rnd 4: (Sc, dc) in 1st and each st around (28)
Rnd 5: Skip 1st st, (sc, dc) in 1st dc *sk next, (sc, dc) in next dc* rpt from *to* end of rnd. (28)
Rnd 6: (Sc, dc) in 1st and each st around (56)
Rnd 7: Skip 1st st, (sc, dc) in 1st dc *sk next, (sc, dc) in next dc* rpt from *to* end of rnd. (56)
Repeat Rnd 7 until hat measures 9.5 inches from crown to bottom of hat.
Join with slst to 1st st of previous round, fasten off and weave in ends. Turn hat right side out.
Most Popular
Hat Patterns
Child 3 – 10 Years
Hat is worked in continuous rounds do not join. Hat is worked with wrong side facing you.
Using 6.50 mm hook Ch 2
Rnd 1: Work 8 sc in 2nd st from hook (8)
Rnd 2: (Sc, dc) in 1st st and each st around (16)
Rnd 3: Skip 1st st, 1 hdc in 1st dc *sk next, (sc, dc) in next dc* rpt from *to* end of rnd. (15)
Rnd 4: (Sc, dc) in 1st and each st around (30)
Rnd 5: Skip 1st st, (sc, dc) in 1st dc *sk next, (sc, dc) in next dc* rpt from *to* end of rnd. (30)
Rnd 6: (Sc, dc) in 1st and each st around (60)
Rnd 7: Skip 1st st, (sc, dc) in 1st dc *sk next, (sc, dc) in next dc* rpt from *to* end of rnd. (60)
Repeat Rnd 7 until hat measures 10 inches from crown to bottom of hat.
Join with slst to 1st st of previous round, fasten off and weave in ends. Turn hat right side out.
Adult
Hat is worked in continuous rounds do not join. Hat is worked with wrong side facing you.
Using 6.50 mm hook Ch 2
Rnd 1: Work 8 sc in 2nd st from hook (8)
Rnd 2: (Sc, dc) in 1st st and each st around (16)
Rnd 3: Skip 1st st, (sc, dc) in 1st dc *sk next, (sc, dc) in next dc* rpt from *to* end of rnd. (16)
Rnd 4: (Sc, dc) in 1st and each st around (32)
Rnd 5: Skip 1st st, (sc, dc) in 1st dc *sk next, (sc, dc) in next dc* rpt from *to* end of rnd. (32)
Rnd 6: (Sc, dc) in 1st and each st around (64)
Rnd 7: Skip 1st st, (sc, dc) in 1st dc *sk next, (sc, dc) in next dc* rpt from *to* end of rnd. (64)
Repeat Rnd 7 until hat measures 10.5 inches from crown to bottom of hat.
Join with slst to 1st st of previous round, fasten off and weave in ends. Turn hat right side out.
Adult XL
Hat is worked in continuous rounds do not join. Hat is worked with wrong side facing you.
Using 6.50 mm hook Ch 2
Rnd 1: Work 9 sc in 2nd st from hook (9)
Rnd 2: (Sc, dc) in 1st st and each st around (18)
Rnd 3: Skip 1st st, dc in 1st dc *sk next, (sc, dc) in next dc* rpt from *to* end of rnd. (17)
Rnd 4: (Sc, dc) in 1st and each st around (34)
Rnd 5: Skip 1st st, (sc, dc) in 1st dc *sk next, (sc, dc) in next dc* rpt from *to* end of rnd. (34)
Rnd 6: (Sc, dc) in 1st and each st around (68)
Rnd 7: Skip 1st st, (sc, dc) in 1st dc *sk next, (sc, dc) in next dc* rpt from *to* end of rnd. (68)
Repeat Rnd 7 until hat measures 11 inches from crown to bottom of hat.
Join with slst to 1st st of previous round, fasten off and weave in ends. Turn hat right side out.
Did you make any of these?
I would love to see what you have made be sure to mention @prettydarnadorable or tag me using #prettydarnadorable on Instagram so I can see your creations!
Hi,
I purchased the Voyager hat beanie pattern and have a question about the gauge. Do I make the gauge swatch flat? I am fairly new to crochet and confused on how to do the gauge count for a hat.