Spring is on its way, and whether you love fresh flowers or prefer potted plants, this free crochet planter cover pattern with video tutorial is the perfect way to add a touch of handmade charm to your space.
The best part? This is an easy crochet planter pattern free that’s beginner-friendly, and it can be made in any color you desire to complement your home decor. It fits a variety of pot sizes, making it a great option to display those bright blooms with ease!
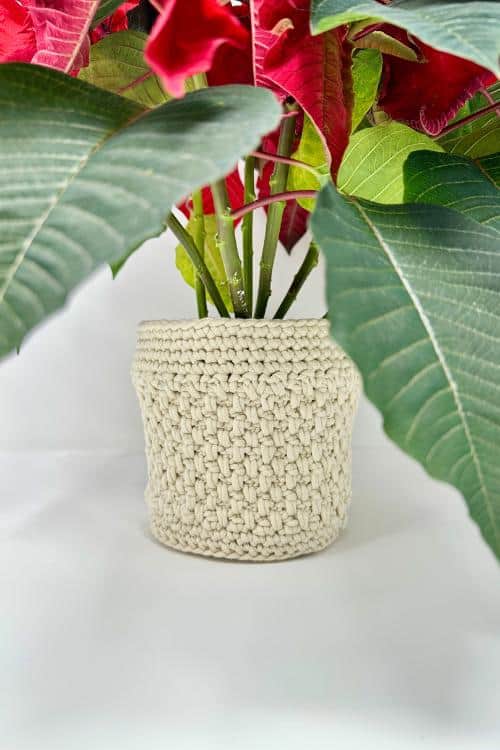

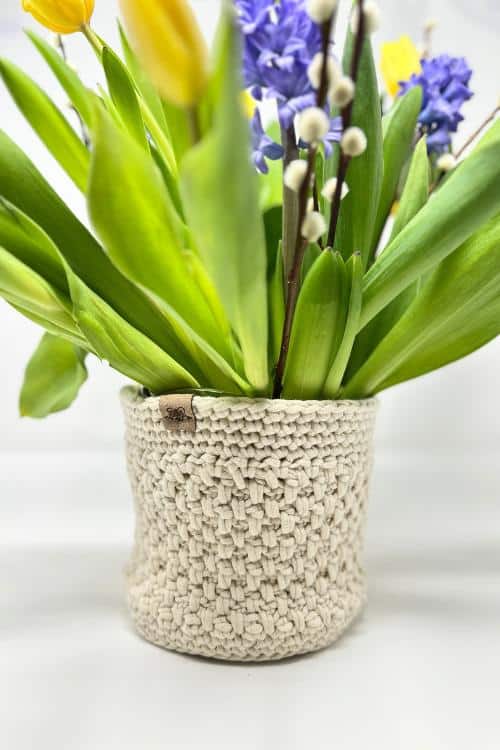
Over Christmas, I received a beautiful poinsettia, which I added to my holiday decor right away. Then, a few weeks later, a friend brought me some lovely tulips, but my one and only vase was already occupied with my Christmas florals. So, I grabbed a 4-cup measuring cup to hold the tulips in water, and guess what? It fit perfectly into this little crochet plant pot cover!
As much as I love fresh flowers, living in a smaller space means I need to keep my decor minimal but creative. These crochet plant pot covers are a great way to brighten up any corner of your home without cluttering it up. Plus, they’re perfect for swapping out your home décor every season—whether it’s stripes, checks, or just a pop of color.

Matching Trinket Trays and Basket Free Patterns!
Click on image for free patterns!


This modern crochet planter is both fun and functional – giving you a chance to change things up depending on season and mood. It’s made with cotton yarn, which gives it a nice, sturdy feel and personally I think the cotton shows this texture off perfectly.
If you know basic stitches I think this is a pretty easy crochet pattern, making it a great project for advanced beginners who want to expand their stitches.
Construction of This Crochet Plant Pot Cover Pattern
This crochet plant pot cozy is worked in rounds I use the chain 2 method but you can also use the magic ring (also known as the magic circle), which gives a neat and tidy start to the project. You’ll repeat rounds to increase the size of the cover, and the first st of rnd is always important to keep track of.

The chunky yarn gives this cover a soft yet durable feel, making it a great indoor plant basket. The design is meant to fit a pot with a 16 inches in diameter, but feel free to adjust the pattern for larger pot covers. This pattern can easily be adapted for different sizes with a simple increase. More on that below.
For this project, you’ll need strong yarn, such as a cotton yarn or your preferred durable yarn, and a crochet hook that suits the thickness of the bulky yarn you choose. You’ll need a ball of yarn, I used Bernat Maker Home Dec approximately 120 grams – depending on the size of your crochet pot cover, 6.50 mm crochet hook as well as a yarn needle and scissors for finishing off.
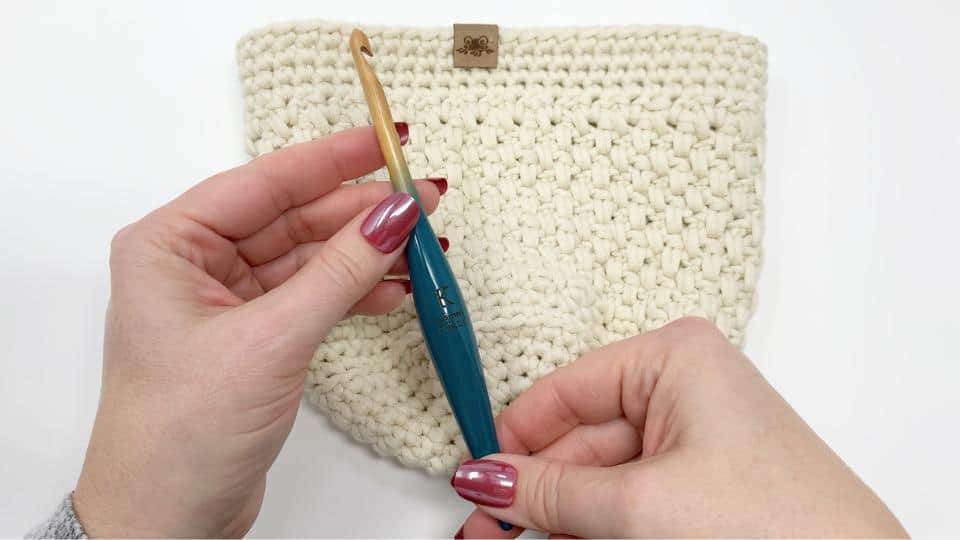
Whether you are covering a flower pot, plastic pot or large pots you can adjust this crochet plant post cozy to pretty much any size you need.

How to Customize Your Planter Cover
One of the things I love about this crochet plant pot cover pattern is how easy it is to make it your own. You can adjust the color combinations to suit your home décor. For example, if you’re preparing for Valentine’s Day, you can go with reds, pinks, and whites for a cozy vibe. Or, for a fresh spring look, pastels or earthy tones would be lovely.
If you’re looking to experiment with different yarns, this pattern works with various types, such as chunky yarn or lighter cotton yarn—just keep in mind that you may need to adjust your hook size to match your chosen yarn.
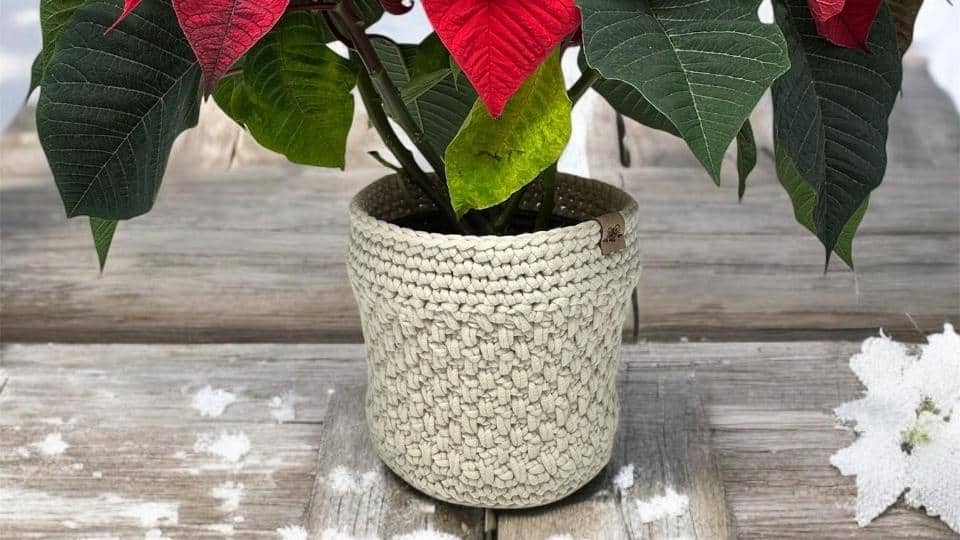
This is a perfect pattern for personal use, and it can also make an excellent gift for a friend who’s a crazy plant lady! It’s a fun, great indoor plant basket project that you can keep going all year round. You can even gift one of these covers alongside a plant to make a truly thoughtful present.
And voilà! You’ve created your own crochet plant pot cover.
A Great Option for Your Spring Décor
Whether you’re creating this pattern for a small pot or a larger pot cover, this crochet plant pot cover pattern is a fantastic way to showcase your plants in a fun, stylish way. It’s also a great project for beginners looking for easy crochet patterns to try out!
With the ability to customize, this crochet project works with different yarns and is perfect for experimenting with various colors and patterns. So, gather your ball of yarn, grab your crochet hook, and start working on this modern crochet planter pattern free today!
I can’t wait to see how your projects turn out—whether you’re making it for personal use or gifting it to a friend, this crochet planter cover is sure to add a cozy touch to any home décor.

I love using these so much I think I will need to make many more crochet planter covers!
Happy crocheting!
Notes
- This pattern is that it also comes with a video tutorial. This means that you can follow along step-by-step and have all your questions answered in real-time. Whether you’re struggling to understand a particular stitch or just want to see how it should look, the video tutorial is a fantastic resource to have. You can pause, rewind, and re-watch as many times as you need to make sure you’re doing everything correctly.
- Rounds 1 thru 9 of the baskets will be worked in continuous rounds without joining. Use a marker in first stitch of each round to indicate the beginning of each round for easier counting.
- The increase rounds in this pattern will determine the width of your crochet planter, so feel free to adjust them based on the size of the pot you’re using.
- If you need a larger planter, simply continue working increase rounds, following the same pattern.
- For a smaller planter, reduce the number of increase rounds or omit some of the increases as necessary. This flexibility allows you to customize the size of the planter to fit your specific needs, so adjust the number of increases until you achieve your desired width.

If you want to substitute worsted weight cotton yarn for Bernat Home Dec, you’ll need to hold two strands together to match the thickness of the chunky yarn.
Bernat Home Dec is a bulky weight (#5) yarn with a unique blend of cotton and polyester, so while worsted weight cotton will work, the final texture may be slightly different.
Holding two strands together will help achieve a similar gauge, but it’s always a good idea to check your project as you go by comparing the size of the base to the pot your covering.
Since worsted weight cotton is typically less stretchy than Bernat Home Dec, the fabric may feel a bit firmer, which could be great for structured projects like baskets or cushion covers.
Purchase Ad Free Pattern – Instant Download!
Purchase the ad-free PDF for a smooth, distraction-free crocheting experience anytime, anywhere.
Already a subscriber? Check your latest email for your special discount code. Not subscribed yet? Sign up here to get yours!
Thanks so much for supporting my blog!
Skill Level
Easy
Abbreviations
- blo – back loop only
- ch – chain
- dc – double crochet
- ldc – long double crochet
- rnd – round
- sc – single crochet
- sk – skip
- sp – space
- st – stitch
- sts – stitches
- sl st – slip stitch
- rep – repeat
Gauge
- Approximately 12.5 sc = 4″ (10 cm) in continuous rounds.
- Height can be adjusted by adding or removing rounds, so gauge is most important for width.
Video Tutorial
Subscribe to my youtube channel
Finished Measurements
Planter: 16” around x 8”
(Side measures 5 ½” in height when in use.)
Materials Needed
- 6.50 mm crochet hook
- Bernat Maker Home Dec 120 gram
- Tapestry Needle
- Stitch Markers
- Scissors
- Measuring Tape
Special Stitches:
Long Double Crochet (ldc): Work a double crochet around and in front of the previous round, inserting the hook into the stitch one round below.

Did you make any of these?
I would love to see what you have made be sure to mention @prettydarnadorable or tag me using #prettydarnadorable on Instagram so I can see your creations!
Crochet Planter Instructions
Using 6.5 mm hook ch 2
Rnd 1: Work 8 sc in 2nd st from hook. (8)
Rnd 2: 2 Sc in each st around. (16)
Rnd 3: 1 sc in first st *2 sc in next st, 1 sc in next st* rpt from * to * till end of round. End round with 2 sc in last st. (24)
Rnd 4: 1 sc in first 2 sts *2 sc in next st, 1 sc in next 2 sts* rpt from * to * till end of round. End round with 2 sc in last st. (32)
Rnd 5: 1 sc in first 3 sts *2 sc in next st, 1 sc in next 3 sts* rpt from * to * till end of round. End round with 2 sc in last st. (40)
Rnd 6: 1 sc in first 4 sts *2 sc in next st, 1 sc in next 4 sts* rpt from * to * till end of round. End round with 2 sc in last st. (48)
Rnd 7: 1 sc in first 5 sts *2 sc in next st, 1 sc in next 5 sts* rpt from * to * till end of round. End round with 2 sc in last st. (56)
Rnd 8: Working in blo, sc in each st around. (56) Working in back loops only helps to give the planter a bit of structure while also creating texture.
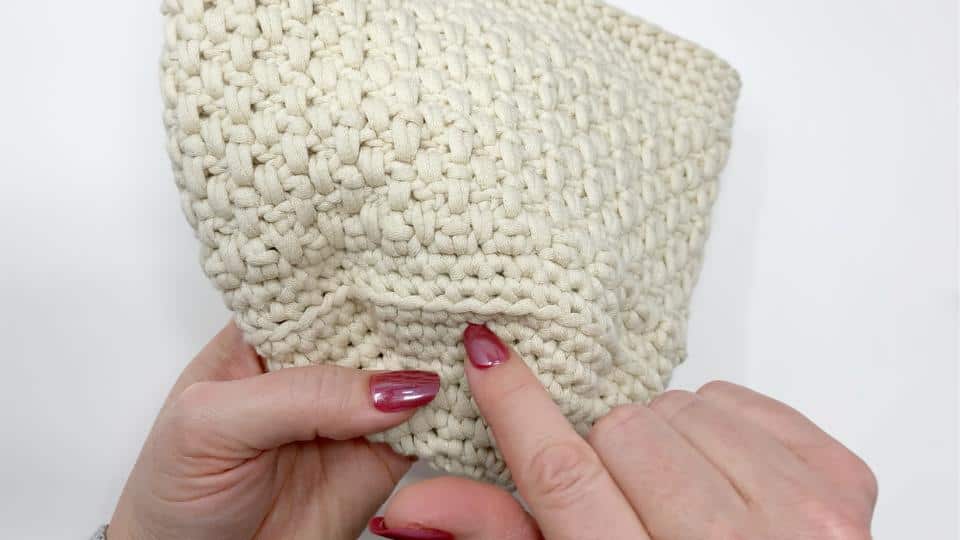
Rnd 9: Working in both loops work sc in each st around. (56) Join to 1st st with slst, ch 1 and turn.
When working in the stitch under ch 1 space be sure to work around/over the ch 1 space not behind or through it.
Turning chains do not count as a stitch.
Rnd 10: Ldc in 1st st, ch 1. Skip next sc, *Ldc in next st, ch 1 and skip next st* rpt from *to* till end of rnd. Join with slst. Ch 1, turn (56)
Rnd 11: Ldc in 1st skipped st under ch space, ch 1, skip next st, *ldc in skipped st under ch space, ch 1 skip next st* rpt from *to* till end of rnd. Join with slst to 1st ldc. Ch, 1 turn (56)
Note: If you want to make your basket shorter or taller repeat round 11 more or less times to achieve the desired size.
Repeat round 11 until basket textured rounds measure 4” or required height, then proceed to finishing rounds below.
Finishing Rounds
Round 1 below will close the ‘holes’ that remain from the last round.
Rnd 1: *Ldc in skipped stitch under ch space, sc in next.* Rpt from * to * till the end of round. This will close any gaps from the previous round. (56)
Work the following rounds continuously without joining or turning.

Rnds 2-5: Sc in each st around. (56) After round 5 fasten off and weave in ends.