


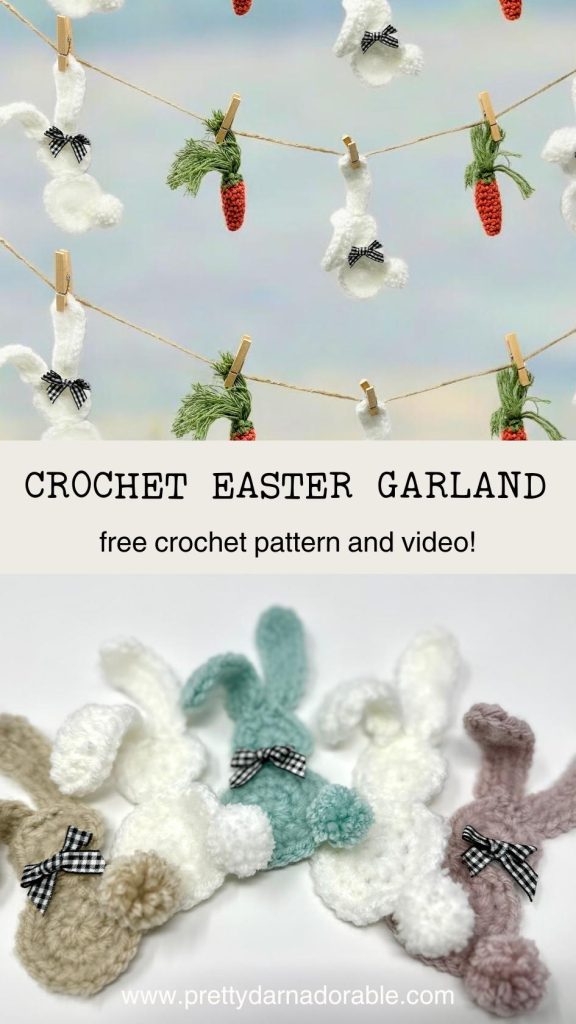
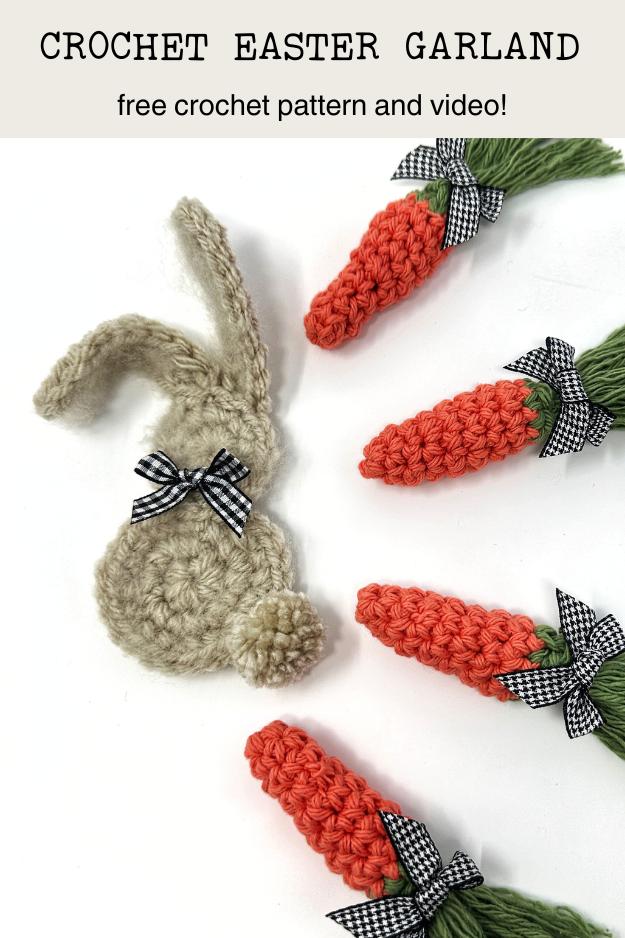
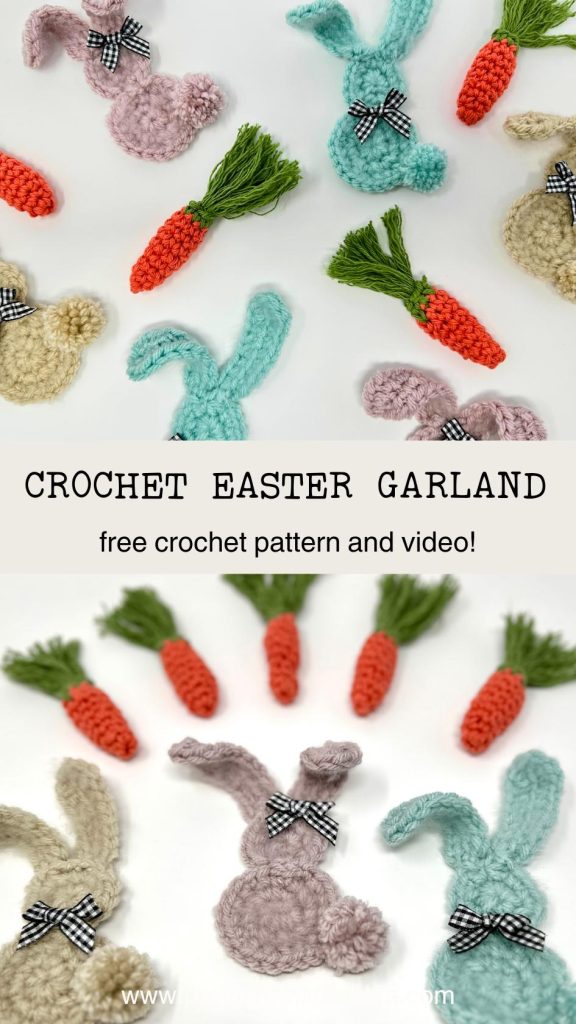
Every season, I like to switch up the decor on my baker’s shelf, and with Easter coming up, I wanted to add something cute and handmade. A crochet garland seemed like the perfect project—simple, fun, and a great way to use up some yarn scraps.
So, I put together this Crochet Easter Garland Free Pattern, and I love how it turned out! I’m still working on the photos, though… my baker’s shelf is in a dark corner, and let’s just say the pictures didn’t turn out great. But the pattern is ready to go, so let’s dive in!

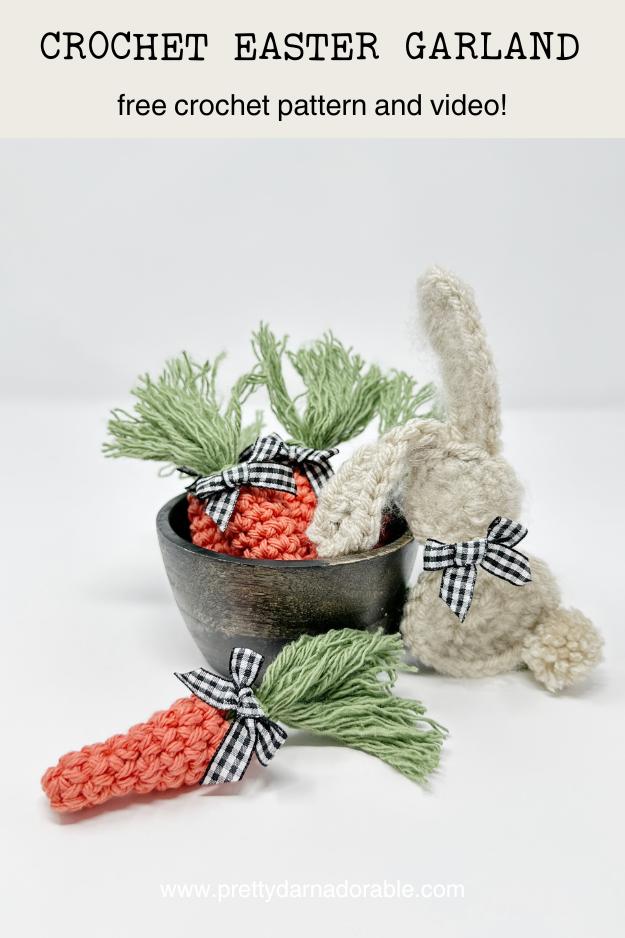
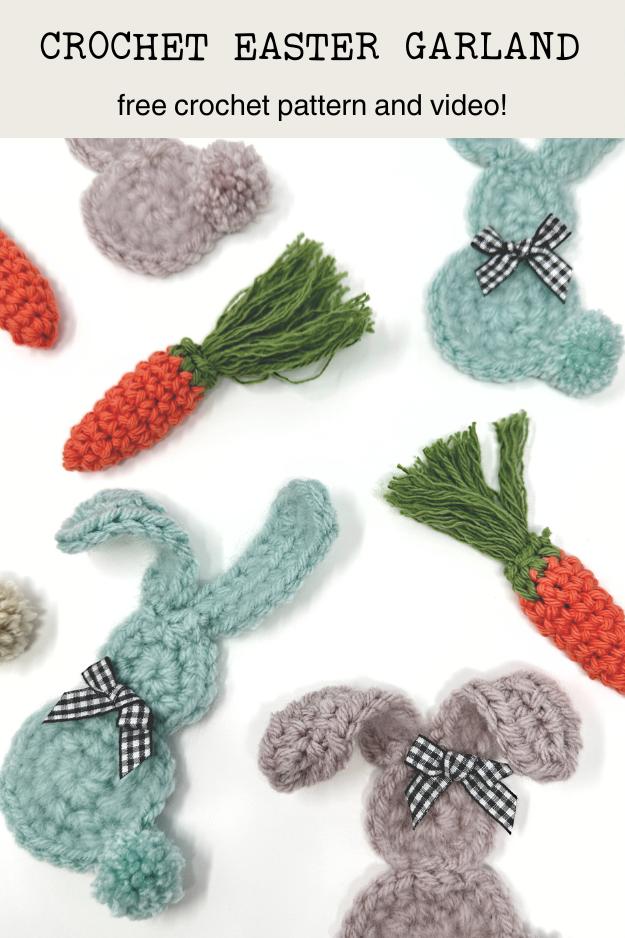
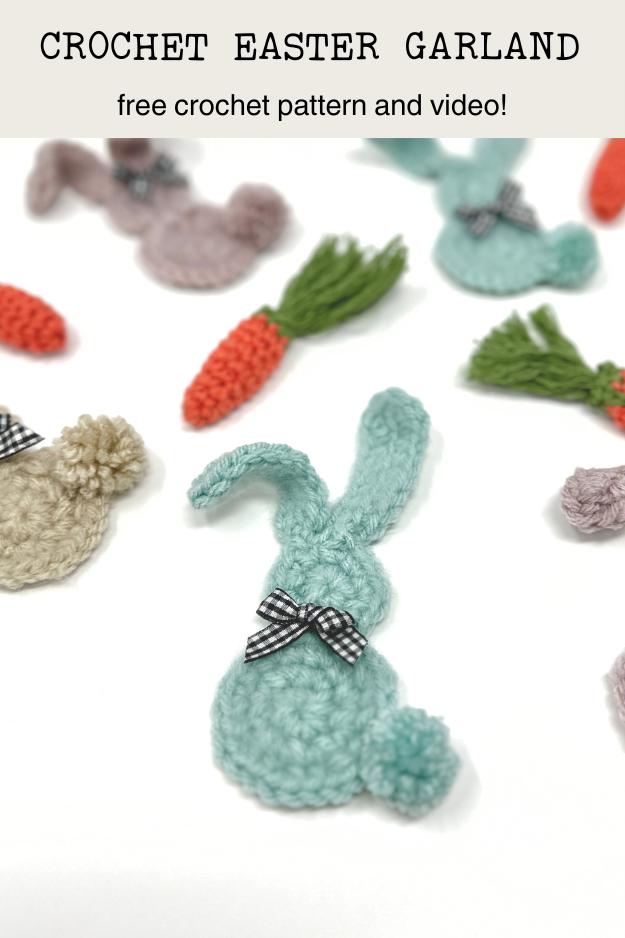
This Easter Bunny & Carrot Garland is an adorable addition to any space! Made with chunky acrylic, worsted weight yarn, cotton yarn, and basic stitches, this project is easy to follow and comes with a video tutorial to guide you every step of the way.
This crochet bunny garland has a farmhouse traditional feel, but it fits beautifully into any Easter decoration theme. Whether you want to drape it across a mantel, hang it on a wall, and the Bunny Appliques are the perfect size to add to Easter baskets, this garland is the perfect way to celebrate spring. It’s also a great way to use up scrap yarn and create a fun decoration with a personal touch.
What You’ll Need:
- Worsted Weight Cotton yarn in orange and green
- Chunky Acrylic yarn for bunnies
- Store bought mini pom poms (optional) for fluffy bunny tails – I made mine
- Lily Sugar and Red Heart Super Saver yarns work great for this project
- Small Bow (mine are off Amazon)
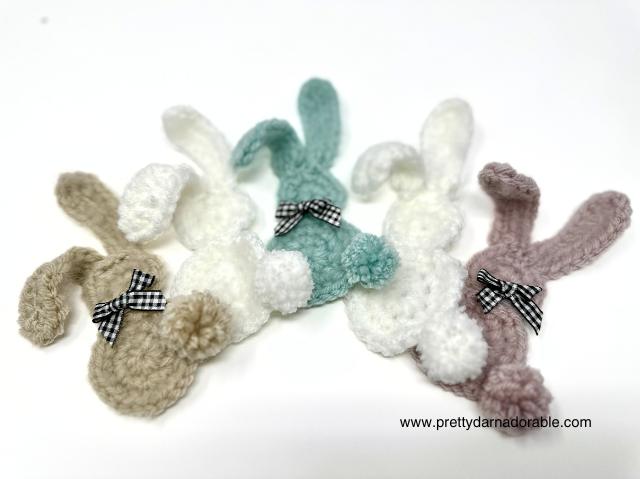
A Whole Herd of Lovable Bunnies!
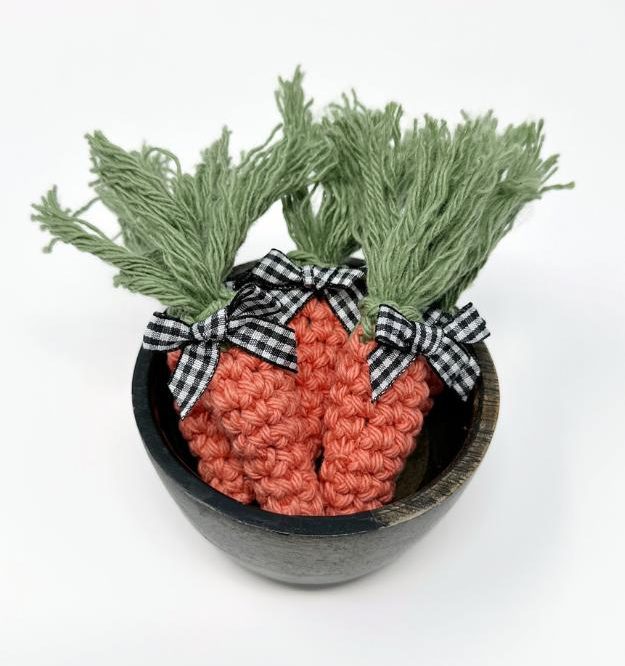
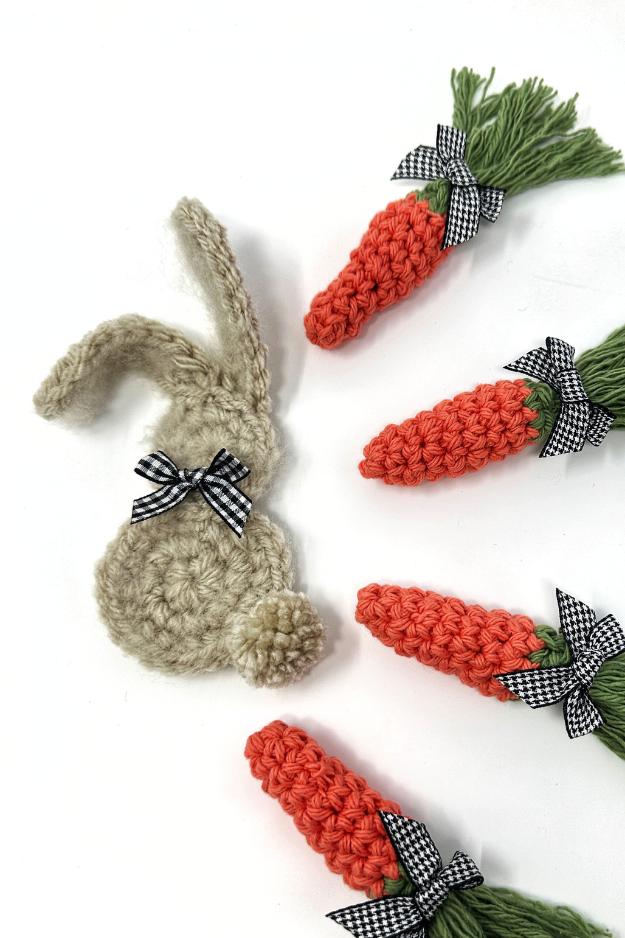
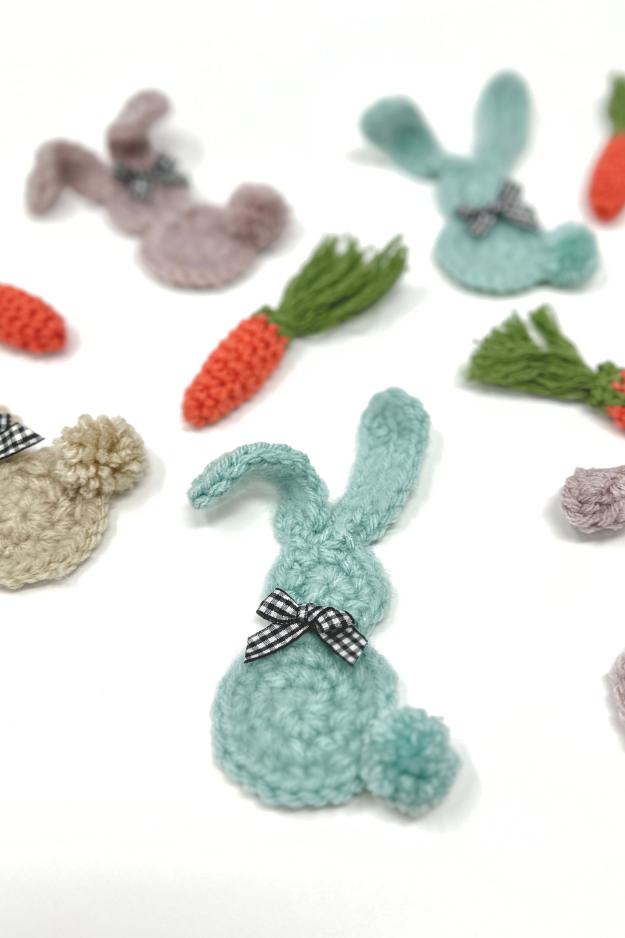
This Easter bunny garland is filled with adorable crochet bunnies paired with cute crocheted carrots. The bunny ears stand up just right, and the bunny tails are just the cutest! You can even mix in crochet eggs for a fun variation! If you are new to crochet this is a great way to practice basic crochet stitches like first hdc, first dc, and working into a ch space while making something super cute!
Scroll down for free pattern
So Much Fun and Easy to Make
Even if you’re new to crochet Easter patterns, this project is perfect for a beginner crocheter. The video tutorial walks you through each step, ensuring you can create a pretty decoration with ease. Plus, using cotton yarn makes this garland durable and lightweight.
Customize Your Easter Bunny Garland
Want to make your crochet garlands unique? Try these ideas:
- Use fur yarns for extra fluffy bunny tails
- Add colorful mini pom poms for a playful look
- Mix in pastel crochet carrots and bunnies for variety
- Use different yarns and shades of worsted weight yarn to match your decor
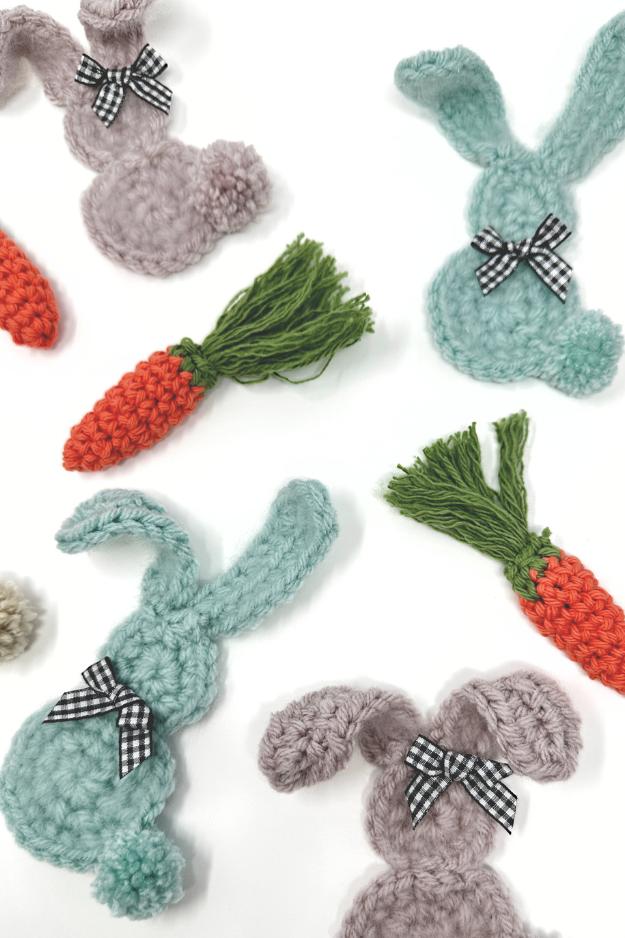
This Easter bunny garland makes a great DIY Easter gift for family and friends. Whether for personal use or gifting, it’s a handmade treasure that brings warmth to any space. If you’re looking for great ideas to make Easter extra special, this is a great way to get creative!
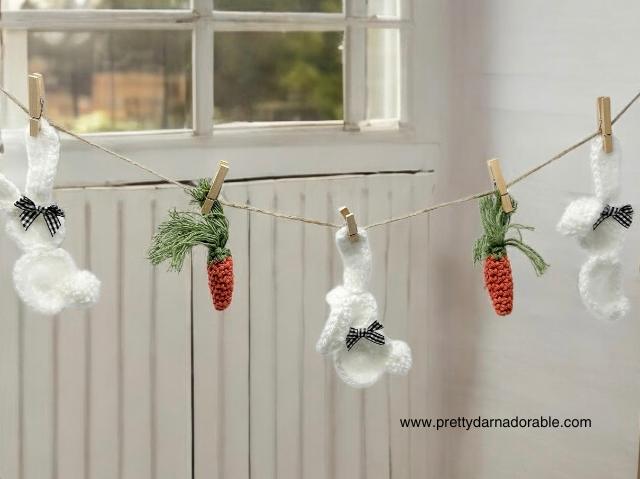
Check out the free crochet pattern and follow along with the video tutorial to create your very own Easter Bunny & Carrot Garland!
Most Popular
For Spring
Purchase Ad Free Pattern – Instant Download!
Purchase the ad-free PDF for a smooth, distraction-free crocheting experience anytime, anywhere.
Already a subscriber? Check your latest email for your special discount code. Not subscribed yet? Sign up here to get yours!
Thanks so much for supporting my blog!
Crochet Easter Garland Free Pattern
Did you make any of these?
I would love to see what you have made be sure to mention @prettydarnadorable or tag me using #prettydarnadorable on Instagram so I can see your creations!
Skill Level
Beginner
Abbreviations
- Blo – back loop only
- Ch – chain
- Hdc – half double crochet
- Dc – double crochet
- Sc – single crochet
- Sk – skip
- St – stitch
- Sts – stitches
- Sl st – slip stitch
- Rep – repeat
- Rnd – round
Gauge
Gauge isn’t needed for a crochet Easter garland since size variations won’t affect the look. Whether your stitches are tight or loose, the bunnies and carrots will still be adorable and easy to string together!
Materials Needed
- 5.00 mm crochet hook
- Bunny Yarn – 10 grams Chunky or worsted weight yarn – I used chunky
- Carrot Yarn – 2 grams Green and 4 grams Orange Cotton worsted weight yarn Cardboard piece (approximately 3 inches long) or 4 fingers
- Scissors
- Small comb or wire brush
- Yarn needle
- Fabric Bows I used these ones from Amazon https://amzn.to/4gZx59E and https://amzn.to/4khh3uI
- Here are some cute flowers too: https://amzn.to/3XdhU5V
Measurements
Bunny 6.25”
Carrot 4.5”
Instructions for Crochet Carrot
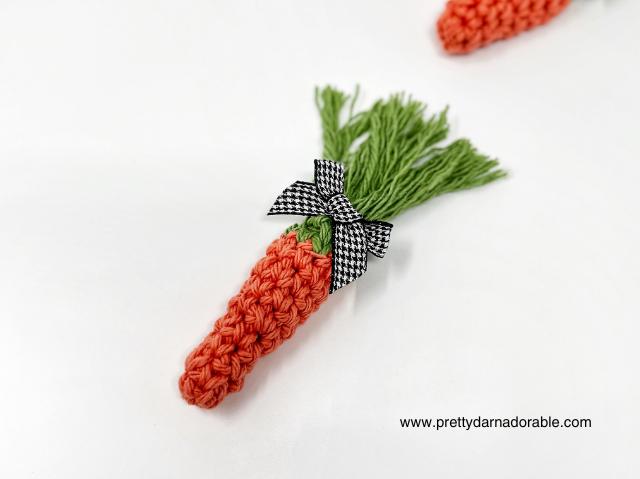
- Work in continuous rounds (spiral rounds), do not join – do not turn.
- Use a stitch marker to track the beginning of each round.
- Stuffing your carrots are optional I did not stuff mine.
- Carrot is worked from the bottom up.
- Magic Ring/Circle can be used instead of chain 2 method.
Carrot Pattern
Ch 2 or make a Magic Ring
Rnd 1: Work 4 sc into 2nd ch from hook (or into Magic Ring). Tighten ring if using. (4)
Rnd 2: Sc in 1st st, *2 sc in next, sc in next st.* Rep from * to * until end of rnd. (6)
Rnd 3: Sc in 1st and each st around. (6)
Rnd 4: Sc in 1st 2 sts, *2 sc in next, sc in next 2 sts.* Rep from * to * till end of rnd. (8)
Rnds 5 – 8: Sc in 1st and each st around. (8)
Change to green yarn
Rnd 9: Sc in 1st and each st around. Fasten off and leaving a long tail to close the top later.
DO NOT CLOSE THE TOP YET!
How to Make a Yarn Carrot Top
1. Prepare the Cardboard:
Cut a sturdy piece of cardboard about 3 inches long. This will help create even loops for the carrot top.
2. Wrap the Yarn:
Hold the end of the yarn against the cardboard and wrap it around 10 times evenly. Avoid pulling too tight.
3. Tie the Loops Together:
Cut a separate piece of yarn (about 6 inches long). Carefully slide it under the wrapped yarn through the middle of the loops and pull it tight. Tie a secure double knot to hold everything together.
4. Remove from the Cardboard:
Gently slide the wrapped yarn off the cardboard, keeping the loops intact.
5. Cut and Fluff the Yarn:
Use scissors to cut through all the loops at the top, creating multiple strands. Then, use a small comb or brush to gently separate and fluff the strands, giving the yarn a leafy, natural appearance. Trim to desired length.
Carrot Assembly
Attach to the Carrot:
Insert the tied end of the green yarn into the top of your crochet carrot. Take the yarn tail from the carrot and weave it in and out between the single crochets of the last round using a yarn needle.
Secure and Finish:
Pull the yarn tail tight to secure the carrot top in place, then fasten off securely and weave in any loose ends.
This adorable bunny appliqué is perfect for decorating blankets, hats, bags, or any crochet project! It’s quick to make and works up with just a small amount of yarn.
Head and Body (Make 1 of Each)
Ch 2 or make a Magic Ring
Rnd 1: 8 sc in 2nd ch from hook (or into Magic Ring). Tighten ring if using. (8)
Rnd 2: 2 sc in each st around. (16) ← Stop here for head
Rnd 3: Sc in 1st st, 2 sc in next. *Sc in next st, 2 sc in next st.* Rep from * to * around. (24). Fasten off and leave long tail for attaching pieces together. Set pieces aside.
Bunny Ears
Ch 10
Row 1: Starting in the 2nd chain from the hook and working in back bumps of starting chain, sc in 1st 4 chains, hdc in next 3 chs, 2 hdc in next, 3 hdc in last ch.
Turn your work and continue working down the opposite side of the chain. Working in BLO, 2 hdc in 1st st, hdc in next 3 chains, sc in last 4 chains. (24 sts)
Fasten off, leaving a long tail to sew the ear to the head. Set aside.
Brushing Your Yarn for a Fluffy Effect
To give your yarn a fluffy, fur-like texture, start by gently brushing it with a pet brush or wire brush.
Work in one direction first to avoid tangling the fibers. If you notice any uneven areas, trim them with scissors for a cleaner look. Weave in ends on each piece but be sure to leave the long yarn tail from fasten off point.
Finishing Details
How to Make a Tiny Pompom (for Bunny Tail)
Step 1: Wrap the Yarn
- Wrap the yarn around your first two fingers about 20 times, depending on how fluffy you want the pompom to be. (Fewer wraps make a smaller, less fluffy pompom.)
- Carefully slide the yarn bundle off your fingers, keeping the loops intact.
Step 2: Secure the Pompom
- Cut a separate piece of yarn about 8 inches (20 cm) long.
- Tie it tightly around the center of the loops, making a double knot to secure it.
- Hold the tied section firmly and use scissors to cut through all the loops on both sides.
Step 3: Shape the Pompom
- Fluff out the yarn and trim any uneven strands to shape it into a nice round pompom.
- Leave the two long yarn tails from the center tie intact—these will be used for attaching it to the bunny.
Bunny Assembly Instructions
Attach the Head to the Body
- Stack the head directly on top of the body, aligning them so they sit neatly on top of each other.
- Using the long tail from the head, thread a yarn needle and stitch back and forth through four single crochet stitches to securely attach the head to the body.
- Fasten off and weave in the yarn tail.
Attach the Ears
- Before attaching, pinch the bottom of each ear together and make a small stitch to hold its shape.
- Position the ears on the right and left of the top middle stitch of the head.
- Use your preferred stitch technique to securely attach each ear, making sure they are evenly placed.
- Weave in any loose ends.
Attach the Tail
- Position the pompom tail on the lower part of the bunny’s body.
- Using the long yarn tails from the pompom, pull one strand through the body and tie a secure knot.
- Weave in the ends to keep the tail firmly in place.
Now your bunny is complete and ready to be added to your garland! 🐰💕

Crochet Easter Garland Free Pattern