


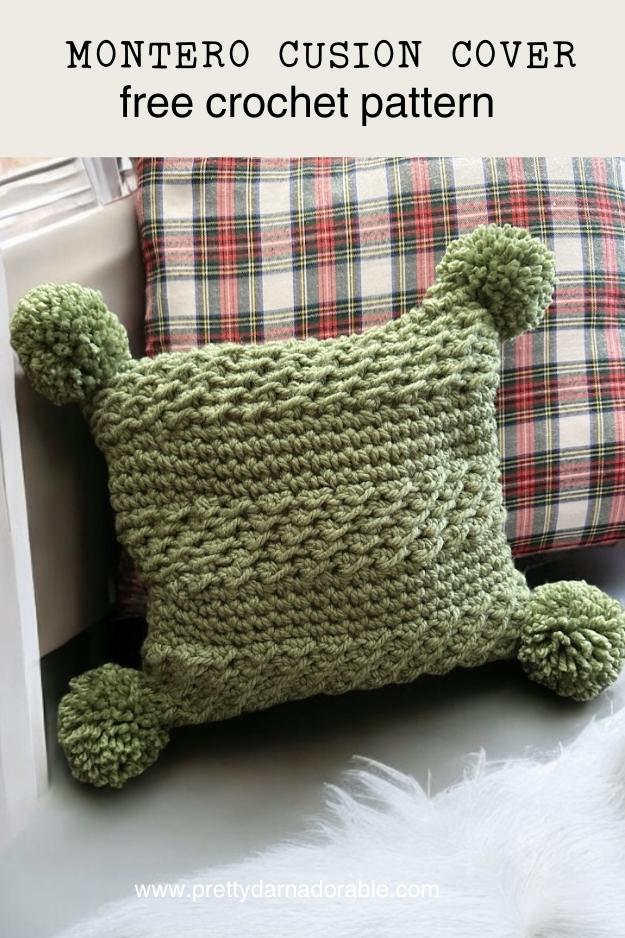
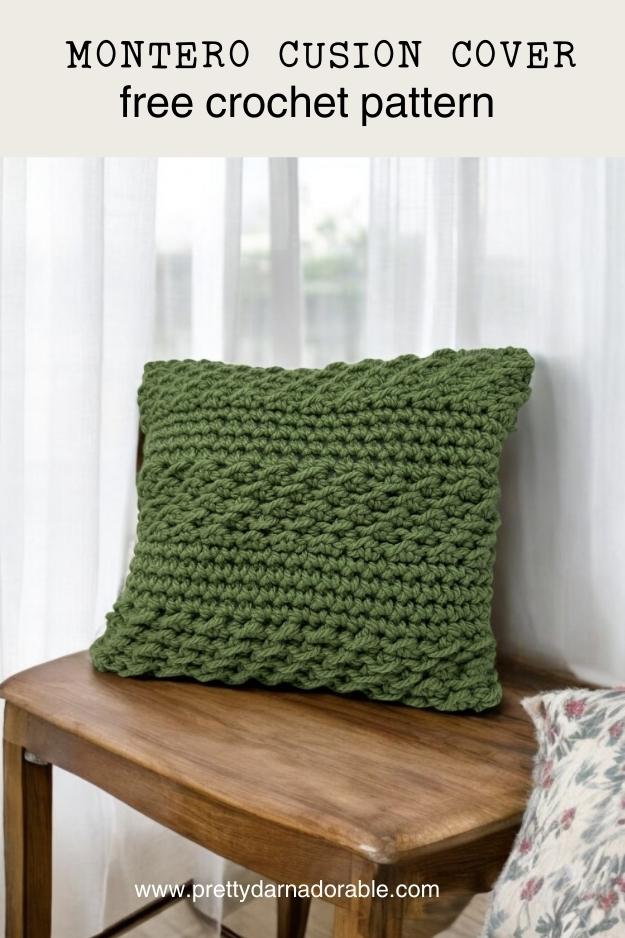

Whenever I get the itch to switch things up at home, I start with the simplest thing: new pillows! There’s something so satisfying about how a new crochet cushion cover design can completely transform the vibe of a room without spending a fortune.
Crochet throw pillows have been a really easy way to change up a look and also —and, in this case, use up some super bulky yarn from my stash. With this free crochet pillow cover pattern, you can refresh your space and make it feel brand new—all with just a crochet hook, some yarn, and a little time!
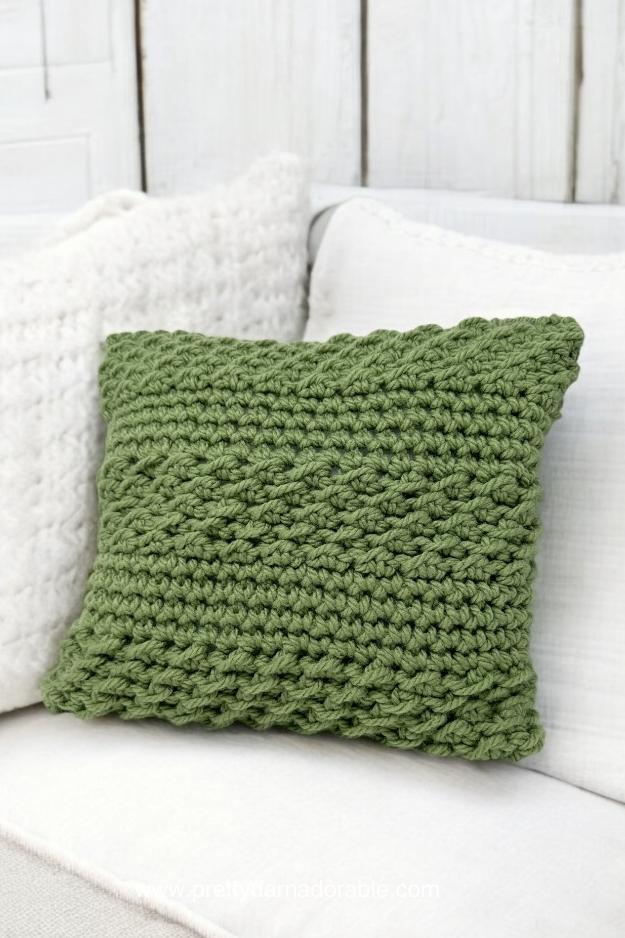
Last night (well, by the time I finish this blog post, it was probably a while ago!) I was looking at a bunch of yarn I purchased off Facebook Marketplace —it has become my go-to lately for saving money on yarn.
I had some beautiful Bernat Softee Chunky in green that would make beautiful accent pillows with a stunning rich texture. Not only was this colour perfect for Christmas, but it also blended beautifully with my living room decor—a win-win!
Most Popular
Crochet Dishcloth Patterns
I had a pillow form from some old throw pillows that were just waiting for new crochet pillowcases. So I began—not sure which basic crochet stitches or texture I would choose, but then, as I looked over at the cup cozy beside me, it came to me! The Montero! And oh my gosh, let me tell you—it wasn’t long before I realized how absolutely stunning this would be. It was the perfect pattern for this chunky crochet pillow design.
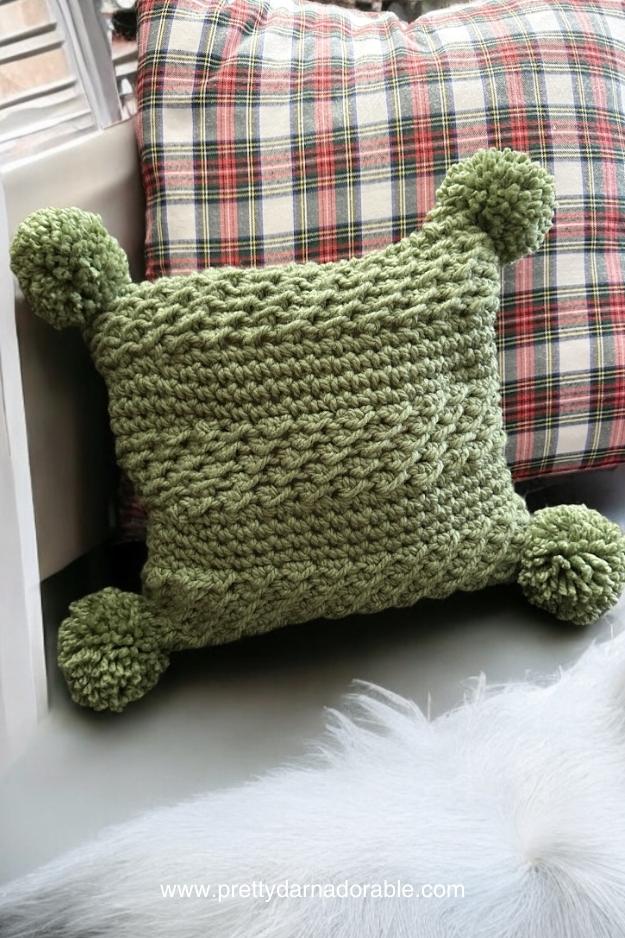
Making crochet cushions is a fun way to refresh your living space. Not only do they add a pop of personality, but they’re also a good beginner project to enhance your crochet skills. This is especially true when using basic stitches like slip stitch and double crochet.
You can customize these cushion covers with different colors of yarn, adjust the yarn weight for texture.
Simple stitches coming together for a unique look make this a great pattern even for beginners! Okay, let’s get on with it!
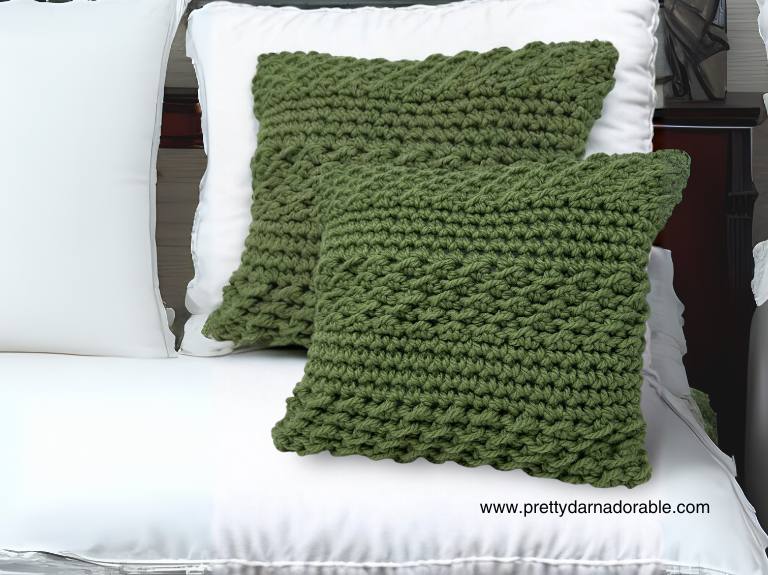
To make this super chunky yarn project, you’ll need a pillow insert or stuffing, along with super bulky yarn to create a cozy, textured look. Use a smaller hook or the recommended hook size for your chosen yarn. For a playful touch, you can add optional embellishments like pom poms. Finally, a yarn needle will come in handy for assembly.
About This Free Crochet Pillow Cover Pattern
This pattern uses beginner-friendly stitches like slip stitch and single crochet stitches. With simple repetitions like the next st and repeat row, it’s an excellent choice for crocheters of any skill level. Plus, the right side of this project shows off unique textures that look beautiful in any living room.
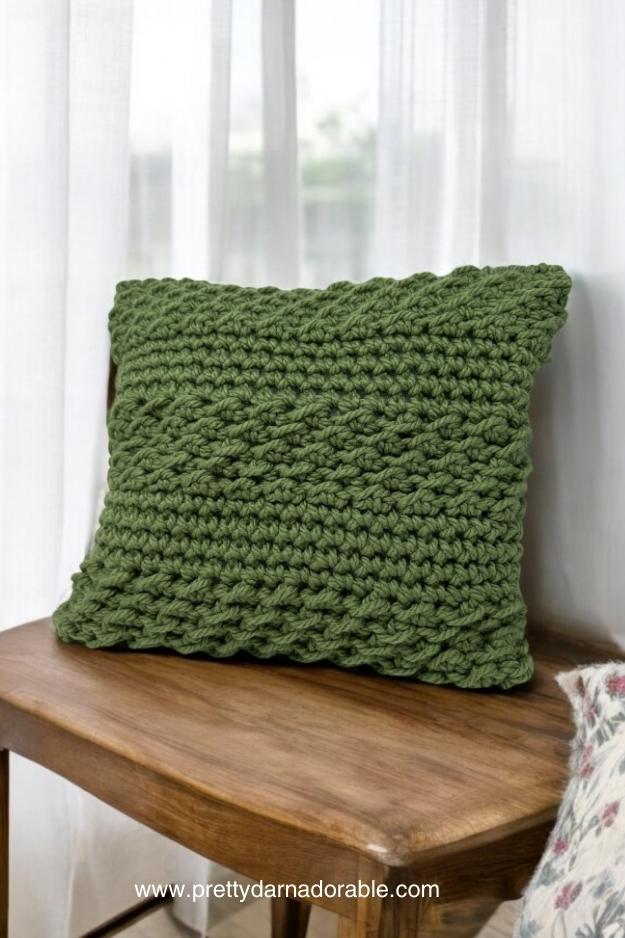
For those who are just starting or need a little extra guidance, I recommend checking out the video tutorial I’ve linked to this blog post. While the video demonstrates a cup cozy pattern, it’s a great resource to learn the stitch used in this project if you’re feeling stuck. If you want to work offline, there’s also a printable PDF pattern available for purchase. (Note: This post contains affiliate links, which means I earn a small commission if you make a purchase at no extra cost to you.)
Purchase Ad Free Pattern – Instant Download!
Purchase the ad-free PDF for a smooth, distraction-free crocheting experience anytime, anywhere.
Already a subscriber? Check your latest email for your special discount code. Not subscribed yet? Sign up here to get yours!
Thanks so much for supporting my blog!
Montero Cushion Cover – Free Crochet Pattern
Skill Level
Easy
Abbreviations
- ch – chain
- sc – single crochet
- hdc – half double crochet
- sk – skip
- st – stitch
- sts – stitches
- slst – slip stitch
- rpt – repeat
Gauge
The gauge for a 4×4 inch square is approximately:
17 stitches x 8 rows in single crochet
Materials Needed
Super Bulky Yarn – I used Bernat Softee Chunky (note: this super bulky yarn is thinner than most be sure you match gauge or you may end up with a different sized cover.
| Size | Grams | Metres | Ounces | Yards |
| 12” x 12” | 168g | 354m | 5.93oz | 386yds |
| 14″ x 14” | 216g | 465m | 7.63oz | 509yds |
| 16″ x 16” | 264g | 530m | 9.26oz | 636yds |
| 18″ x 18” | 312g | 696m | 10.99oz | 763yds |
- Crochet hook size 12.00 mm
- Yarn needle
- Scissors
Finished Measurement
The cover shown in the photo and the pattern provided is written specifically for a 12″ x 12″ cushion. While the pattern can be adjusted for other sizes, the finished look and fit will be based on the 12″ x 12″ dimensions.
If you’re making a different size, keep in mind that the overall appearance may vary slightly due to the number of pattern repeats, as the larger sizes will have more repeats, resulting in a busier look.
I’ve included the starting stitch counts for additional sizes, and the pattern repeat should be worked until the width equals the length for each size. Keep in mind that the striping effect of the pattern may look different depending on the size you’re making.
Starting Stitch Counts for additional cushion cover sizes.
- 12″ x 12″: 51 stitches
- 14″ x 14″: 59 stitches
- 16″ x 16″: 67 stitches
- 18″ x 18″: 73 stitches
Special Stitch
To work the Crunch Stitch in continuous rounds. Work sl st, hdc around, repeating this pattern for each round without turning.
To maintain the texture, always work the sl st into the taller hdc of the previous round and the hdc into the shorter sl st.
Use a stitch marker to track the start of each round. This creates a seamless, textured pattern.
Measurement
12” x 12”
Using 12.00 crochet mm hook
Ch 51, join with a slip stitch (be sure not to twist chain when joining).
Rounds 1–5: HDC and Slip Stitch Section
Rnd 1: 1 hdc in the first ch, slst in the next. 1 hdc in the next ch, slst in the next. Repeat from * to * to the end of the round. End with hdc in the last ch. (51) Do not turn.
Rnd 2: Slst in the first hdc, hdc in the next slst. Slst in the next hdc, hdc in the next slst. Repeat from * to * to the end of the round. End with slst in the last hdc. (51)
Rnd 3: 1 hdc in the first st, slst in the next. 1 hdc in the next st, slst in the next. Repeat from * to * to the end of the round. End with hdc in the last slst. (51)
Rnd 4: Slst in the first hdc, hdc in the next slst. Slst in the next hdc, hdc in the next slst. Repeat from * to * to the end of the round. End with slst in the last hdc. (51)
Rnd 5: 1 hdc in the first st, slst in the next. 1 hdc in the next st, slst in the next. Repeat from * to * to the end of the round. End with hdc in the last slst. (51)
At the end of Round 5: Join with a slst, ch 1, and turn.
Rounds 6–9: Single Crochet Section
Rnd 6–9: Sc in the first and each stitch around. (51)
Repeat rounds 1 – 9 until piece measures 12” or until height equals width.
With the right (textured) side of the cover facing out – work one round of single crochet all the way around.
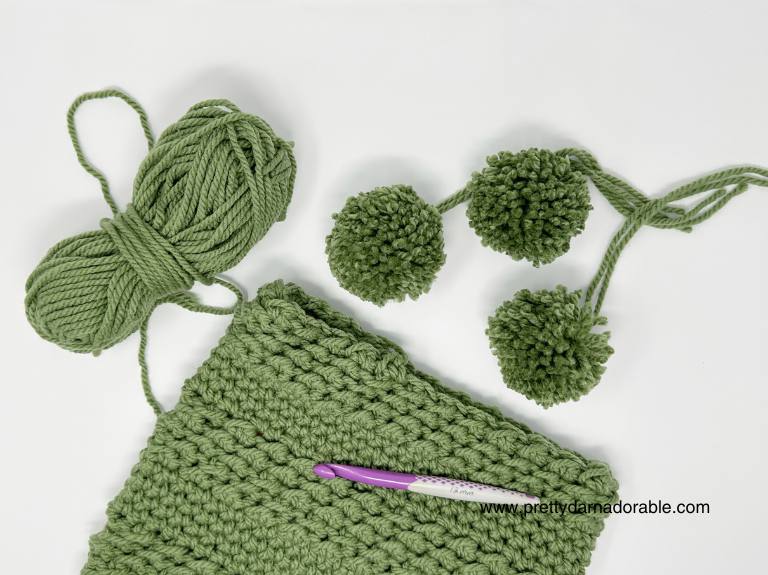
Assembly Instructions
Prepare the Cushion Cover:
Once all rounds are complete, lay the cushion cover flat with the right side facing out.
Align the Edges:
Ensure the stitches line up evenly on both sides to create a neat finish.
Sew the Bottom Edge:
Use a yarn needle and a length of matching yarn.
Insert the needle under both loops of the first stitch on one side and the corresponding first stitch on the opposite side. Pull the yarn through.
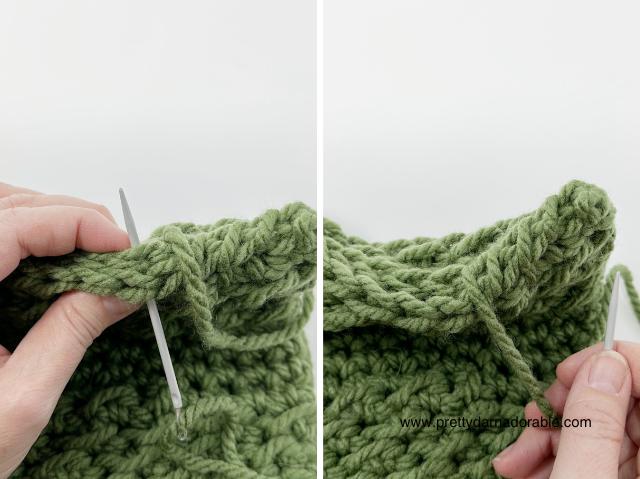
Continue sewing the edge by working under both loops of each stitch on both sides, pulling the yarn snug but not tight.
This creates a neat and sturdy seam that matches the crochet texture.
When you reach the end, fasten off the yarn securely and weave in the ends with your yarn needle.
Insert the Pillow:
Slide the pillow into the cover through the open end, ensuring it fits snugly and aligns well.
Sew the Top Edge:
Align the top edges together and sew using the same technique as the bottom edge.
Work under both loops of each stitch on both sides, keeping the tension even to ensure a uniform seam.
Finish Off:
Fasten off and weave in any remaining ends with a yarn needle.
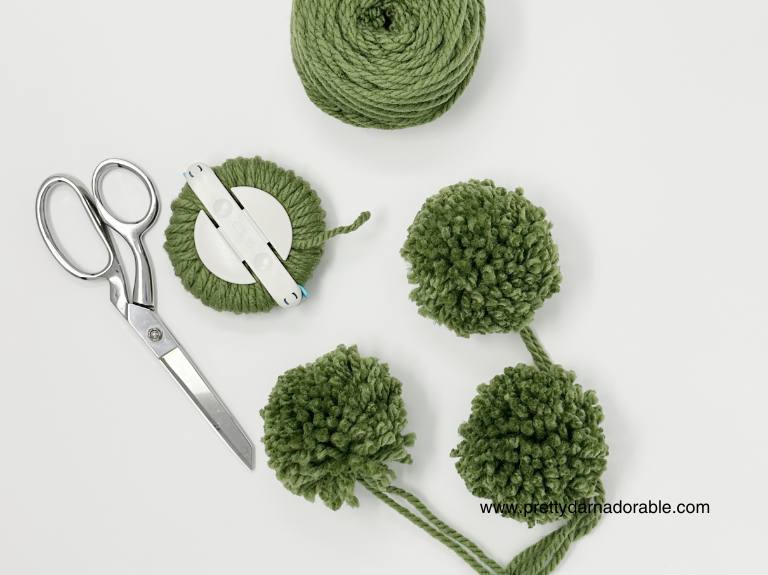
How to Make Pompoms:
Materials Needed:
- Yarn (same as your cushion cover yarn or a contrasting color)
- Scissors
- A pompom maker (or a piece of cardboard, if you prefer)
- A yarn needle (for attaching the pompom)
Using a Pompom Maker:
Open the pompom maker and wrap yarn around both arms evenly. For a full pompom, make sure to wrap the yarn several times until it’s thick.
Close the arms of the pompom maker and use scissors to cut the yarn along the edges.
Tie a piece of yarn tightly around the center of the pompom to hold all the pieces together.
Trim the pompom into a round shape, cutting any uneven bits to make it neat and fluffy.
Attach the pompom to your cushion cover using a yarn needle.
Using Cardboard:
Cut a piece of cardboard into a rectangle or square. Cut a small slit in the centre of each side of the cardboard to create a guide for wrapping the yarn.
Wrap yarn around the cardboard until you achieve the desired thickness.
Remove the yarn from the cardboard, trim the pompom, and shape it into a round form.
Tie a piece of yarn around the middle tightly. Cut the yarn along both edges.
Attach the pompom to your cushion cover using a yarn needle. See additional instructions next page.
Attach your pompoms
To attach a pompom to your cushion cover, first, prepare your pompom by securing the yarn ends. Position the pompom where you’d like it on the cover, usually at the corners or edges. Use a yarn needle to thread a piece of yarn through the cover from the inside to the right side, then stitch through the center of the pompom.
Secure it by pulling the yarn tightly and tying a knot at the underside of the pompom. Trim any excess yarn, and weave in any loose ends for a neat finish. Your pompom will now be securely attached to the cushion cover!