


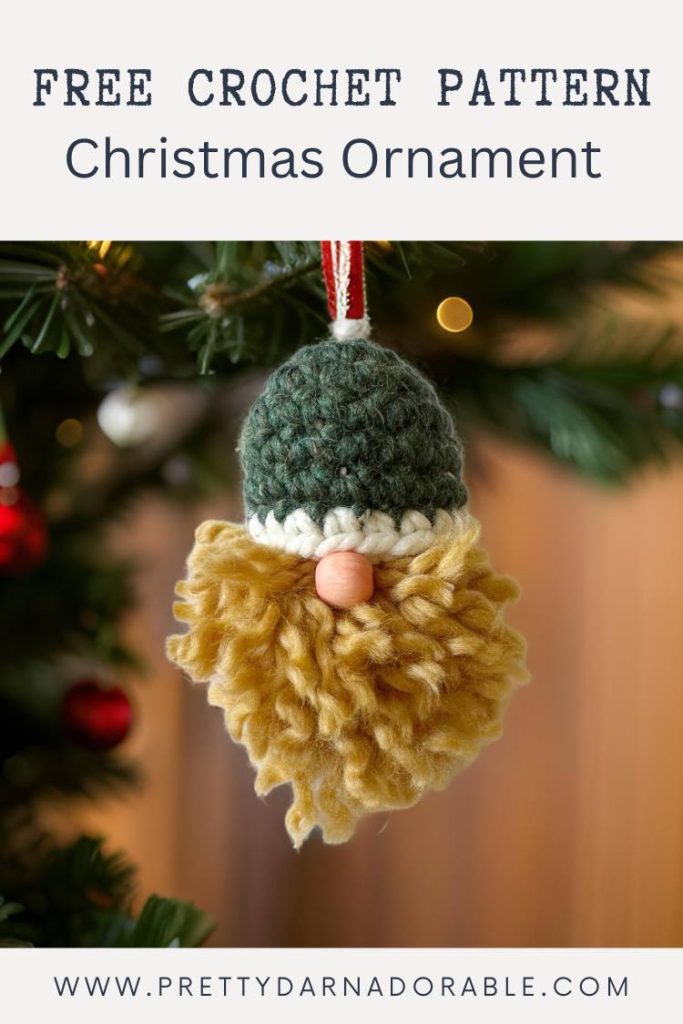
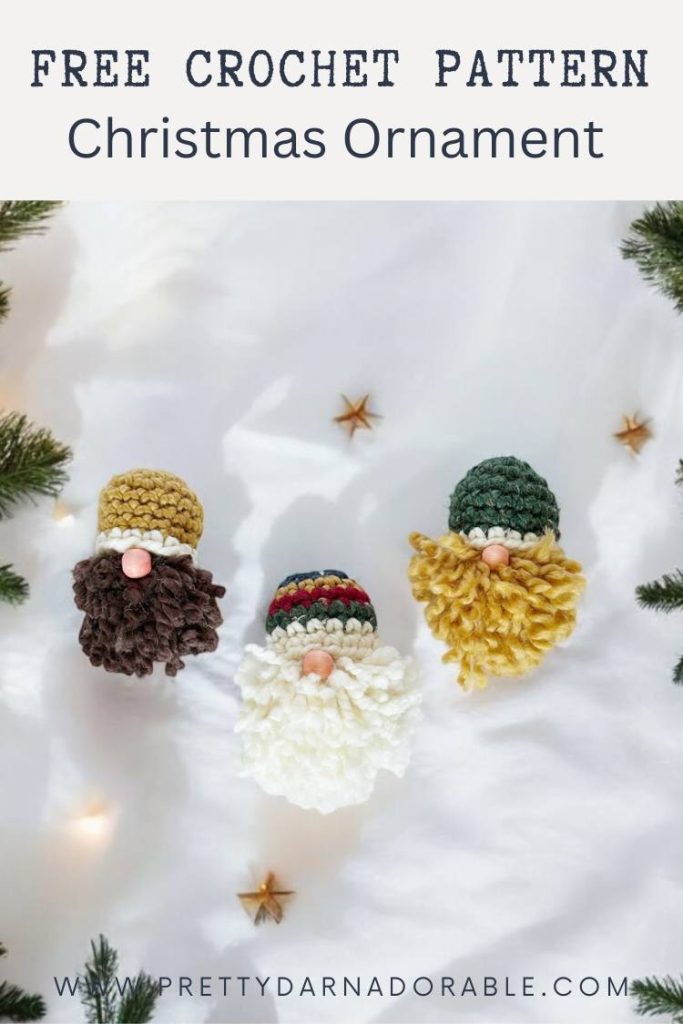
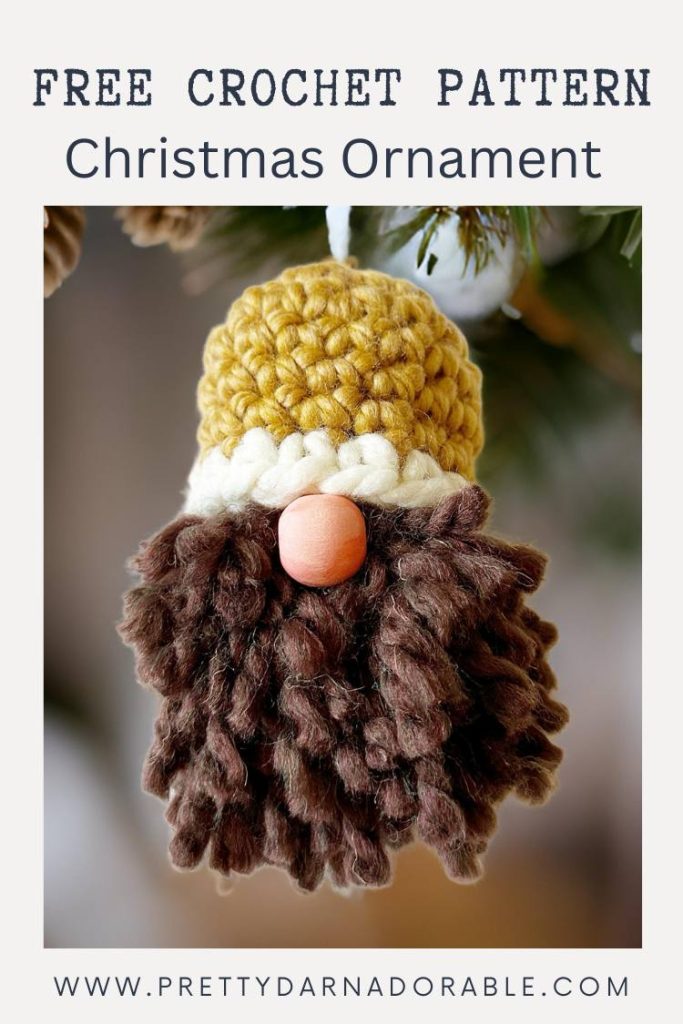
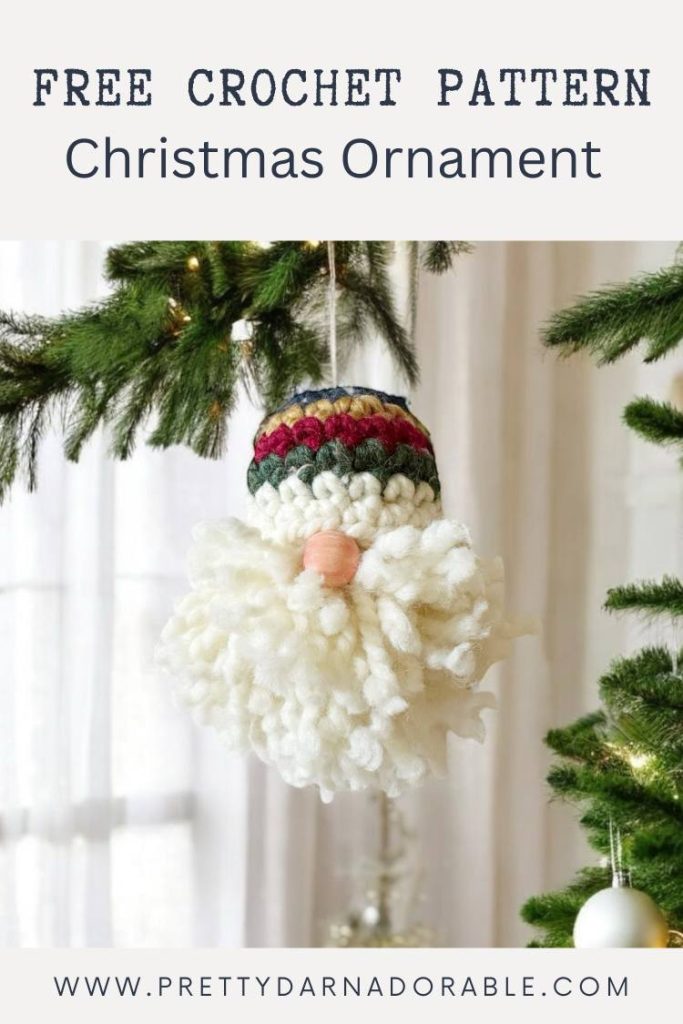
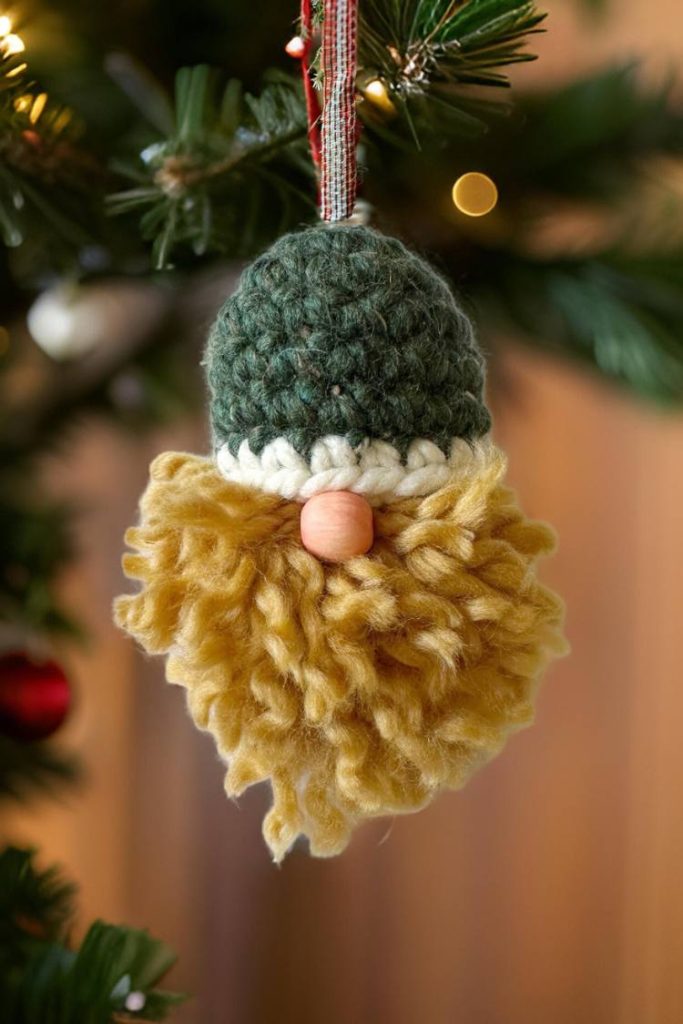
Add a bit of rustic charm to your Christmas tree with this adorable Bearded Lumberjack Crochet Gnome Ornament! This little guy is the perfect blend of festive and cozy, complete with a fluffy yarn beard, a winter beanie, and a wooden bead nose. Not only is this free crochet pattern quick and fun to make, but it’s also a cute ornament that you can customize for each family member.
I’m a little late to the gnome trend so let’s not waste time let’s dive into the details so you can make this fun project for this holiday season and many more to come!
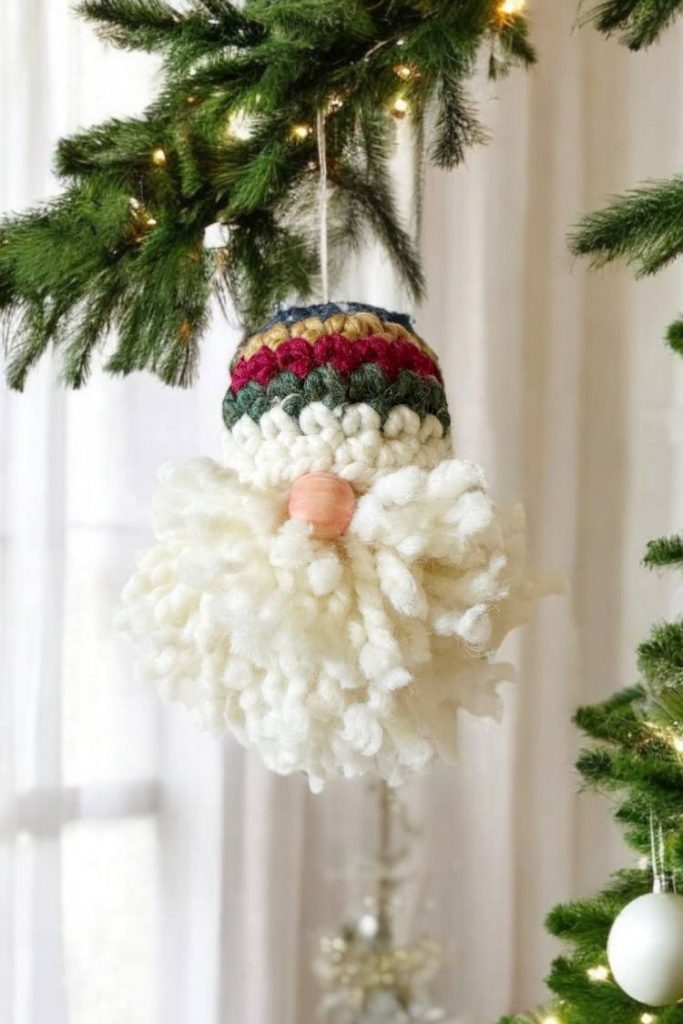
The Construction of the Crochet Gnome Ornaments
These adorable gnome ornaments come together by crocheting a tiny hat, creating a yarn beard, and attaching a cute bead nose. They’re quick, easy, and the perfect gift. Each gnome has its own character, and you can make yours extra special by customizing colours and details to represent your loved ones.
I made my crochet Christmas Gnomes to look like my husband and our two boys. You can do the same by choosing their favourite colours for the hats or adjusting the beard length and shape to capture their unique look.
If you’d like to make girl gnomes, consider adding braids made of yarn instead of a beard, or adding a tiny bow or flower to the hat. There are so many different ways to make these – I say ‘let your scrap yarn be your guide!’
Purchase Ad Free Pattern – Instant Download!
Purchase the ad-free PDF for a smooth, distraction-free crocheting experience anytime, anywhere.
Already a subscriber? Check your latest email for your special discount code. Not subscribed yet? Sign up here to get yours!
Thanks so much for supporting my blog!

Free Crochet Gnome Ornament Pattern
This tiny gnome hat is the perfect finishing touch for your lumberjack gnome! We’ll be using basic stitches like single crochet to keep it simple, so this is a great project for beginner crocheters.
Did you make any of these?
I would love to see what you have made be sure to mention @prettydarnadorable or tag me using #prettydarnadorable on Instagram so I can see your creations!
Skill Level
Beginner
Abbreviations
- Sc – single crochet
- St – stitch
- Sl st – slip stitch
- Rpt – repeat
Materials Needed:
- Super Bulky Yarn (or colours of your choice) – perfect for stash-busting your yarn stash
- 9.00 mm crochet hook (for the gnome hat)
- Small wooden bead for the nose (colour with a marker if needed)
- Polyfil stuffing
- Cardboard for the beard about 4-5″ long
- Scissors, hot glue, and a marker (if colouring the bead)
Measurement
Approximately 5 – 6 inches tall
Instructions:
For striped hat, change colours every round.
Using 9.00 mm hook, ch 2. (feel free to use a magic ring if you prefer that method)
Hat is worked in continuous rounds. Do not join, do not turn.
Rnd 1: Work 5 single crochet in the 2nd ch from hook. (5)
Rnd 2: 2 sc in each st around. (10)
Rnd 3: 1 sc in the first st, 2 sc in next st, 1 sc in next st; repeat from * to * around. (15)
Rnds 4-6: 1 sc in each st around. (15)
Change to cream yarn:
Rnd 7: Sc in each st around. (15)
Stuffing: Lightly stuff the gnome hat with Polyfil to give it a nice shape. This will help it hold its form when you attach it to the beard.
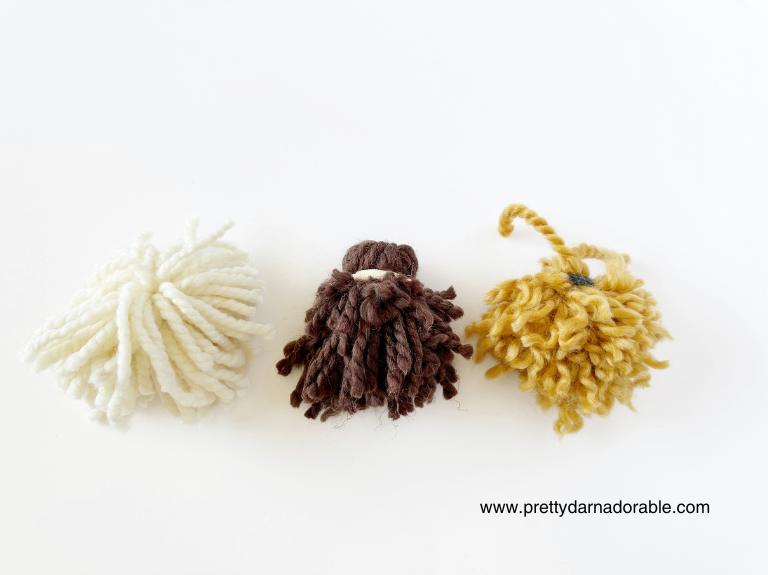
How to Make the Beard for Your Crochet Gnome Ornament Pattern
This fluffy beard is what gives the little gnomes their character! Here’s how to make it:
- Prepare the Yarn: Wrap your beard yarn around a piece of cardboard (about 1 inch wide) around 40 times. Keep the wraps tightly together to create a stacked look, which will help form the point of the beard.
- Remove and Tie: Carefully slide the wrapped yarn off the cardboard. Take another piece of yarn and tie it tightly at the centre of the bundle.
- Cut the Loops: Cut through the loops on each side of the tie to create the beard strands.
- Shape the Beard: Pull the yarn strands downward, forming a pointed shape at the bottom for that classic winter gnome look. Secure with yarn or elastic. Trim any uneven pieces as needed.
- For that extra fluffy look unravel the strands of yarn and trim again.
Adding the Nose to Your Easy Crochet Gnome Ornament
No crochet Christmas gnome is complete without a cute wooden bead nose! Here’s a trick to make it match your little guy’s look:
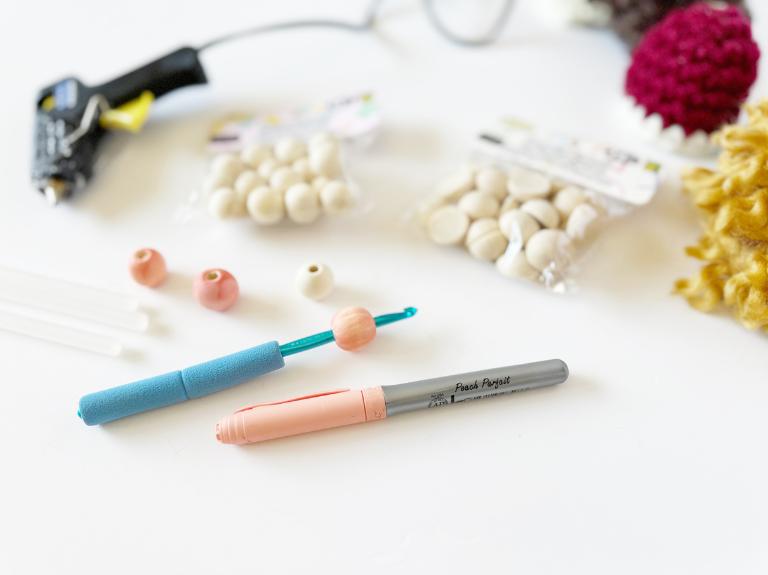
- Colour the Bead (Optional): If your bead isn’t the right colour, use a marker to colour it. For easier handling, slide the bead onto a crochet hook, then apply long, even strokes with the marker to avoid a blotchy finish.
Assembling Your Fun Christmas Gnomes
Now that you have all the parts, it’s time to put them together!
Stuff the Hat: Lightly stuff the gnome hat with Polyfil, just enough to give it shape without overstuffing.
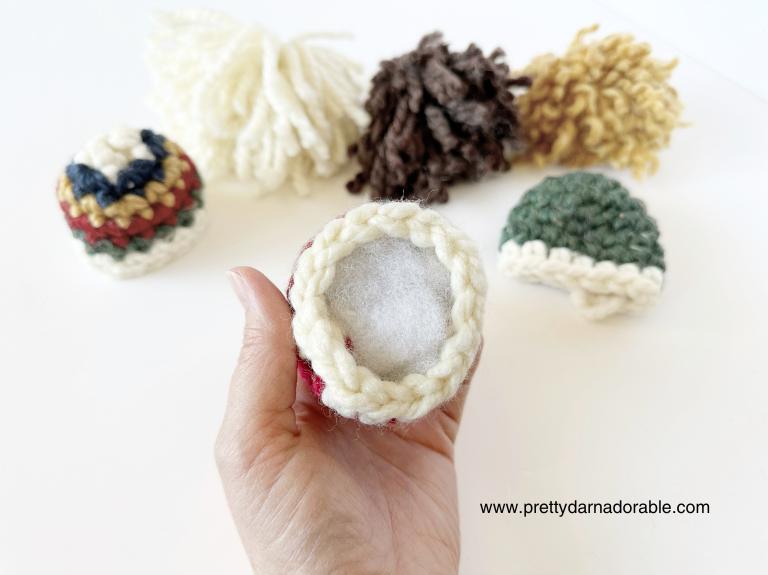
Attach the Beard: Apply hot glue around the bottom of the hat, just along the edge where the beard will meet the hat. Carefully press the beard inside the hat, making sure it’s securely attached.
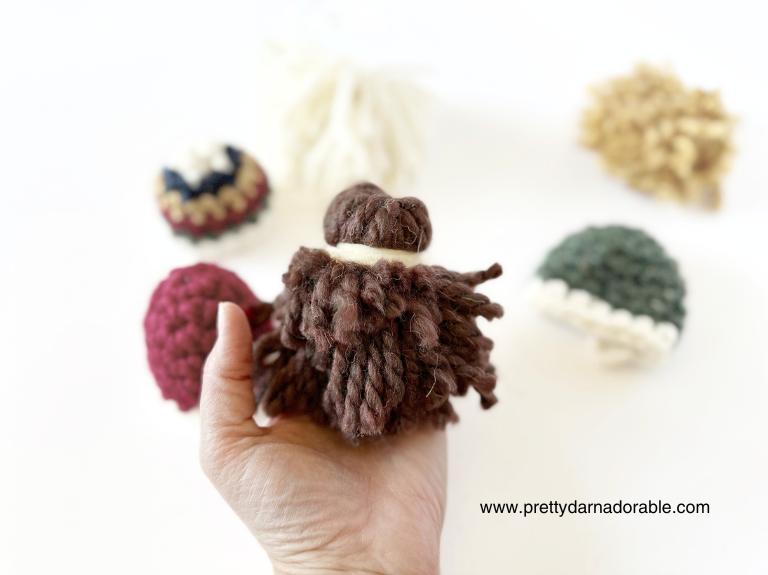
Final Shaping: After attaching the beard, you may want to adjust the yarn pieces to create a slightly pointed shape at the bottom, giving it that classic gnome beard style. Use scissors to trim the ends as needed.
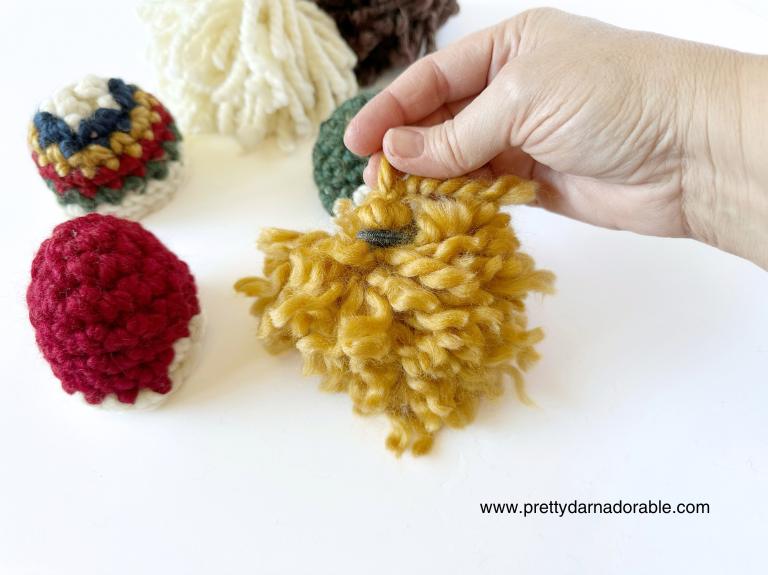
Add the Nose: Once the beard is in place, glue the bead nose onto the top of the beard, just below the gnome hat rim.
Attach the Nose Carefully: When gluing the nose bead, ensure it’s positioned just below the hat edge and centered on the beard. Press gently for a few seconds to make sure the glue holds securely.
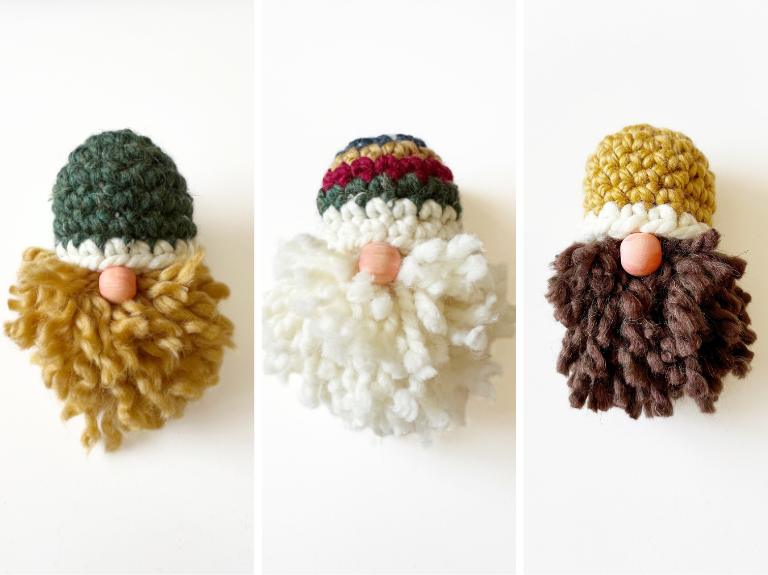
Add a Hanging Loop (optional): If you’d like to hang this ornament on a tree, add a small yarn loop at the top of the hat. Simply thread a piece of yarn or ribbon through the top, tie a knot, and trim any excess.
Customization Ideas
This quick project comes together by crocheting a tiny hat, creating a yarn beard, and attaching a cute bead nose. It’s a fun project and a great way to add Christmas decor to your home during the festive season. You can also make it extra special by customizing colours and details to represent your loved ones.
In my own collection, I’ve created holiday decorations inspired by my husband and our two boys. You can do the same by choosing their favourite colours for the hats or adjusting the beard length and shape to capture their unique look.
If you’d like to make a girl gnome, consider adding braids made of yarn instead of a beard or adding a tiny bow or flower to the gnome hat. This project is wonderfully versatile, so let your creativity guide you!
Optional Finishing Touches
- Add a Pom-Pom: To make your cute ornament even more charming, add a small pom pom to the top of the hat. Use red yarn to match the lumberjack theme, and simply glue it in place.
- Add a Hanging Loop: If you’d like to hang the gnome, create a small loop with yarn at the top of the hat. Simply thread a piece of yarn through the top, tie a knot, and trim any excess.
Most Popular
Christmas Patterns
And You’re Done!
Your Bearded Lumberjack Crochet Gnome Ornament is ready to bring some rustic holiday cheer to your home! This project is quick and customizable, so feel free to play around with different colours and sizes. These adorable crochet gnome patterns make great gifts and stocking stuffers, perfect for the Christmas time. You’ll love having these fun christmas gnomes decorating your Christmas tree all holiday season long.
Happy crocheting, and may your Christmas season be filled with cozy yarn projects! Keep an eye out for more new free patterns and great patterns that are sure to keep your fingers busy this time of year.