


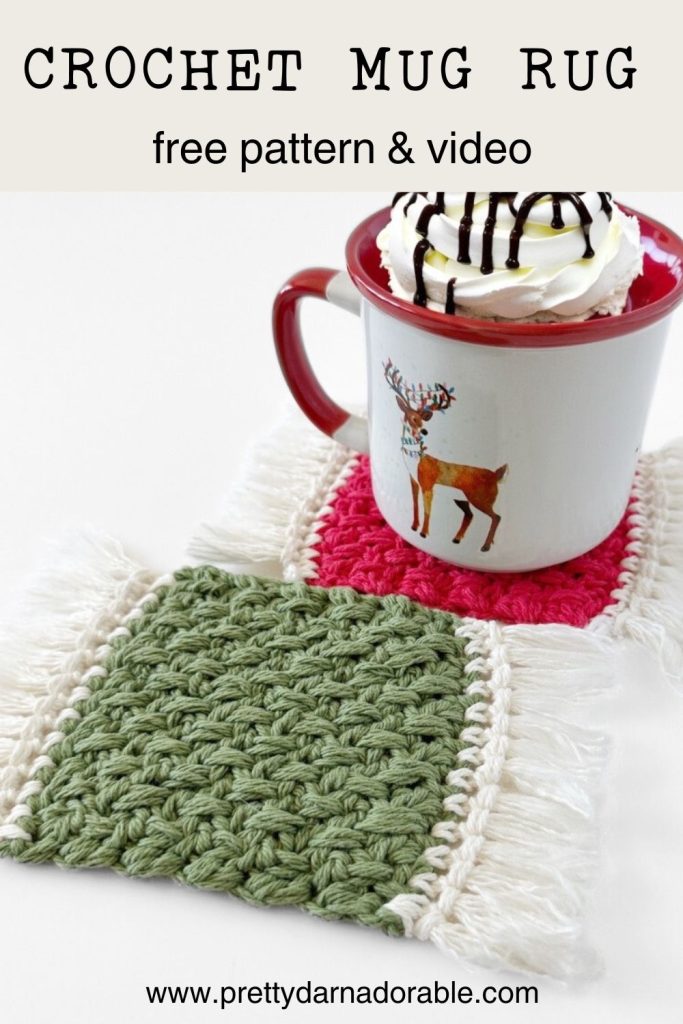
This summer I am making it my mission to make lots of cute fun and quick projects. Today, I’m excited to share a free crochet pattern for crocheting your very own mug rug coasters, complete with a step-by-step video tutorial.
Whether you’re a seasoned crochet enthusiast or a beginner crocheter, this is an easy crochet pattern perfect for using up some of your leftover cotton yarn.
When I initially made a sample using a single strand of cotton yarn, I felt it wouldn’t provide the protection my table needed. So, I experimented with two strands of yarn held together, and the result was perfect! As I sat binge-watching ‘Suits,’ I made a bunch of these adorable mug rugs. But were they truly perfect?

Love this Texture?
Be sure to check out these patterns too!
I cannot tell you how many times I have ruined a wooden coffee table by putting a hot or wet drink on it. That being said, I do learn from my mistakes so I always have a coaster, cozy and now these adorable crochet mug rugs on hand so that I won’t ruin any surfaces moving forward.
How to print this pattern
If you’re looking for a crochet pattern that you can take with you anywhere, and that is easy to read and follow, then look no further!
I’ve created an INEXPENSIVE ad-free version of my popular crochet pattern that you can easily download from Etsy. This way, you can mark up the pattern as needed without any distractions, and enjoy crocheting it wherever you go.
Thanks so much for supporting my blog!
- Add Pattern to your Ravelry Library
- Download on Etsy
- Pin Now Make Later
I cannot tell you how many times I have ruined a wooden coffee table by putting a hot or wet drink on it. That being said, I do learn from my mistakes so I always have a coaster, cozy and now these adorable crochet mug rugs on hand so that I won’t ruin any surfaces moving forward.
Scroll down for the free mug rug crochet pattern

Most Helpful
Crochet Resources
When I initially made a sample using a single strand of cotton yarn, I felt it wouldn’t provide the protection my table needed. So, I experimented with two strands of yarn held together, and the result was perfect! As I sat binge-watching ‘Suits,’ I happily made a bunch of these adorable mug rugs. But were they truly perfect?
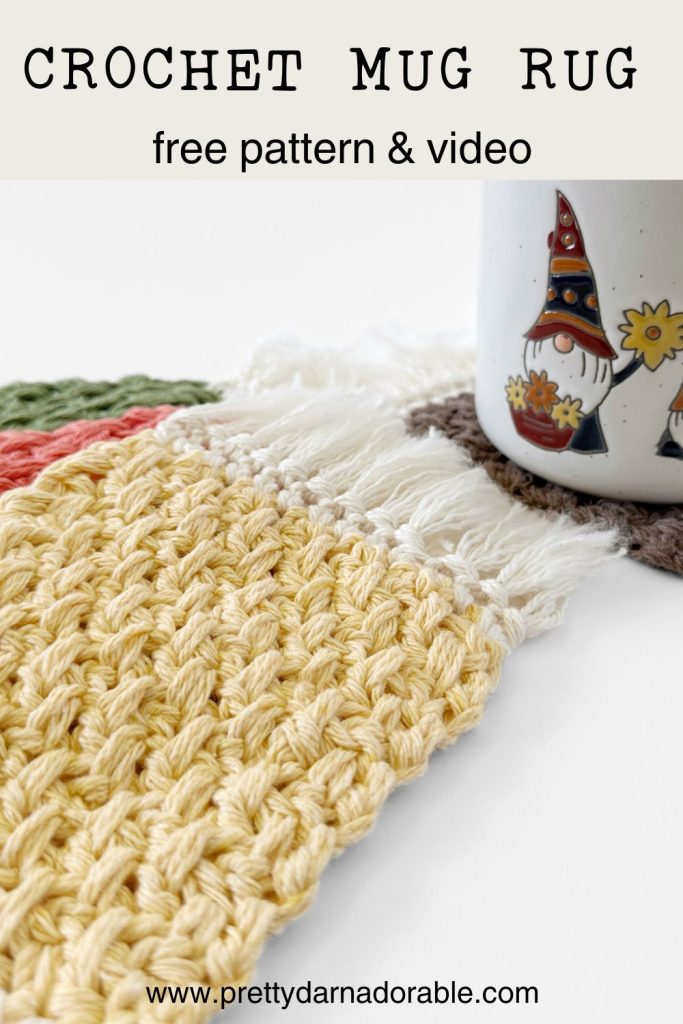
They were undoubtedly cute, but I felt they looked a bit plain. So, I added gorgeous fringes for the perfect finishing touch. Initially, I tried using the same colour as the coaster, but ultimately, I found that the contrast yarn added a little bit of flair.
- Add Pattern to your Ravelry Library
- Download on Etsy
- Pin Now Make Later
Thus, I decided to incorporate contrast yarn into this crochet coaster pattern. Of course, feel free to express your creativity, as the beauty of art, in my opinion, lies in its lack of rules! (Although, my grade 9 art teacher would strongly disagree!)

The Construction of the Mug Rug
Crocheting these mug mats are incredibly simple, and while I wouldn’t classify it as an absolute beginner pattern, I believe it’s beginner-friendly pattern. This texture is achieved using a simple combination of basic crochet stitches. So, if you can locate stitches and are familiar with double crochet, chain, and single crochet stitches, I encourage you to give this easy crochet mug rug pattern a try.
These mug rug coasters are worked in a one-repeat row. Once you grasp the stitch, you’ll be working in the same manner throughout the entire mug rug. This is a super easy crochet project and is perfect for gifting at any time of the year. Choose the perfect colour for the season and bid farewell to mass-produced regular coasters.
I think we all have our favourite mug styles. I go between loving a huge cup of coffee to keep my hands warm on a cold day to loving my small vintage mugs for tea that I can refill a few times to always have a nice hot cuppa on hand. My point being that even though I have chosen to make these crochet mug rugs on the larger size you can resize them to be perfect just for you.
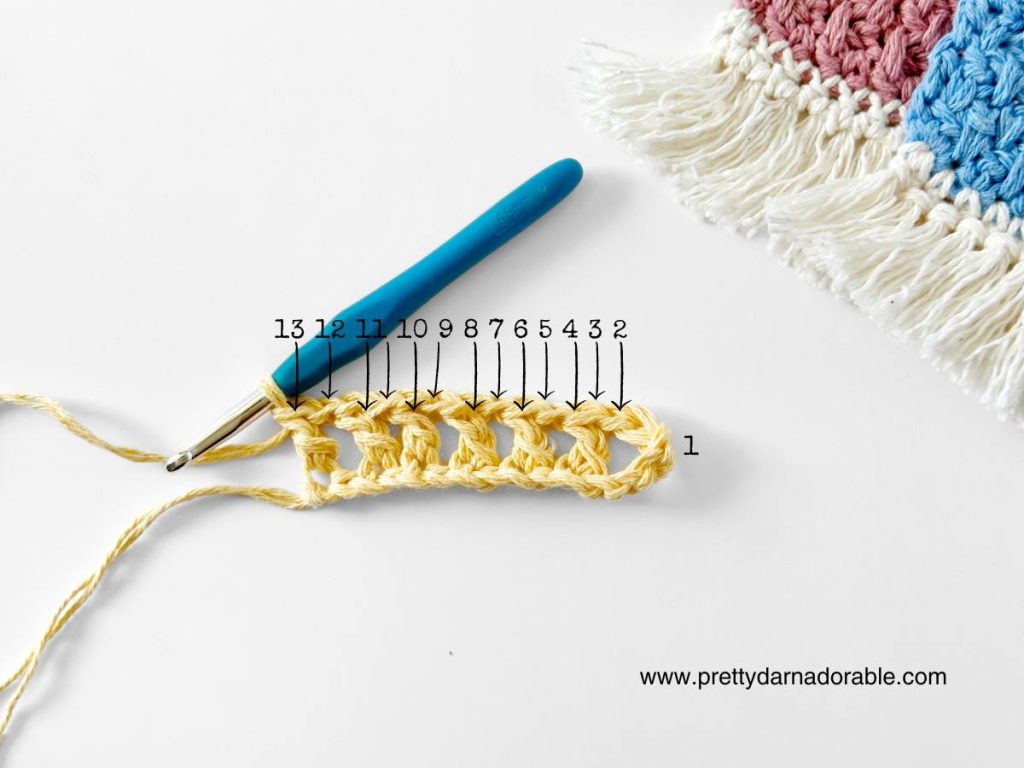
If you want to change the size to all you need to do is change the starting chain by adding more or chain less ALWAYS KEEPING A MULTIPLE OF TWO then just follow the written instructions to complete to your desired width.
Once the mug rug is finished you can keep as is or add the fringe. I toyed with idea of adding the fringes to the side of the mug rug too but it was taking a little longer than I wanted so opted to just add to the end of the rows instead.
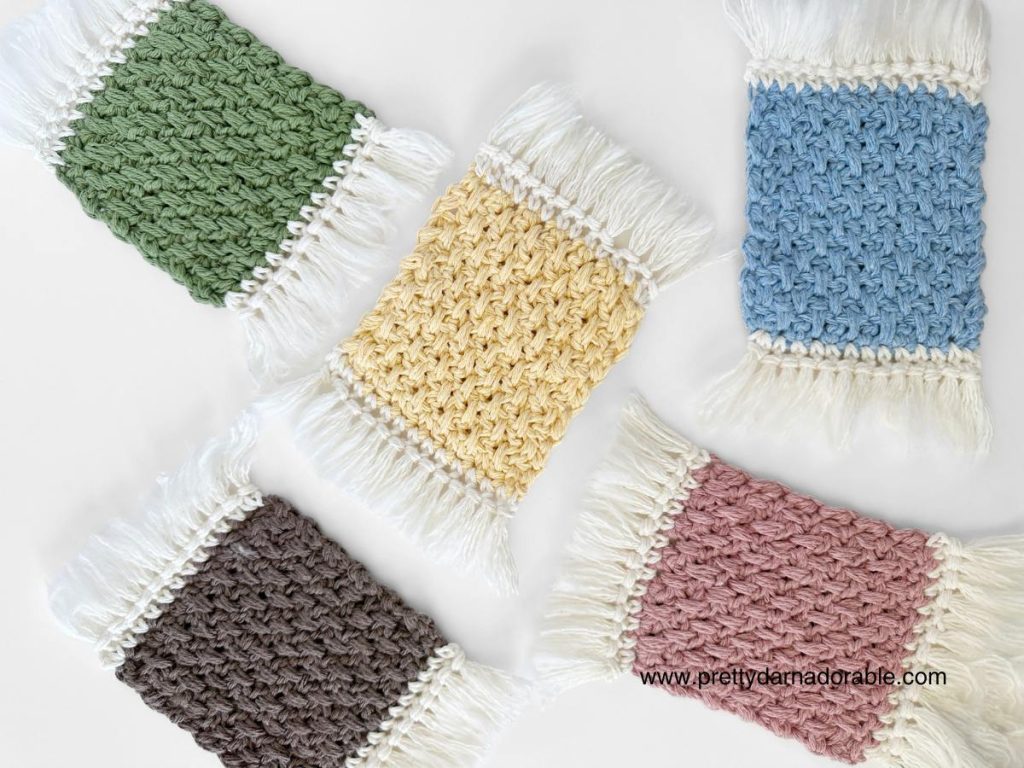
The Yarn
When it comes to absorbing spills, cotton worsted weight yarn is my go-to choice. So, despite having plenty of acrylic yarn in my stash, I opted for cotton. Additionally, cotton just feels like more of a summer yarn, and I’m currently enamored with colours like creams, pinks, yellows, and blues, all of which I had on hand. However, I might experiment with acrylic for fall and Christmas versions to see how they fare. I’ll be sure to share the results on social media and add them to this blog post if I do.
I hope you love making this easy mug rug crochet pattern. Using basic stitches and cotton yarn these are quick projects that also make great gifts.
Remember that these coasters are going to be getting some spillage so be sure to choose a good quality washable yarn that will stand up to being used day after day. Also be sure to PIN this to your crochet boards with all the other fun patterns you have.

- Add Pattern to your Ravelry Library
- Download on Etsy
- Pin Now Make Later
Brighton Free Crochet Mug Rug Pattern:
PLEASE NOTE THAT THIS POST CONTAINS AFFILIATE LINKS – Read more
Skill Level
Easy
Abbreviations
Ch – chain
Hdc – half double crochet
Dc – double crochet
Sc – single crochet
Sk – skip
St – stitch
Sts – sts
Sl st – slip stitch
Rpt – repeat
Yarn Gauge:
Even though this is for a crochet project that usually does not require you to meet gauge, it is important to note when making a set of these coasters the same type of yarn should be used.
I made these using both Bernat Handicrafter and Loops & Threads Eco Cotton there was a substantial difference in the finished size.
Finished Measurements
Bernat Handicrafter Approximately 4 ½” x 4 ½”
Loops & Threads Eco Cotton Approximately 4” x 4”
Materials Needed
Some items below click through to an affiliate link at no extra cost to you.
25 Grams Main Colour Cotton Worsted Weight Yarns
5 Grams Contrast Colour for Fringe
Recommended Yarns
Dishie Multi
6.50 mm crochet hook
4” Piece of cardboard for fringe
Comb or brush to unravel fringe
Rotary Cutter and Cutting Mat (optional)
Fray Check (optional)
Please note that the actual amount of yarn needed may change depending on the yarn chosen always purchase a little more than you think you may need.
Remember if making a set be sure to keep the yarn the same gauge or your coasters will be different sizes.
Notes
This pattern is that it also comes with a video tutorial. This means that you can follow along step-by-step and have all your questions answered in real-time.
Whether you’re struggling to understand a particular stitch or just want to see how it should look, the video tutorial is a fantastic resource to have. You can pause, rewind, and re-watch as many times as you need to make sure you’re doing everything correctly.
Instructions
With 6.50 mm hook and holding two strands of yarn held together.
Ch 14
Row 1: Dc in 2nd chain from hook, *ch 1, sk next ch, dc in next ch* rpt from * to * ending with dc in last ch. Ch 2 turn. (13)
Row 2: *Dc one row below in the chain stitch, ch 1* rpt from * to* to end of row. Hdc in top stitch of ch 2 from previous row. Ch 2 turn. (13) Place stitch marker in 2nd ch.
Row 3: Dc in 1st skipped st under ch 1 space, ch 1, skip next st, *dc in skipped st under ch space, ch 1 skip next st* rpt from *to* to end of row. Hdc in top stitch of ch 2 from previous row. Ch 2 turn. (13) Place stitch marker in 2nd ch.
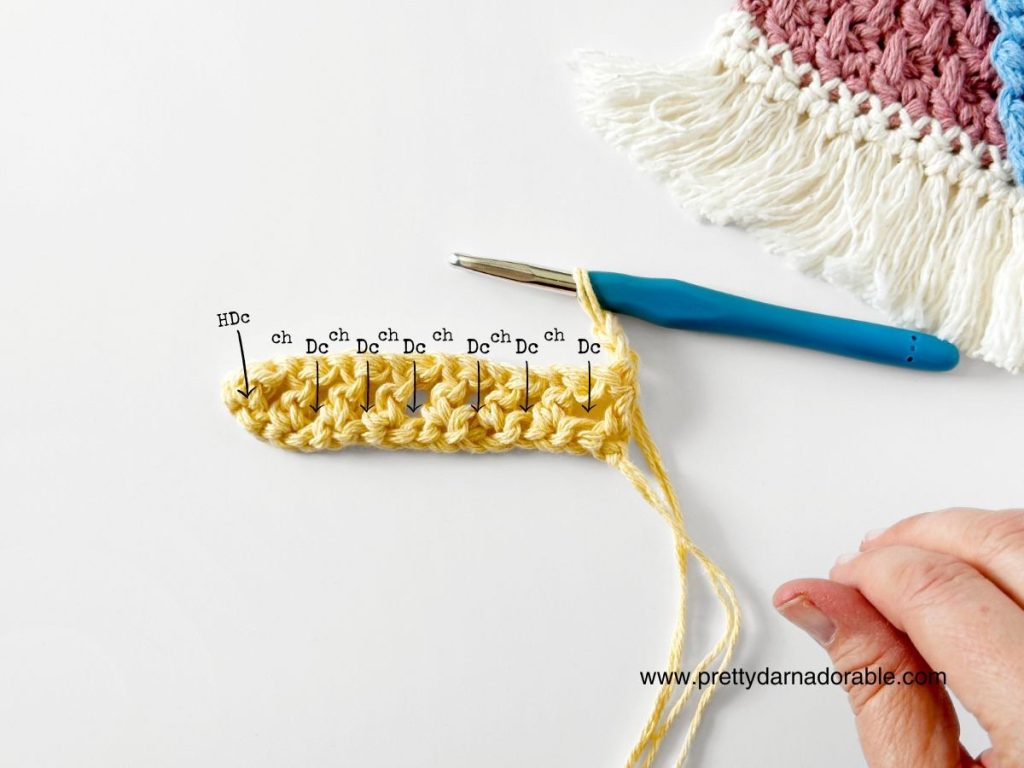
Repeat row 3 until width equals length or until it reaches 4”.
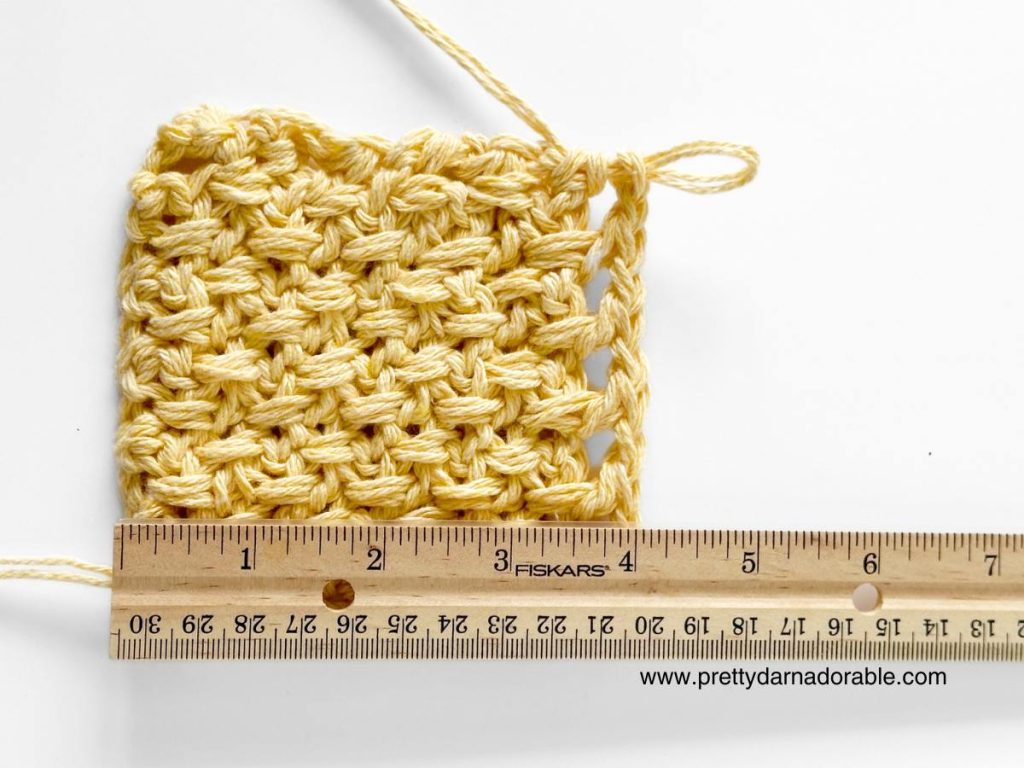
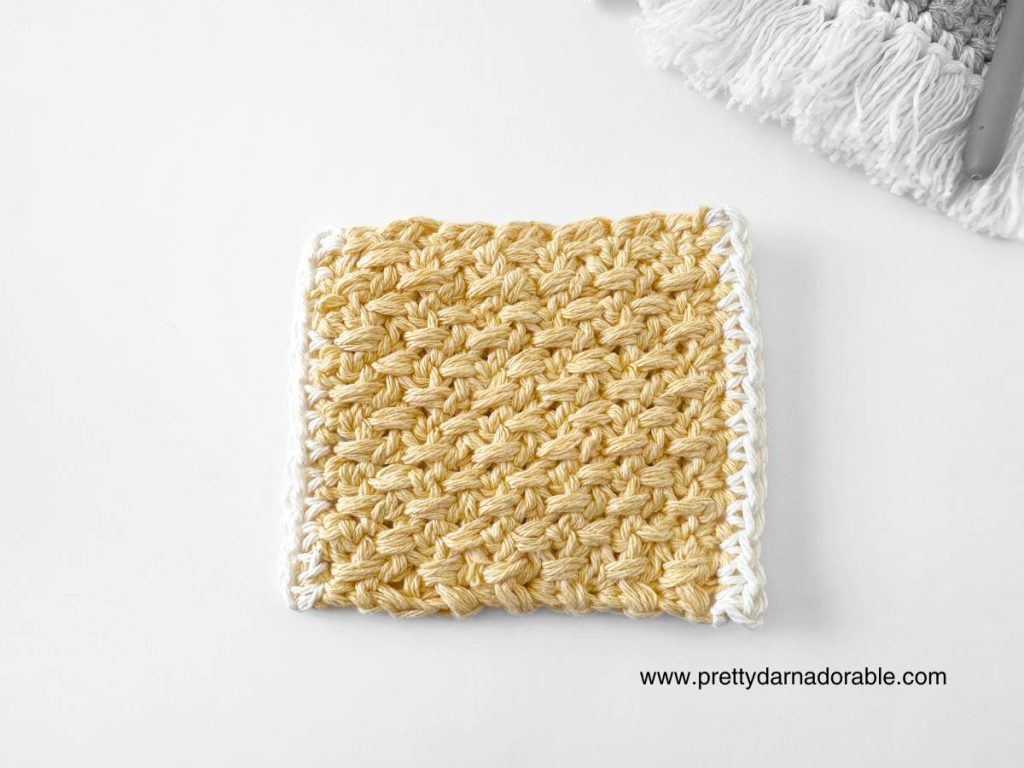
Finishing row: *Dc in skipped stitch under ch space, sc in next.* Rpt from * to * in each till end of row. End with hdc in last st, fasten off and weave in ends.
Change to contrast yarn join with sl st to 1st st and work a sc into each stitch across.
Work a row of sc into each stitch across. You will be working into your foundation chain.
Weave in all ends and secure with Fray Check.
Making the Fringe
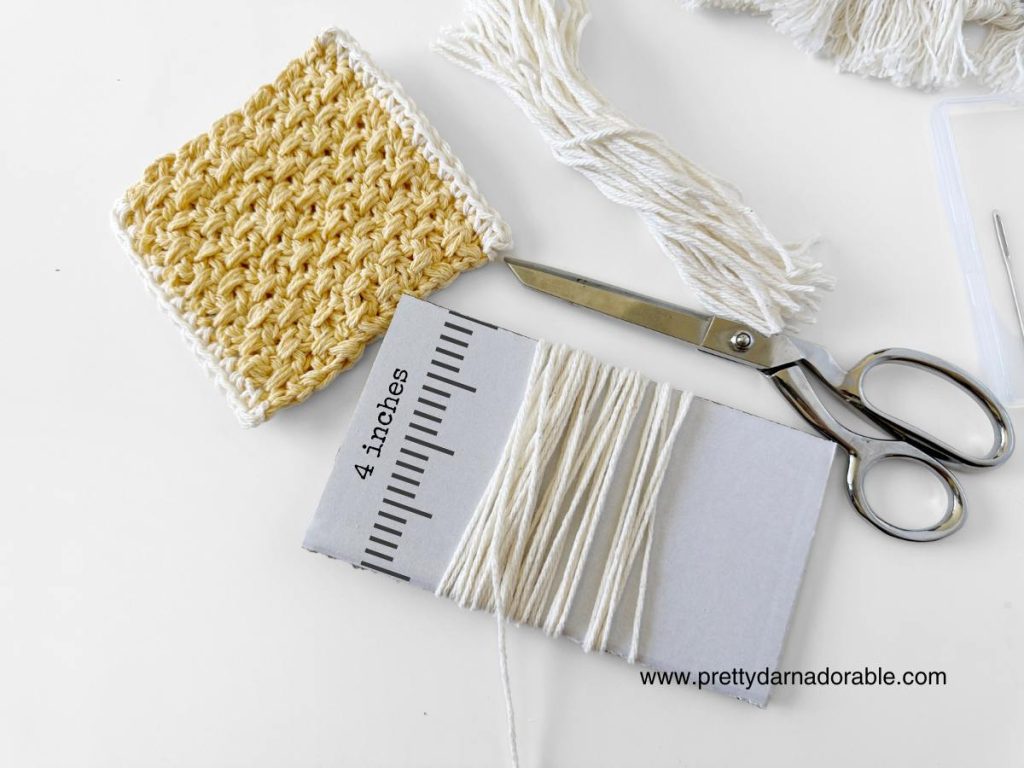
Fringe is placed in each stitch across bottom and top of mug rug.
Cut 60 pieces of yarn approximately 8 inches long.
Fold 2 pieces of yarn at a time in half and hold bottom of coaster with right side facing you, insert hook from back to front and pull the folded ends around the stitch pulling from right side under stitch back up through to right side again.
Pull the loose ends through the folded section and draw the knot up not too firmly. Repeat in each stitch across.
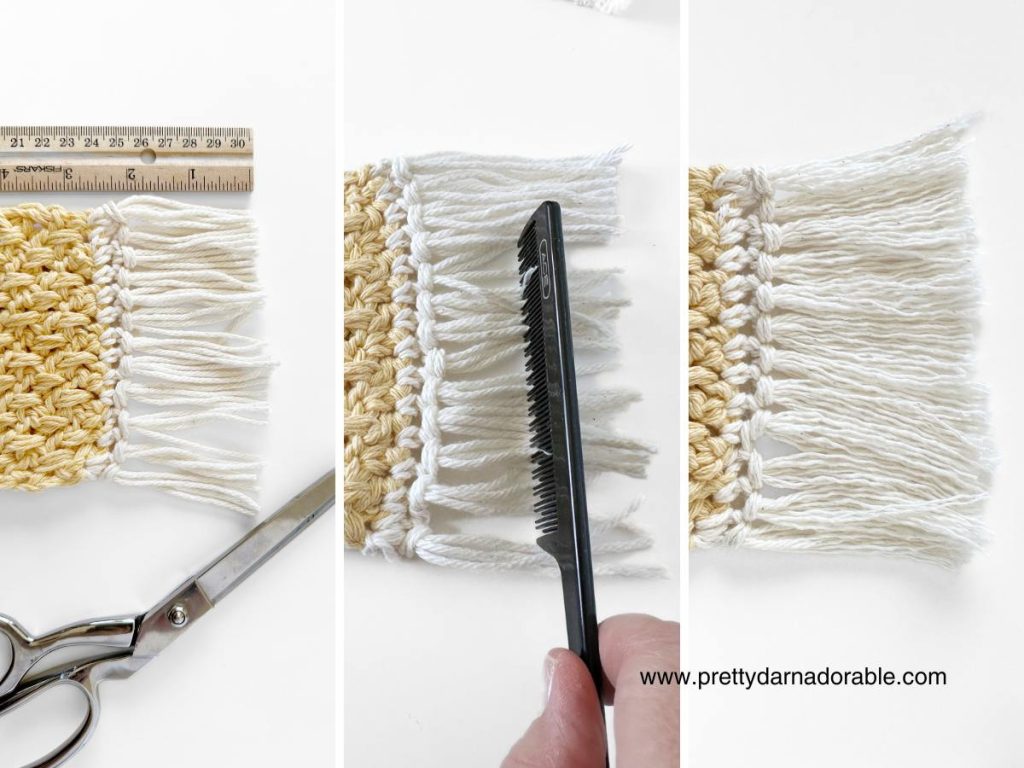
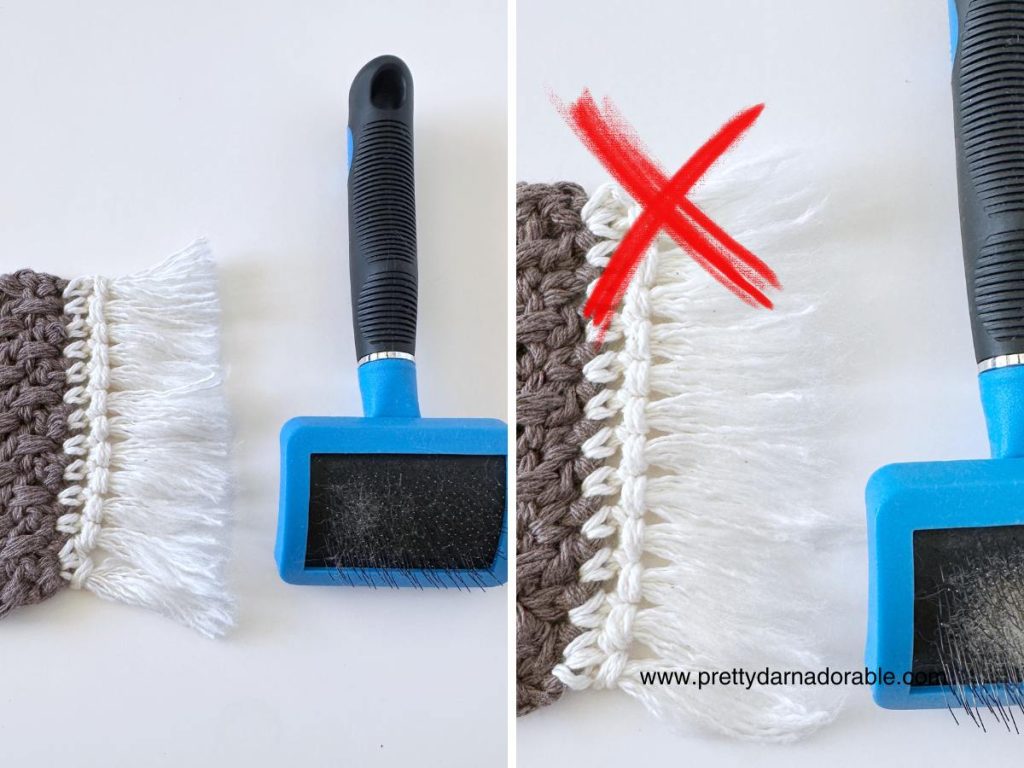
Once fringes are all attached trim the fringe to be a about ¾” inch longer than final desired length. Use a small tooth comb or brush through the fringe until you obtain the look you like best.
If using a wire brush be careful not to over do it. I brushed mine out way too much and it looked terrible.
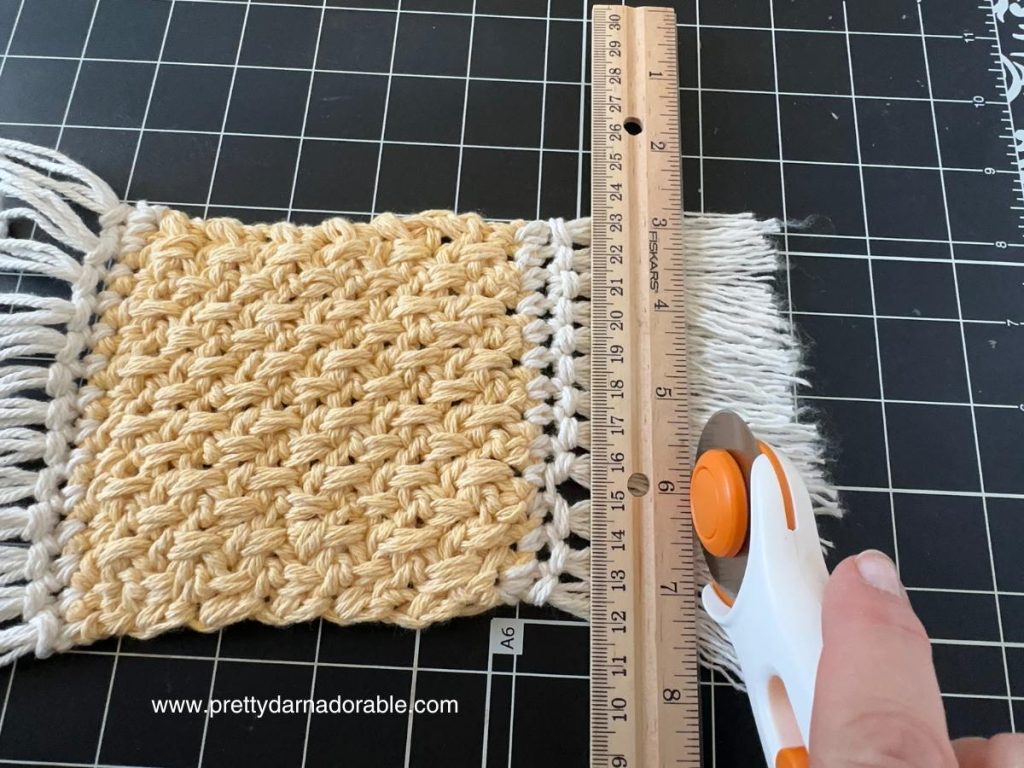
Then lay flat on hard surface and trim with scissors or use a ruler and rotary cutter
to straighten the bottom of the fringe. I cut mine just a little over an inch long measured from bottom of knot.
- Add Pattern to your Ravelry Library
- Download on Etsy
- Pin Now Make Later
Crochet mug rug coasters are not only practical but also quick and fun to crochet. With this free pattern and tutorial, you can create the perfect project that combines creativity with functionality.
Whether you’re making them for yourself or as heartfelt gifts for loved ones, these coasters are sure to bring table protection and warmth to any home.
Hope you had tonnes of fun making these!
