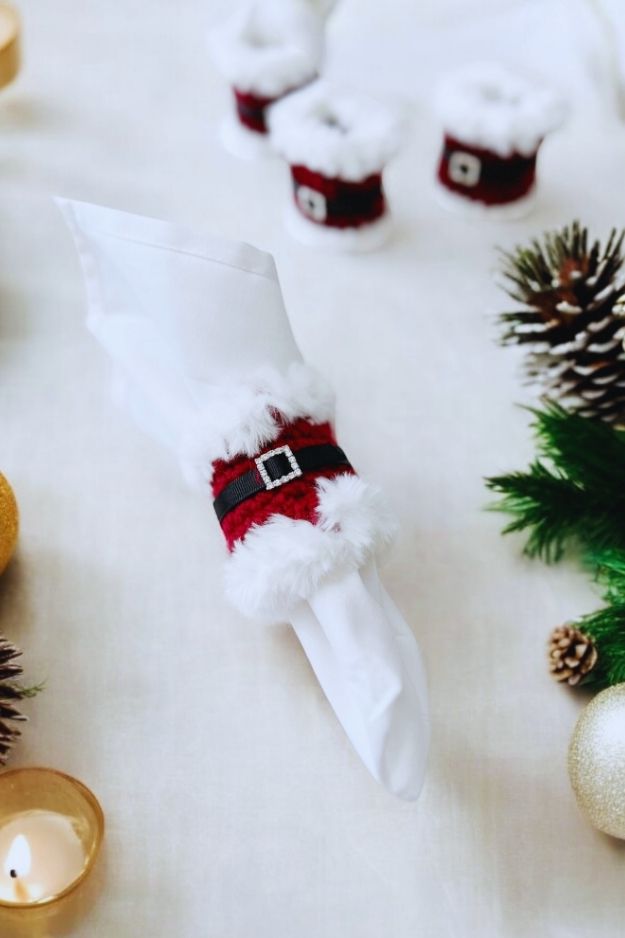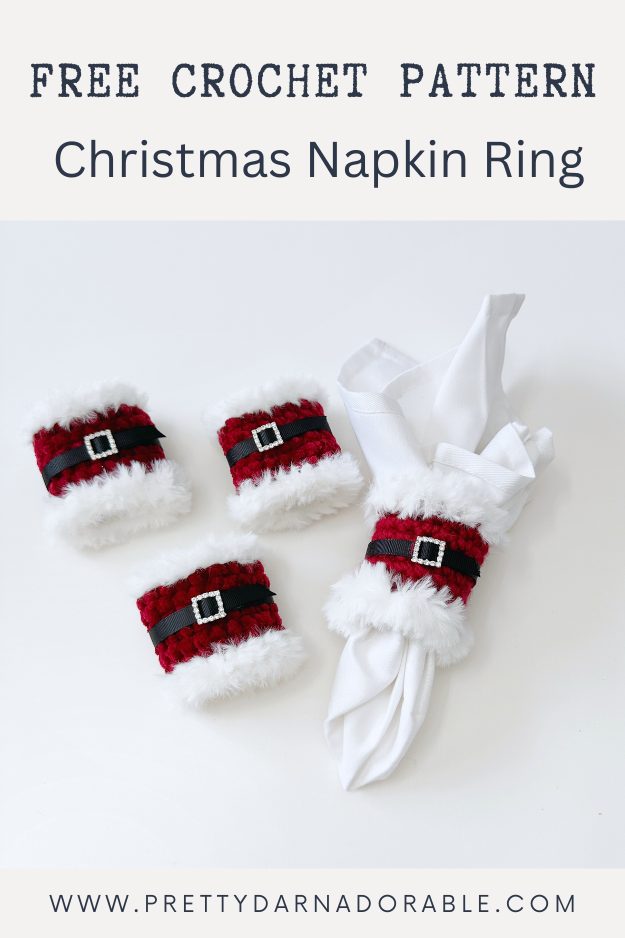
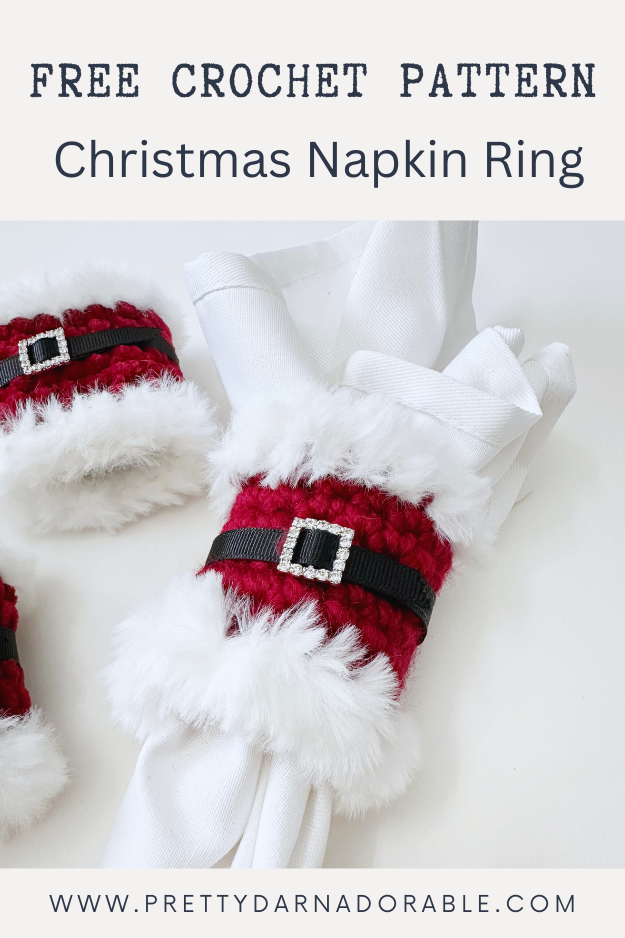
Christmas dinner for me is the most exciting part of the holiday season. The way the family gathers around the dining table to share a meal—whether it’s big or small—just having everyone together makes me so happy!
Adding a personal touch to our holiday table is one of my favourite things to do during the holidays. This year, I’m bringing a festive touch to our dining table with these crochet napkin rings. The sparkling buckles and faux fur was a great way to add a little sparkle to what is usually quite a traditional holiday home decor. I love glitter and sparkle and rustic and traditional – what can I say I am a Gemini!
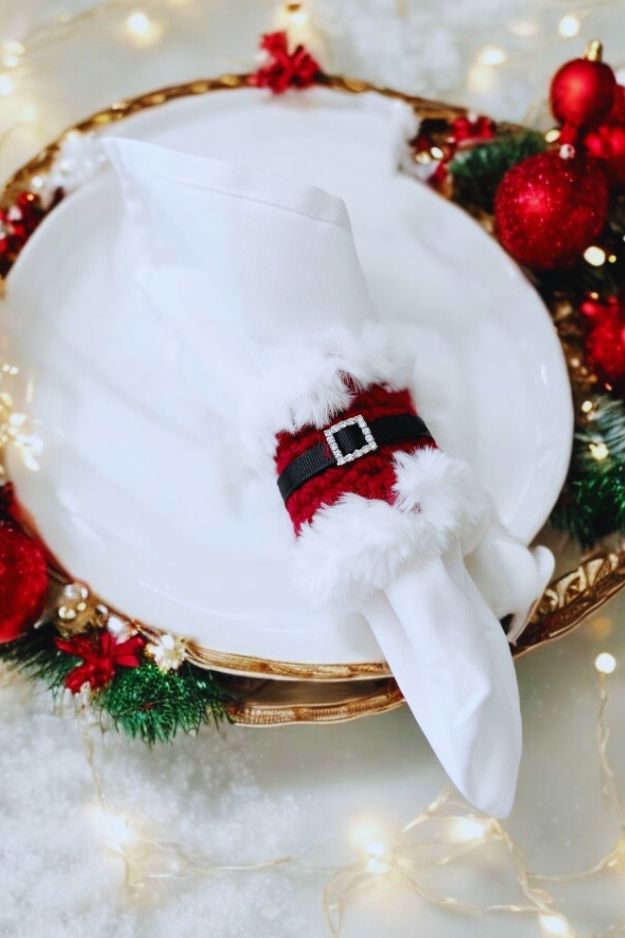
This free crochet pattern is as simple as it gets! Using only single crochet stitches, these napkin rings are a truly easy crochet pattern that even beginners can enjoy. It’s a great way to create something special for your table settings. Be sure to have fun with it – add festive buttons, change up the ribbon colour – play with textures and colours that you like – it really can be anything you want!
For these free crochet napkin ring patterns, I used super bulky yarn, making them quick and fun to work up. I’ve tried both Lion Brand Wool Ease Thick & Quick and Loops & Threads Sweet Snuggles, and they both look amazing!
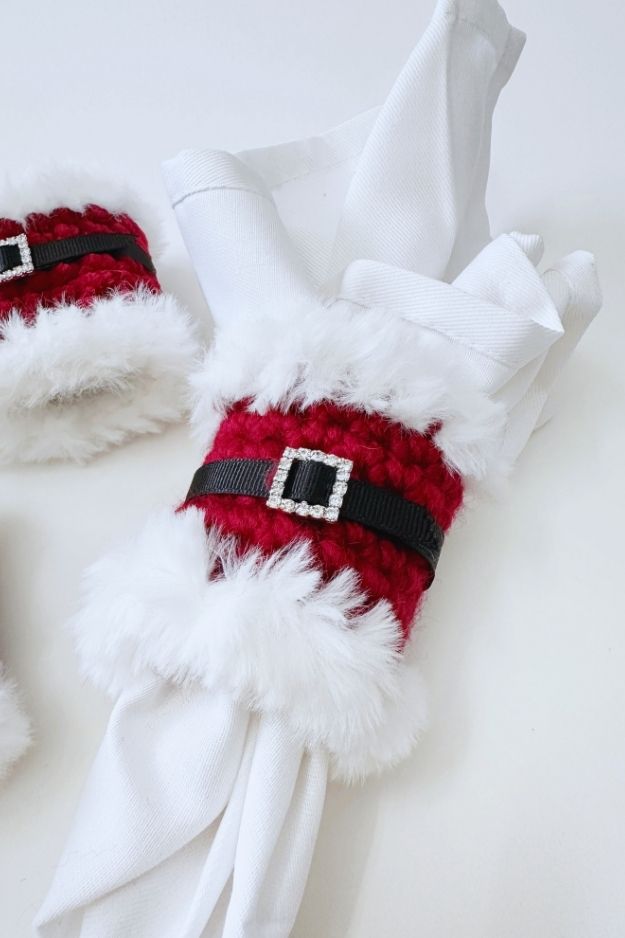
Be sure to PIN this with your holiday crochet patterns or Christmas crafts, so you can add a handmade touch to your festive table.
Purchase Ad Free Pattern – Instant Download!
Purchase the ad-free PDF for a smooth, distraction-free crocheting experience anytime, anywhere.
Already a subscriber? Check your latest email for your special discount code. Not subscribed yet? Sign up here to get yours!
Thanks so much for supporting my blog!
Scroll down for the full free pattern and instructions.
Most Popular
Christmas Patterns
Santa’s Belly Crochet Napkin Ring
Skill Level
Beginner
Abbreviations
- ch – chain
- sc – single crochet
- sk – skip
- st – stitch
- sts – stitches
- sl st – slip stitch
- rpt – repeat
Gauge
Not required for this project
Materials Needed
- 6.00 mm crochet hook
- Rhinestone Buckles – I found mine on Amazon HERE
- Ribbon (Choose a ribbon width that fits the size of your buckle.)
- Yarn Needle
- Stitch Marker (Optional but recommended for beginners to keep track of rounds.)
- Small amount of Super Bulky Yarn for Napkin Ring
- Small amount of Chunky Faux Fur Yarn
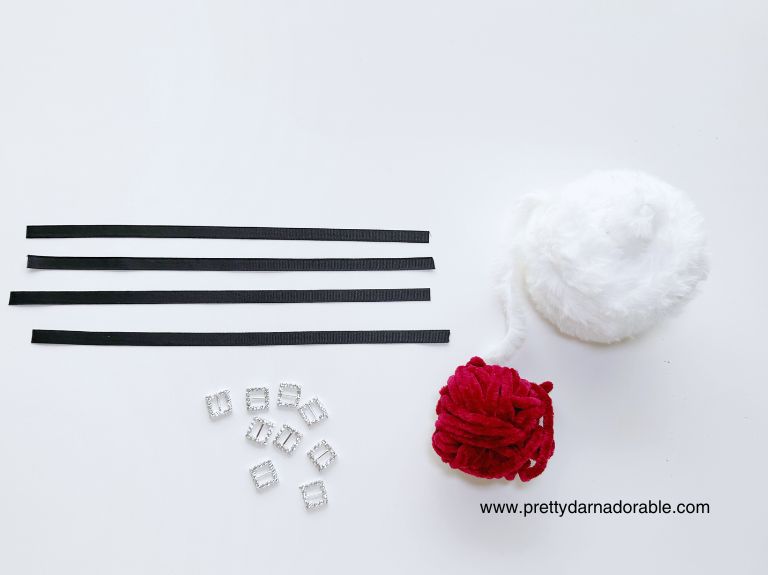
Measurement
Approximately 3” x 3” laying flat.
Customization Tips
- Colour Variations: While the red and white design screams “Santa,” you can experiment with other holiday colours like green and gold for versatility.
- Personalized Buckles: Use buckles in different shapes or sizes for a unique twist.
- Add Beads or Embellishments: Sew beads or tiny sequins onto the ribbon or faux fur for an extra sparkle.
Notes:
- A smaller hook is used to create stiffness of the napkin ring – if you change the yarn you are using be sure your crochet hook is a few sizes smaller than is called for.
- The napkin ring is worked in continuous rounds. Do not join at the end of each round.
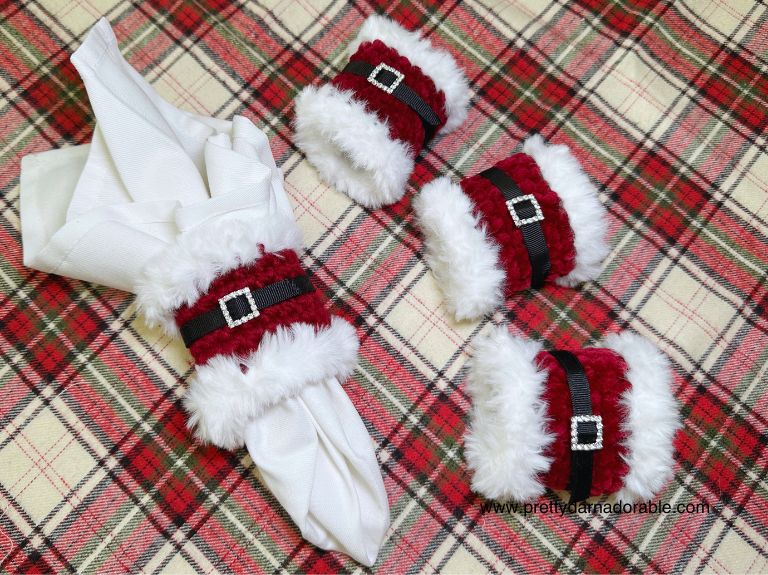
Free Crochet Napkin Ring Pattern
Foundation Chain: Ch 18, join with a sl st to form a circle. Ch 1 (this does not count as a stitch).
Rnd 1: Work 1 sc in the same st as the sl st and in each ch around. You should have 18 sts. (18)
Rnds 2-6: Sc in each st around. (18)
After Round 6, join with a sl st to the next st and fasten off. Weave in ends.
Faux Fur Trim
Tip: Faux fur yarn can make it tricky to see the stitches. Work in a well-lit area and use your fingers to feel for the stitches if needed.
- Find the centre back seam and join the Faux Fur yarn with a sl st.
- Work 1 sc in the same st as the sl st and in each st around. Fasten off and weave in ends.
- Repeat Steps 1-2 on the opposite edge of the napkin ring.
Buckle and Belt
Tip: Measure the ribbon on the finished napkin ring before cutting to ensure it fits snugly but isn’t too tight.
- Buckle and Belt
- Loop the ribbon through the buckle and glue it in place to secure.
- Wrap the ribbon around the napkin ring and weave it through the buckle to secure in place.
- Trim the ribbon to the desired length.
Happy crocheting!