


Each year, swapping out my Christmas ornaments is one of my favorite ways to refresh my holiday decor. I love mixing handmade Christmas ornaments with store-bought ones, and over the years, my collection of crochet Christmas ornaments, and now this year Granny square crochet ornaments, has grown into something truly special.
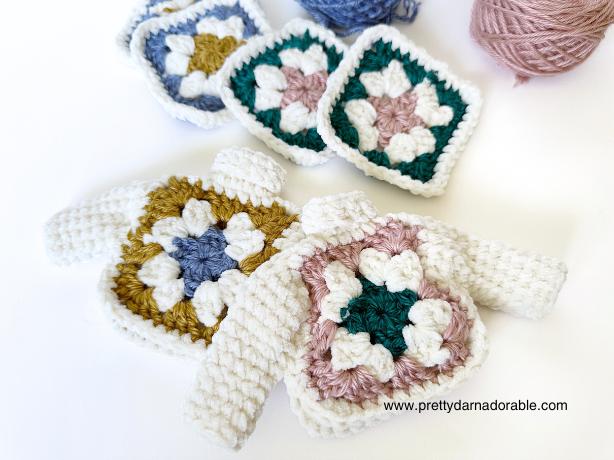
This year, I couldn’t resist adding a little sweater to the mix. Inspired by traditional granny squares, this quick and easy project starts with a classic square, enhanced with a cozy turtleneck and mini sleeves for that quintessential sweater look. There’s something so satisfying about turning simple stitches like double crochet stitches and single crochet stitches into something adorable and festive! With this free crochet pattern, you can add a touch of handmade charm to your Christmas tree ornaments too.
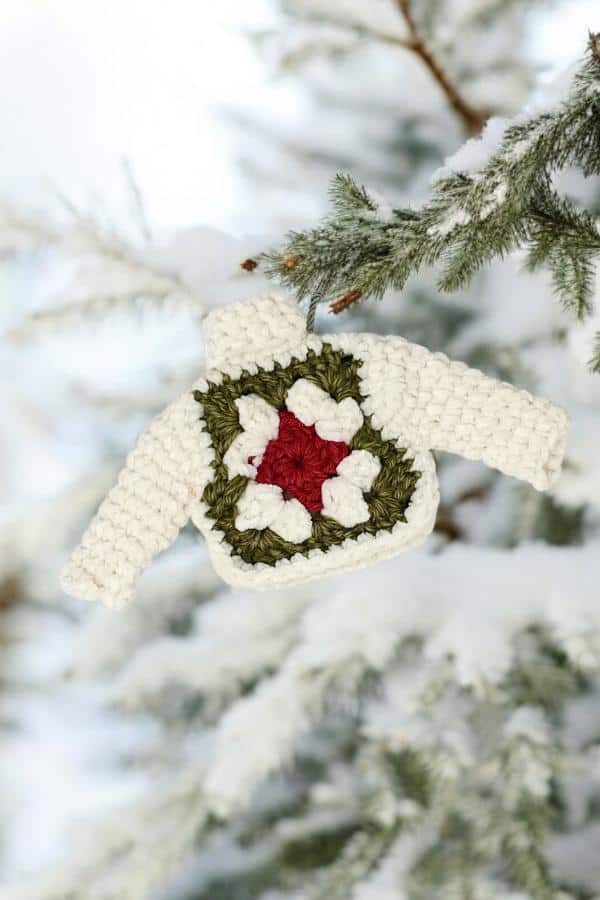
You can use any worsted-weight yarn you have on hand to make these crochet Christmas ornaments; I’ve mixed chenille and acrylic yarn for added texture and interest. These little ornaments look fantastic in traditional Christmas colors and this year’s trendy holiday colors!
This versatile pattern works beautifully with a 5.00 mm crochet hook or any hook and yarn weight combination you prefer. Granny square patterns are an excellent way to use up your stash, and they’re so much fun to play with in different colors. Create a personal touch for your holiday decor—the colour combinations are endless, making these a great addition to your Christmas decorations.
For me, handmade Christmas ornaments are priceless, holding all the warmth and tradition of the holiday season. This easy pattern incorporates double crochet stitches and single crochet stitches, making it a great way for anyone to practice the granny stitch.
Purchase Ad Free Pattern – Instant Download!
Purchase the ad-free PDF for a smooth, distraction-free crocheting experience anytime, anywhere.
Already a subscriber? Check your latest email for your special discount code. Not subscribed yet? Sign up here to get yours!
Thanks so much for supporting my blog!
Save now and make later! Be sure to PIN this with your other free crochet Christmas ornament patterns.
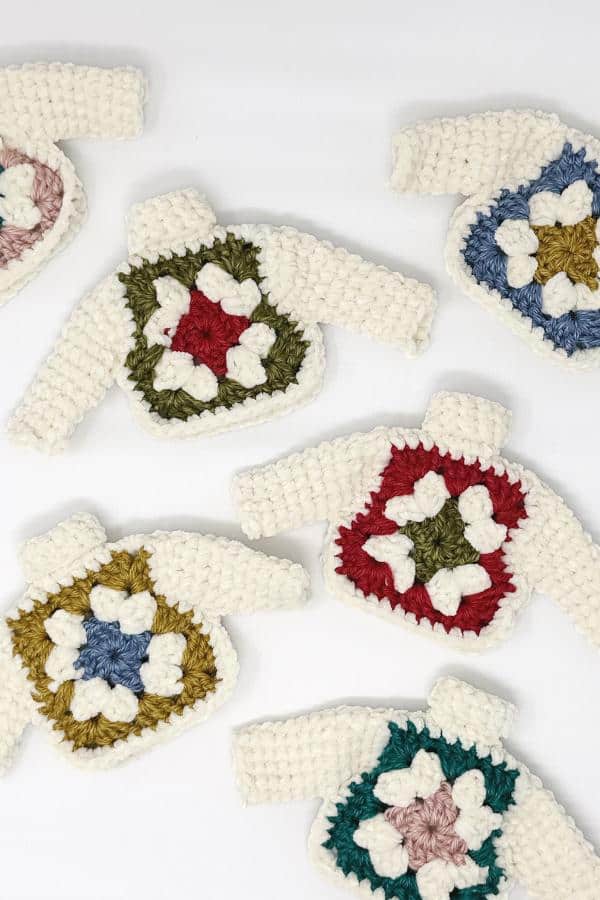
Whether you’re looking to create your own Christmas ornaments or simply want to enjoy a fun crochet project, this Granny Square Sweater ornament is a fantastic addition to your Christmas tree ornaments.
Don’t forget to visit the freebie library and download the perfect free gift tag!
Skill Level
Easy
Abbreviations
- ch – chain
- Dc – double crochet
- rnd – round
- sc – single crochet
- sk – skip
- sp – space
- st – stitch
- sts – stitches
- slst – slip stitch
- rpt – repeat
- RS – Right side
- WS – Wrong Side

Materials Needed
- 5.00 mm crochet hook
- Worsted Weight Yarn – 20 grams main colour (cream) – scraps contrast colours
- Tapestry Needle
- Stitch Markers
- Scissors
- Measuring Tape
Measurement
Laying flat: Approximately 4” (excluding sleeves) wide x 5” long
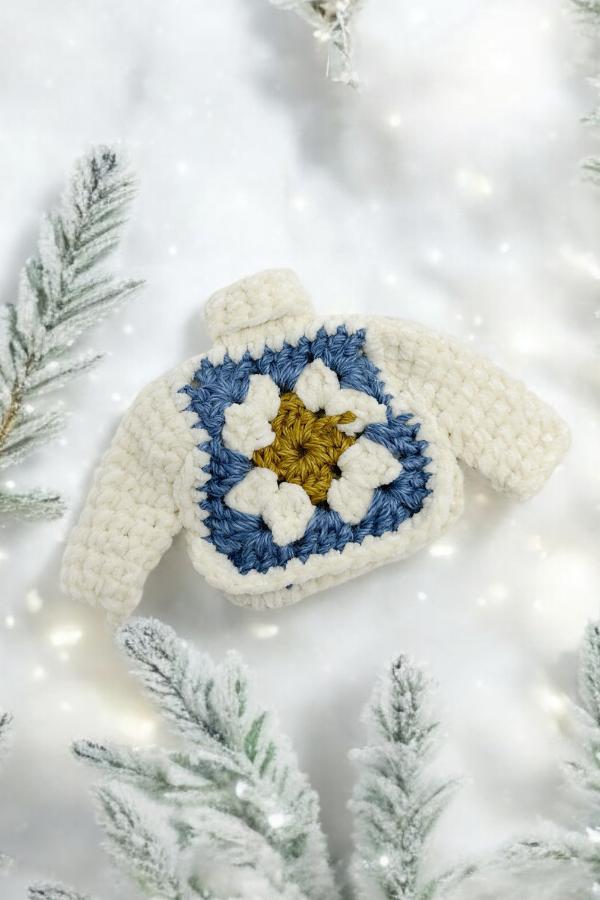
Did you make any of these?
I would love to see what you have made be sure to mention @prettydarnadorable or tag me using #prettydarnadorable on Instagram so I can see your creations!
Free Crochet Granny Square Sweater Ornament Pattern Instructions
Body of the Sweater
Notes About this Granny Square Pattern
- Join and turn where indicated in the pattern.
- Space refers to the space between clusters from the previous round.
- Only chain between corner clusters.
- Colour changes will be done each round.
- Cream yarn can be carried.
- Make colour changes by completing the last stitch with the new colour and dropping the colour just used.
- Be sure to pull yarn to one side of the granny square – this will become the inside of the sweater.
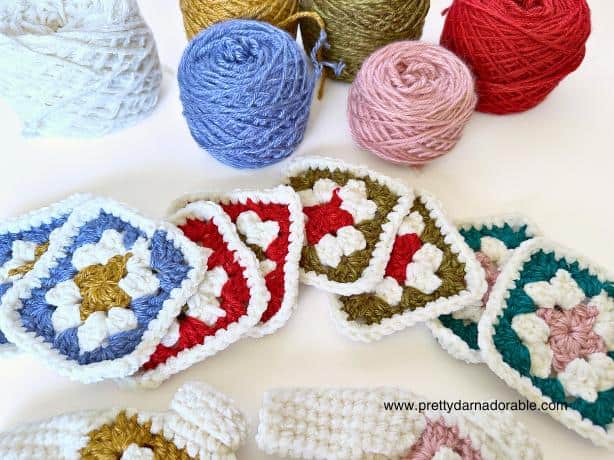
Granny Square Panels (Make 2):
Turning chain counts as the 1st dc.
Ch 4, join with a slst to form a ring.
RS Rnd 1: Ch 2, 2 dc in the ring, ch 2. Into the ring (3 dc, ch 2) 3 times. Join with slst to the top of the ch-2. Ch 2, turn.
(Remember to pull the yarn to the wrong side of the sweater panel when doing colour changes)
WS Rnd 2: In the 1st corner space, (2 dc, ch 2, 3 dc). Work (3 dc, ch 2, 3 dc) in each remaining corner space around. Join with slst to the top of the ch-2. Ch 2, turn.
RS Rnd 3: 2 dc in the next space. (3 dc, ch 2, 3 dc) in the next corner space. 3 dc in the next space. (3 dc, ch 2, 3 dc) in the next corner space. Repeat from * to * around. Join with slst. Do not turn after this round.
Change to colour you will use for turtleneck and sleeves.
RS Rnd 4 (sc border): Work 1 sc in each dc until you reach a corner. In each corner ch-2 space, make 3 sc. Continue working 1 sc in each dc across the sides. Slst to the first sc to join, then fasten off.
Assemble the Sweater Panels:
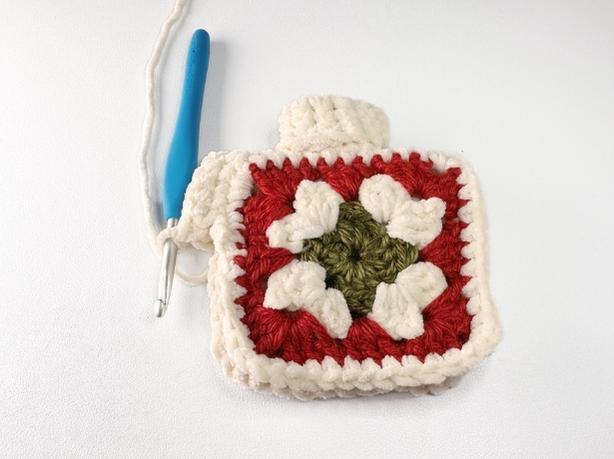
With right sides facing, align the two granny squares for the front and back of the sweater. Join yarn with slst through both panels at the 3rd stitch (counting right to left) of the top-right corner.

Join the Top for the Neckline:
- With the wrong side of the panel facing out, align both panels and work through the middle loops only (see photo).
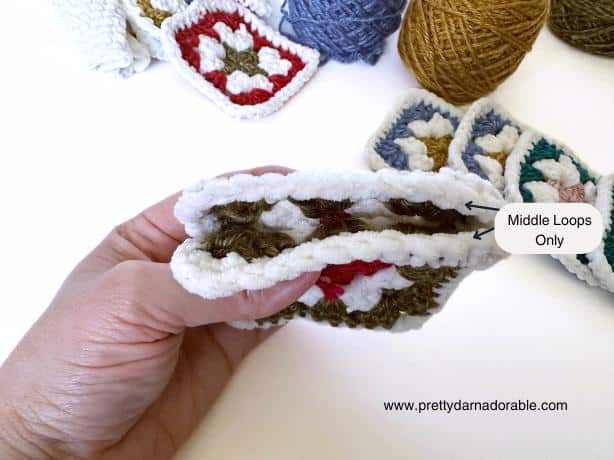
- Slst across the next 3 sts of both panels, then slst through the next 3 sts of the top panel only.
- Continue joining the panels by working a slst in the middle loops of both panels for the last 4 sts. Fasten off and weave in ends.
Turtleneck:
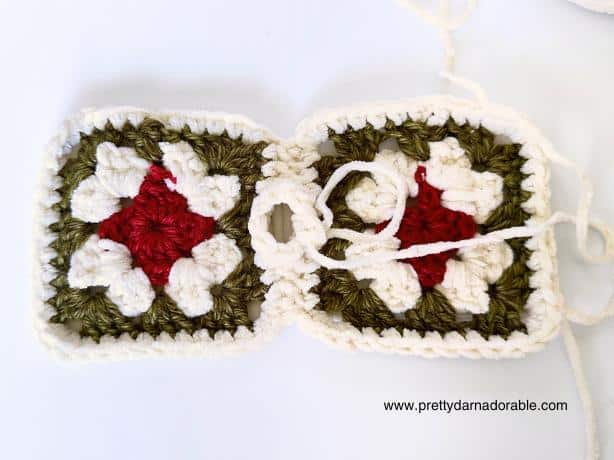
- Turtleneck is worked in continuous rounds with the right side facing out.
- Join yarn with a slip stitch to the middle back stitch.
- Rnds 1 – 6: Work sc in the 1st and each stitch around the neck opening (aim for approximately 12 stitches, spaced evenly). Fold turtleneck over.
Sleeves (Make 2):
- Sleeves are crocheted in continuous rounds with the right side facing out.
- Counting up the side from the bottom of the panel, join yarn in the 9th stitch with a slip stitch.
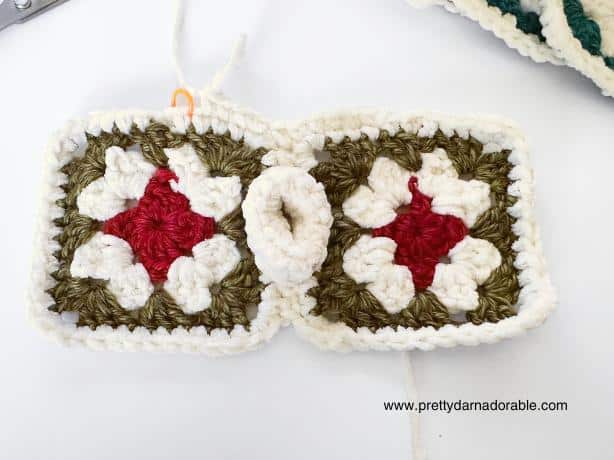
- Rnd 1: Sc in the same stitch as the join, then sc in the next 9 sts across. Place the wrong sides of the sweater together and join to the first sc to form the sleeve opening. (10 sc)
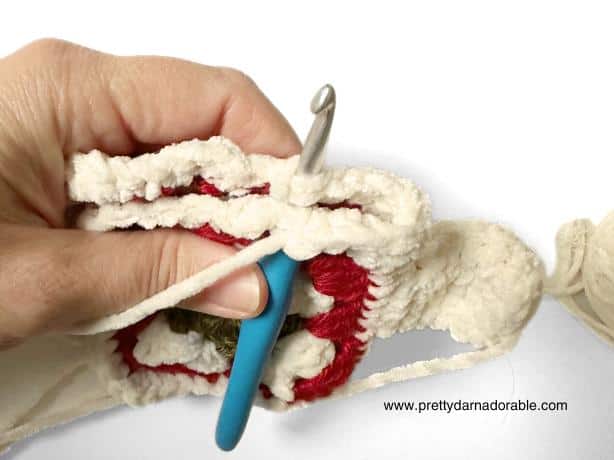
- Rnds 2-11 (or until desired length): Sc in the first stitch and in each stitch around. (10 sc)
Fasten off, leaving a long tail to close the sides of the sweater.
Repeat these steps on the opposite side to create the second sleeve.
Finish and Seam the Sweater:
- With the right sides of the sweater facing out, sew along the sides to join the front and back panels. For the first three stitches, work through the single crochet stitches of both panels while also catching a stitch on the top part of the sleeve near the underarm.

- Repeat on the other side.
Hanger (optional): – To add a hanger to your Granny Square Sweater ornament, join yarn at the top back of the sweater, chain 10-15 stitches (depending on the desired loop length) to create a loop, and secure it with a slip stitch before weaving in the ends.
Uh oh… sorry you missed it! 😬
This pattern download has expired, but don’t worry — I’m always WIP-ing up more! 🧶✨
Make sure you’re on my email list [right here] so you don’t miss the next freebie, pattern, or crochet-goodie I send out.
No spam, just yarny stuff you actually want. 💌
If u have some time could u please make a how to video of the assembly of the turtleneck. I found myself lost. Thank you.