


As the fall leaves are changing I can’t help but want to bring those beautiful colours into my home with this crochet maple leaf pattern and youtube video tutorial.
I don’t do many crochet project for around this house but this one was so fun and useful I had to share. Happy Fall Everyone!
How to Crochet a Maple Leaf
It seems a little complicated but take your time and you will be able to make the crochet maple leaf following the instructions below or watching the youtube maple leaf video tutorial.
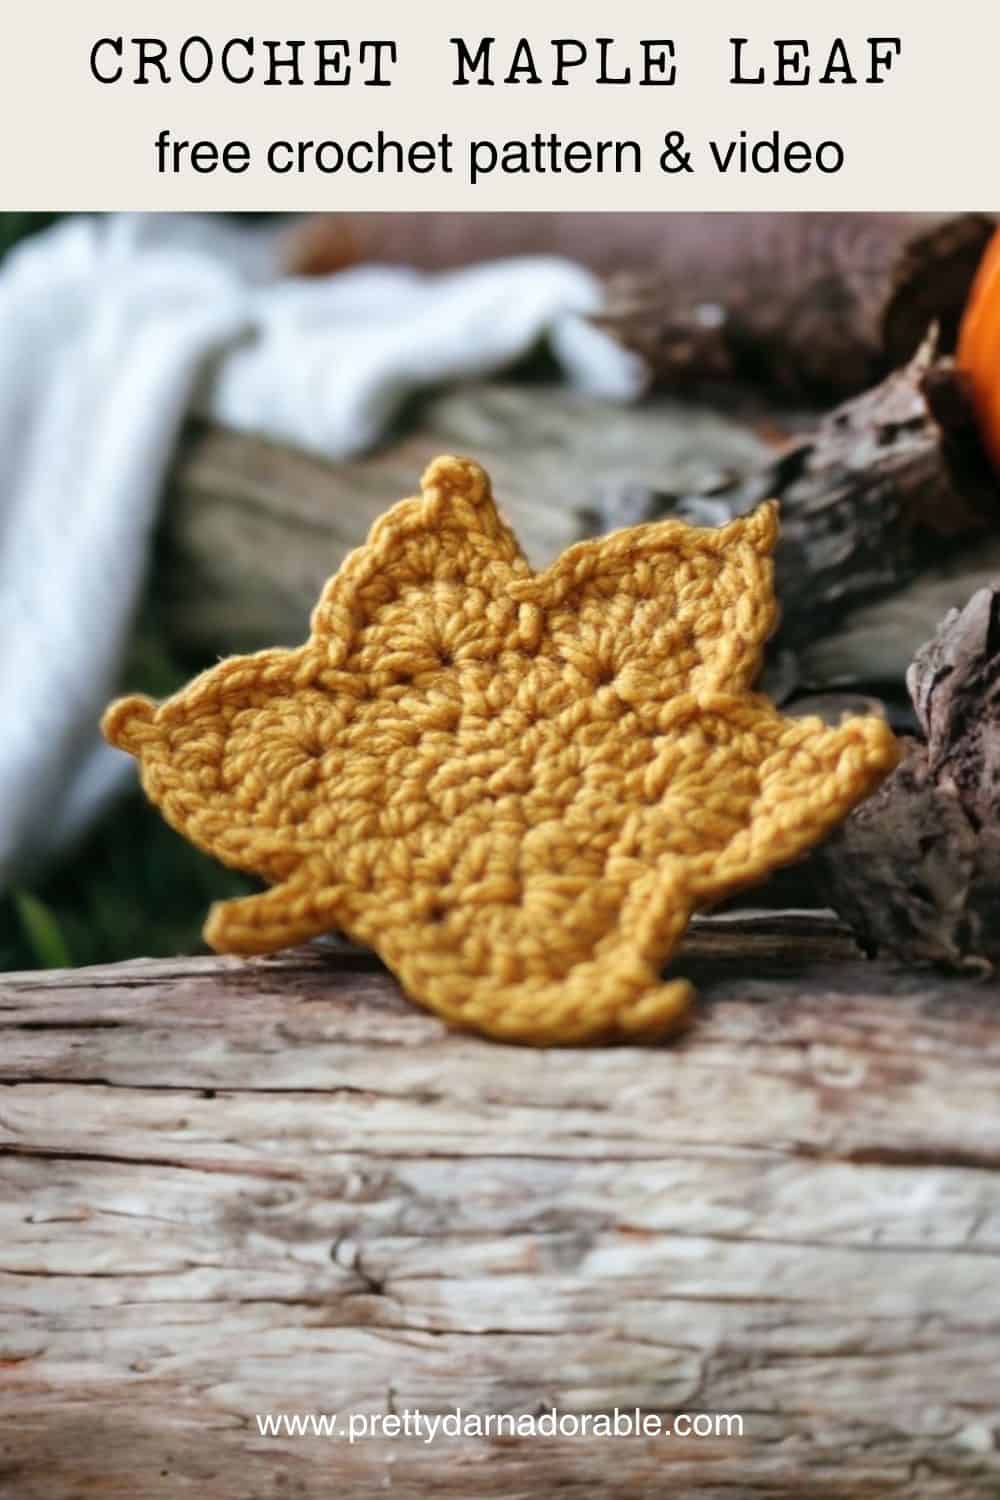
The crochet maple leaf starts by working continuous rounds increasing in each round. This forms the middle part of your leaf 😊.
From there you are going to be building out each point. This is done by working multiple double crochets into one stitch creating almost a scallop stitch.
The last step is to work the points this is done by adding multiple stitches that are different heights. This is what creates the ‘point’
Purchase Ad Free Pattern – Instant Download!
Purchase the ad-free PDF for a smooth, distraction-free crocheting experience anytime, anywhere.
Already a subscriber? Check your latest email for your special discount code. Not subscribed yet? Sign up here to get yours!
Thanks so much for supporting my blog!
Crochet Maple Leaf Written Pattern
Skill Level
Easy
Abbreviation
ch – chain
dc – double crochet
hdc – half double crochet
tc – triple crochet
sc – single crochet
sk – skip
st – stitch
sts – stitches
sl st – slip stitch
rpt – repeat
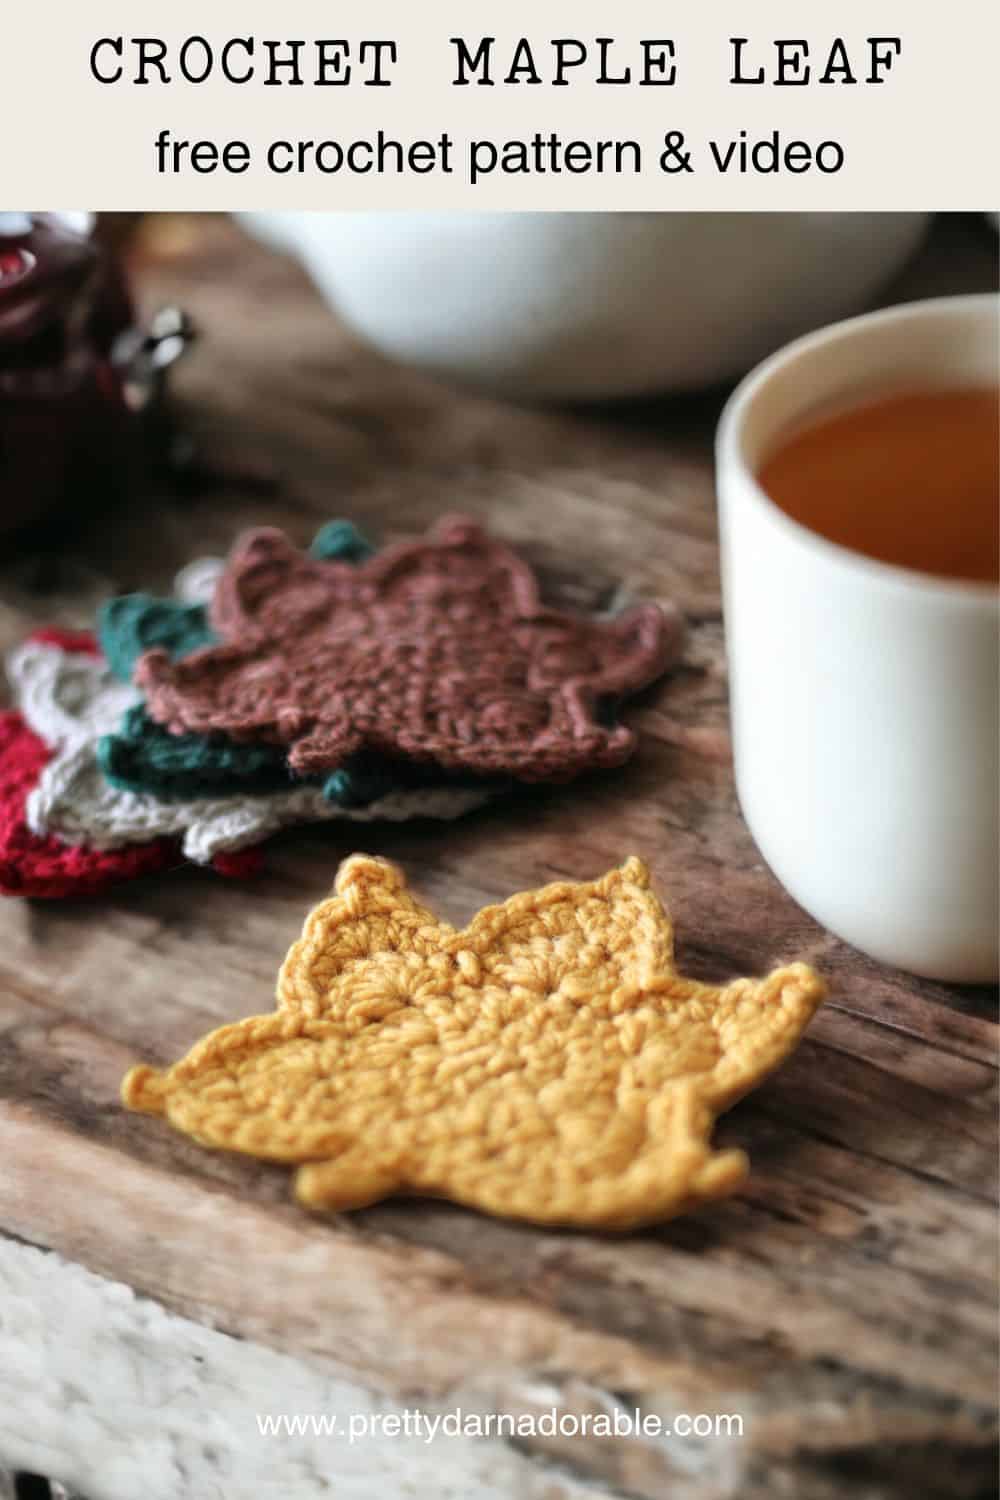
Materials
5.5 mm hook
Tapestry Needle
Stitch Markers
#5 Bulky Yarn (I used old scraps of Bernat Softee Chunky) Lions Pride Woolspun would be a good substitute.
Materials for Coasters
Speed Sew or other permanent fabric glue
Craft felt for bottom of coasters
Marker
Craft Scissors
This Maple Leaf Pattern was modified from The Painted Hinge. Original pattern can be viewed HERE
Ch 2
Work In continuous rounds.
Rnd 1: 6 sc in 2nd ch from hook
Rnd 2: 2 hdc in 1st st, 2 hdc in each st around. (12)
Rnd 3: 2 dc in 1st st, 2 dc in each st around. (24) Join with slst to the top of 1st dc.
Rnd 4: Skip 1st st, *7 dc in next, skip next st, slst in next, skip next st* rpt from *to* 3 more times. 7 dc in next st, skip next st, slst next 3 sts.
Crochet Maple Leaf Stem
Ch 4, slst into 2nd chain from hook and each chain made and last st of rnd 4.
Finishing Round of Leaf
Point 1:
Sc in 1st 6 sts
Work (3 hdc, ch 3, fold and slst into top of last hdc) in next st
Hdc in next st
Sc in next 2 sts
Slst in next
Point 2:
Sc in next 4 sts
Work (hdc, 2 dc, ch 3, fold and stst into top of last dc) in next st
ch 2, sc in next 2 sts
slst in next
Point 3:
Sc in next st
Hdc in next
Dc in next
Work (dc, trc ch 2 slst into the top of trc, dc) in next st
Dc in next st
Hdc in next
Sc in next
Slst in next.
Point 4:
Slst in next st
Sc in next 2 sts
Work (dc, ch3 fold and slst into the top of dc, dc, hdc) in next st
Sc next 2 sts
Slst next 2 sts
Point 5:
Slst in next st
Sc next 2 sts
Hdc in next st
Work (hdc, ch 3 fold and slst into top of hdc, 2 hdc) in next st
Sc next 3 sts
Join with slst to next st and fasten off.
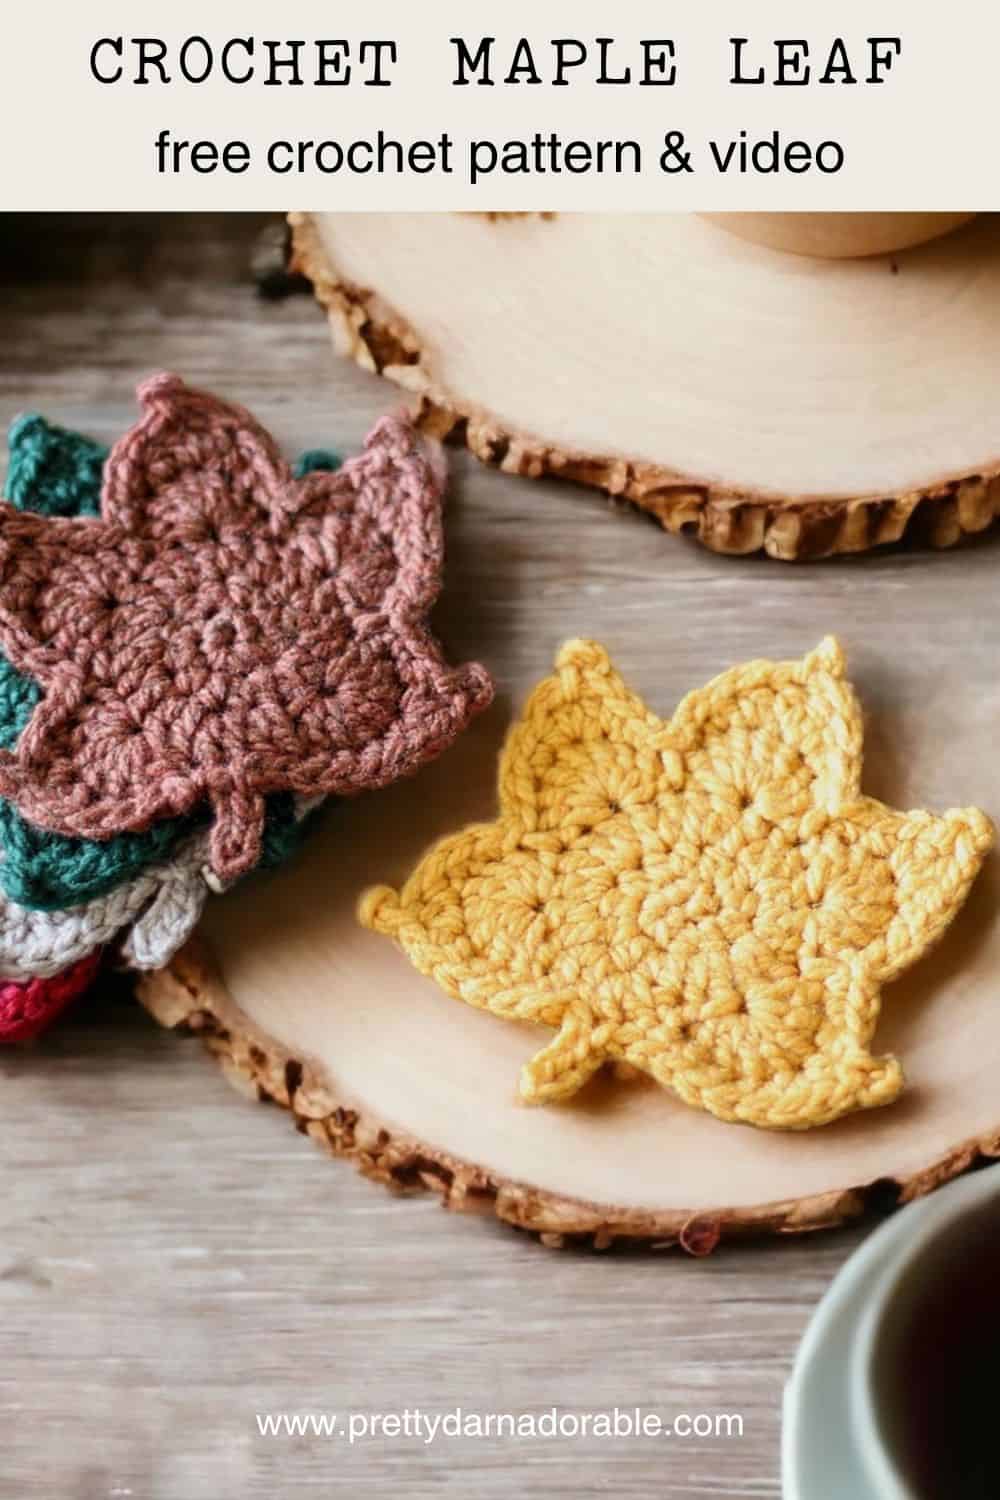
FINISHING FOR COASTERS
MATERIALS FOR COASTERS
Speed Stitch or other permanent fabric glue
Felt to match leaves made
Marker
Scissors
- Lay finished crochet leaf on felt and trace with permanent marker.
- Cut out leaf about 1/4” to the inside of traced shape of leaf.
- Glue to wrong side of leaf and let glue dry according to directions on product.
- Be sure to post to Instagram or Facebook and tag me! #prettydarnadorable
Cedar Ridge Pumpkins
Try my free crochet pumpkin pattern for another easy fall project.
Crochet Acorn
Or make a crochet acorn to go with your fall leaves.
Chunky Crochet Pumpkin
For something larger, try this chunky crochet pumpkin pattern.
HAVE FUN!
Cyprianne xo
Sweet pattern! I would also love to see it adjusted to use a regular worsted weight yarn if possible.
I really like this pattern but the only yarn I have is medium weight. Is there a way to adjust for the lighter yarn? Thank you so much!
I was wondering the same as well. I have a shop on Etsy (MountainLaurelLynne).