


It’s summer! And this sometimes means road trips and and of course this means packing a few small projects to make those long drives a little more fun (and a little less endless). A quick project is a must, especially when you’re headed to the beach, the cottage, or just tagging along on errands.
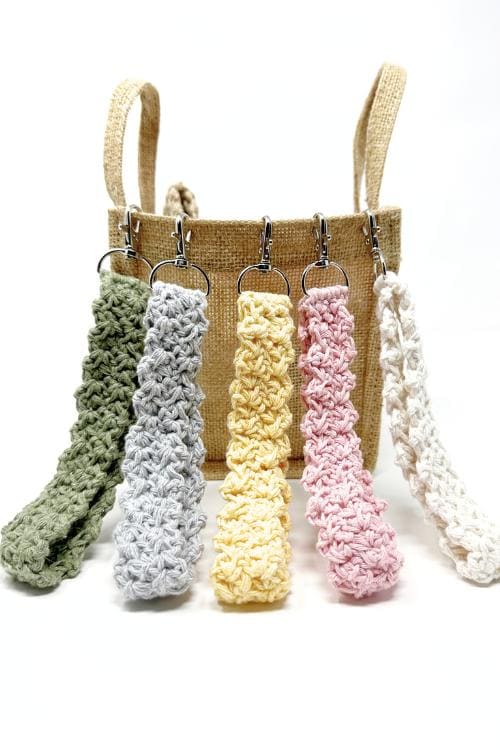
That’s where these easy crochet wristlet keychains come in. They’re the perfect way to use up scrap yarn and leftover yarn from your other crochet creations, and they’re made with just single crochet and chain stitches… super simple, even if you’re brand new to crochet.
I used cotton yarn for mine because it holds up well and keeps its shape, but you can play with different colors, yarn weights, or even go for thinner yarn if you want a more delicate look.

Whether you’re road tripping to your favourite sunny spot, waiting at the airport, or just relaxing at home, this is a quick project you’ll love keeping in your back pocket (or, you know, your project bag).
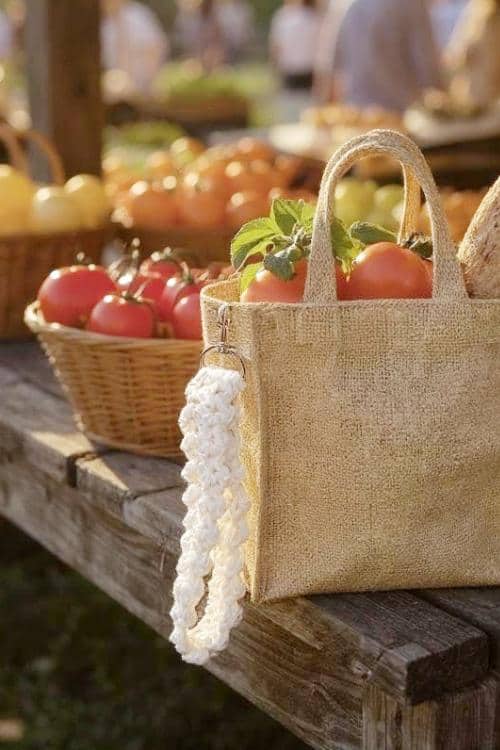
It’s easy, it’s portable, and it’s one of those fun projects that doesn’t ask for much. Just a little bit of yarn, a crochet hook, and a little time to unwind well and of course a keyring.

Scroll down for the free crochet pattern!
Why You’ll Love This Project
I started making these back in April, and didn’t want to stop. They’re such an easy and fun crochet project but also so useful, and they come together so quickly!
When my son and husband were leaving for Ireland we attached these keychains to their suitcases with their luggage tag. No guessing whose black suitcase was whose on the conveyor belt.

Then I added one to my key fob and realized how helpful it was to find my keys in my purse. That little crochet piece stands out, even in a messy bag! It’s a fun accessory that’s actually useful and makes a great gift which is always a win in my books.
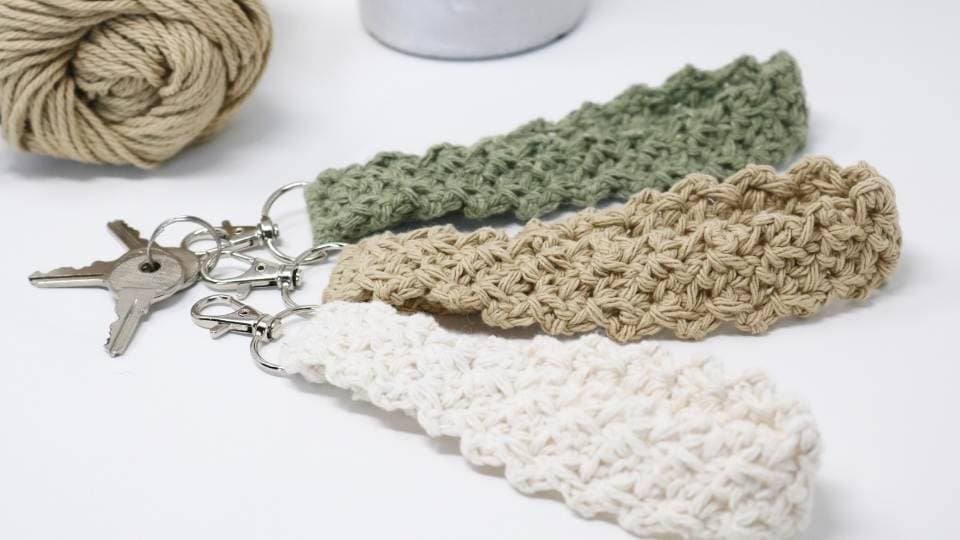
Want to Make a Lanyard Instead?
You can easily turn this cute keychain into a full crochet lanyard, the only thing that changes is the length!
Start the exact same way as they wristlet and crochet until it is about 34 to 36 inches long. This gives you a lanyard that’s roughly 17 to 18 inches when folded in half and worn around your neck.
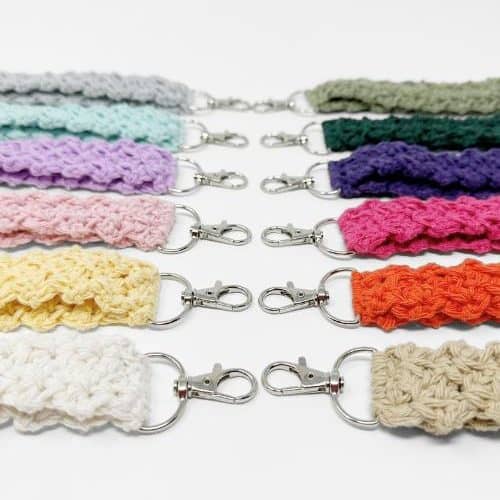
After adjusting the chain length, just follow the exact same steps as you would for the wristlet. Same stitches, same fold, same lobster clasp attachment and thats it!
This is a great way to make great gifts for teachers, coworkers, or anyone who appreciates handmade everyday accessories.
What Kind of Yarn Should You Use?
I made these using worsted weight yarn, specifically cotton yarn and I think they turned out beautifully. Cotton yarn is sturdy and holds its shape, making it great for key chains, zipper pulls, or any item that gets a bit of wear and tear.

That said, I’m also excited to make a few with acrylic yarn, especially since fall is coming and I have some warm fall colours tucked away in my stash. These would be beautiful worked up in dk weight yarn, or even a thinner yarn if you’re going for something more delicate.

This is the perfect way to dive into your stash and try out different colours, various sizes, and whatever type of yarn you’ve been holding onto. Because you only need a bit of yarn, it’s the ultimate stash buster!
What Makes This Stitch So Great?
If you’ve tried my Lacey Headband, you’ll recognize the stitch an easy combo of basic crochet stitches: single crochets and chains. Super beginner-friendly, super relaxing.
It’s one of those easy crochet textures that looks a bit fancier than it is. I use it all the time for simple crochet projects like scarves, dishcloths, and now these cute wristlets.
Be sure to check out all the free crochet patterns using this stitch!
The Perfect Little Gift (Seriously!)
These are great gifts, whether it’s a school gift, party favour, Valentine’s Day token, or a stocking stuffer. Add a lip balm or a little personal touch like a charm, and you’ve got the perfect little gifts that people actually use.

Because it’s such a quick project, you can batch a bunch in one evening they are perfect for craft fairs, holiday season prep, or just stocking your gift drawer.
They’re also a fun project for using up leftover yarn or those new skeins you’ve been dying to play with. I love when a creative idea turns leftover bits into something adorable and useful.
Free Step-by-Step Pattern
As always, I’ve put together a free step-by-step pattern that walks you through the whole process. This easy crochet pattern is perfect for all skill levels, even if you’re brand new or just want a chill easy project to keep your hands busy.
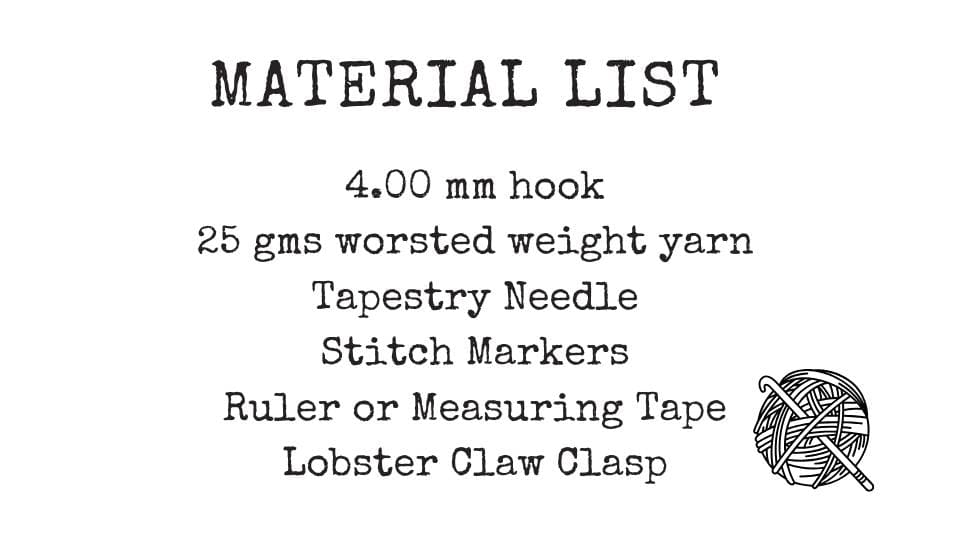
What You’ll Need:
- Type of yarn: Worsted weight yarn (I recommend cotton yarn or acrylic)
- Crochet hook: Use the size recommended for your yarn weight
- Lobster clasp or keyring attachment
- Scissors & tapestry needle
- A little time to relax!

Recommended Cotton Yarns
If you’re making this project and wondering what yarn to use, I’ve got you covered! I almost always reach for worsted weight 100% cotton yarns—they’re durable, absorbent, and hold up beautifully over time. Whether you’re making home decor, accessories, or baby items, these cottons are a great choice.
Bernat Handicrafter Cotton
The Bernat Handicrafter Cotton—thick, sturdy, and great for washcloths, coasters, and more. It has a matte texture and a dense feel, which gives your stitches really nice definition. If you’ve used it before, you know it’s a solid workhorse yarn.
Knit Picks Dishie
Dishie is probably the closest match to Handicrafter in terms of texture and weight. It’s a worsted weight 100% cotton that’s slightly smoother than Handicrafter, but still super durable. It also comes in a huge range of colours.
Lily Sugar’n Cream
Another long-time favourite, is Lily Sugar’n Cream in both weight and texture. It’s also 100% cotton and super sturdy, with a slightly more rustic feel. It works up nicely for everything from dishcloths to baskets and is widely available in stores.
You can’t go wrong with any of these! If you’re not sure what to choose, Knit Picks Dishie is a top pick when people want something super close to Bernat Handicrafter, especially for beginner-friendly projects.
🛒 Where to Buy Cotton Yarn Online
➡️ I’ll link the lobster clasp keyring set I use from Amazon they’re super affordable and give your wristlets that polished, professional look.
🇺🇸 Amazon.com Lobster Clasp
🇨🇦 Amazon.ca Lobster Clasp
Let’s Get Hooking!
So if you’re looking for a quick project that turns a bit of yarn into something functional, beautiful, and very giftable—this is it. Whether you’re prepping for the holiday season, filling your table for craft fairs, or just relaxing on a road trip, this is a go-to easy crochet pattern you’ll come back to again and again.
Happy crocheting and safe travels wherever the summer takes you!
Hugs,
Cyp
Purchase Ad Free Pattern – Instant Download!
Purchase the ad-free PDF for a smooth, distraction-free crocheting experience anytime, anywhere.
Already a subscriber? Check your latest email for your special discount code. Not subscribed yet? Sign up here to get yours!
Thanks so much for supporting my blog!
Skill Level
Beginner
Abbreviations
- ch – chain
- sc – single crochet
- sk – skip
- st – stitch
- sts – stitches
- sl st – slip stitch
- rpt – repeat
Gauge
Not required for this design
Finished Measurements
12” in total length – 6” when folded in half and worn on wrist
Materials Needed
- 25 grams of worsted weight cotton yarn.
- I have used Bernat Handicrafter and Loops & Threads Capri Cotton for this.
- Note: You can use any worsted weight yarn it does not have to be cotton.
- 4.00 mm crochet hook
- Measuring tape
- Scissors
- Tapestry Needle
- Lobster Claw Clasp
- 🇺🇸 Amazon.com Lobster Clasp
🇨🇦 Amazon.ca Lobster Clasp
Instructions for Wristlet Keychain
Want to Make a Lanyard Instead?
You can easily turn this cute little wristlet into a full crochet lanyard—the only thing that changes is the length!
Instead of starting with a short chain for a wristlet, simply begin with a longer foundation chain, about 34 to 36 inches long. This will give you a finished lanyard that’s roughly 17 to 18 inches when folded in half and worn around your neck—perfect for holding keys, ID badges, or even mini wallets.
After adjusting the chain length, just follow the exact same steps as you would for the wristlet. Same stitches, same fold, same clasp attachment. It’s that easy!
Chain 4
Row 1: (Sc, ch 2, sc) in 2nd ch from the hook, skip next st. *(sc, ch 2, sc) in last st. Ch 1, turn.
Row 2: Repeat until pieces measures 12 inches: (Sc, ch 2, sc) in each ch 2 space. For a total of 2 ch 2 spaces. Ch 1, turn. Leave long tail of yarn for attaching to wristlet – I left about 16-18”.
How to Add a Lobster Claw Clasp to a Crochet Wristlet Keychain
Once you’ve finished crocheting your wristlet, adding a lobster claw clasp is the final step—and it’s super easy! Here’s how to do it:
What You’ll Need:
- Your finished crochet wristlet keychain
- Lobster claw clasp with D-ring
- Yarn needle or tapestry needle
Step 1: Fold the Wristlet
Fold your crocheted strip in half so the two short ends are touching. Make sure there are no twists in the band.
Step 2: Line up the Flat End of the D-Ring
Line up the straight side of the d-ring beside the short edges.

Step 3: Sew It Closed
Using your yarn needle and matching yarn, sew around the metal ring and through the two short ends of the wristlet together just below the metal ring. Work through both layers securely, creating a tight seam to hold the clasp in place.

I like to go over this seam a few times for extra strength—it’s the part that takes the most stress when pulling.
Step 4: Weave in Your Ends
Once the clasp is secure, weave in your yarn tail and trim any excess yarn.
Step 5: Give It a Tug
Give your clasp a little tug to make sure it’s firmly attached. If it wiggles or feels loose, go back and add a few more stitches.

And that’s it! Now your easy crochet wristlet keychain is ready to clip onto keys, bags, backpacks—or even your suitcase as a DIY luggage tag!
Your clasp looks different than the one that is taking us to Amazon.
Options?
Thanks so much for letting me know :). This is the new link https://amzn.to/4u7EGtB
Thanks again!
Thank you 😊
Very Welcome!
I used the link you provided for the Lobster Claw and was so excited I made two of the wristlets while I waited for Amazon delivery. Unfortunately what I received is very small. I’m wondering if there’s been a change in the order number. Can you give size measurements of what you used?
It is 1 inch. Thanks so much for letting me know :). This is the new link https://amzn.to/4u7EGtB
So sorry for the long response time.
I really want to do this!! How do you download it? I could not find anything downloadable that wasn’t a clickbait ad.
I enjoyed your pattern. I think it is very useful. I also appreciate that it’s downloadable. Thanks
So glad you downloaded in time! Have fun 🙂
Thank you so much!!! 💖
Thank you for this free PDF pattern. I think this will be a cute, useful and great way to use up some of my scrap cotton yarn.
These are so cute I’m going to try it out. Thanks for sharing with us.