


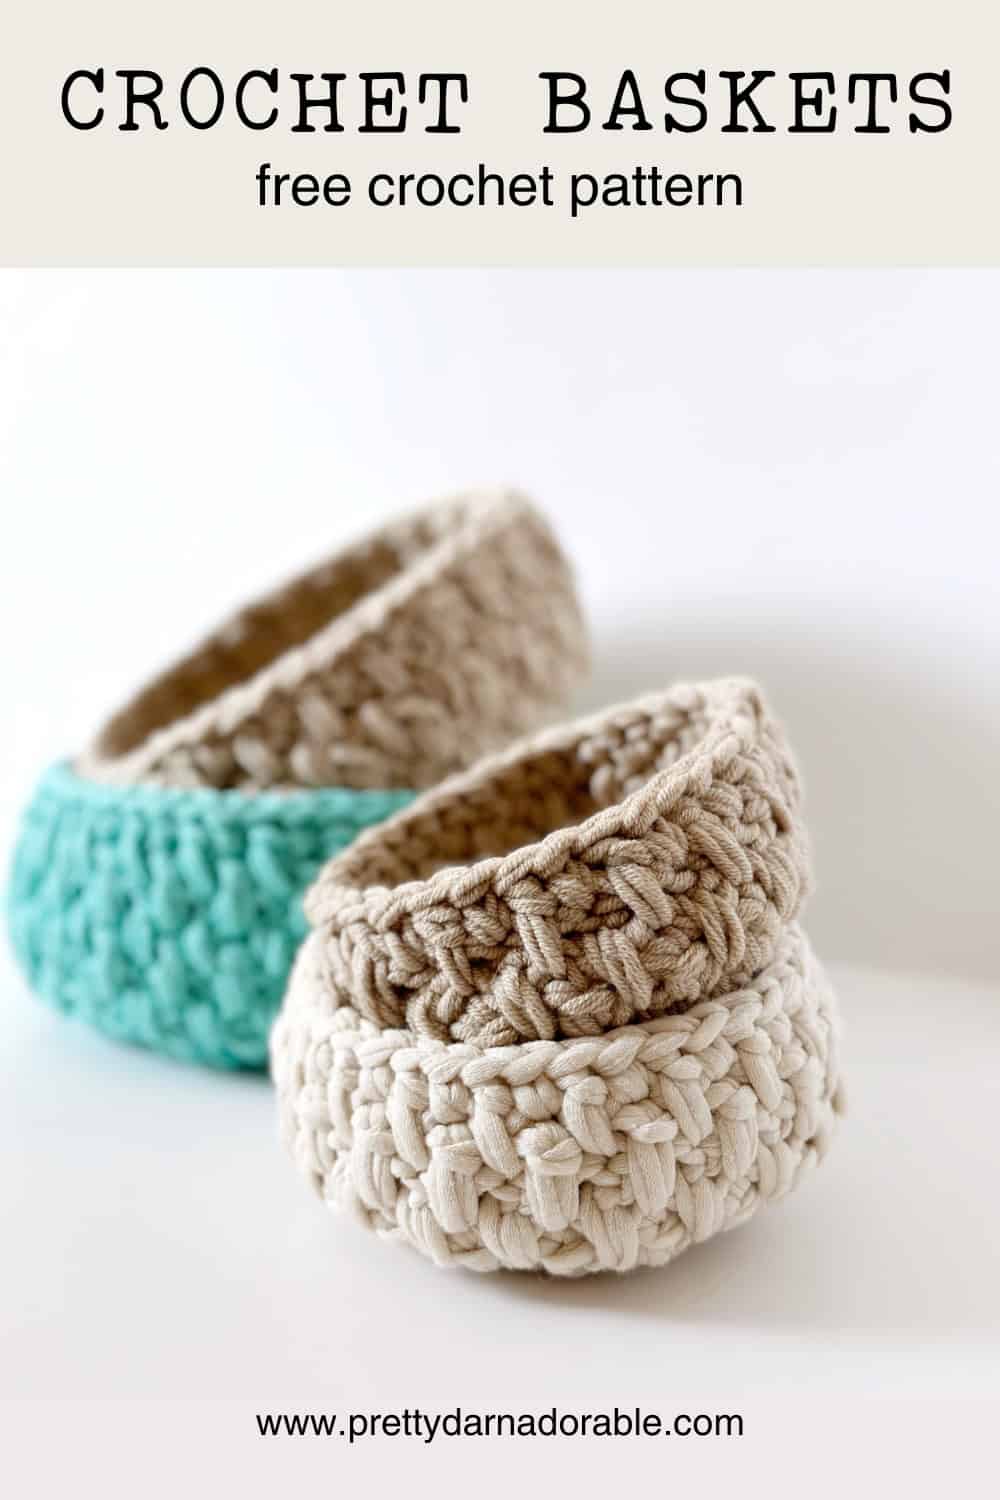
Today I’m excited to share a new pattern with you: The Brighton Free Crochet Nesting Trinket Basket Pattern. This free crochet basket pattern is a fast crochet project and simple design that will fit into any decor.
The texture of this basket comes together using double crochet and chain stitches so even if you are a beginner I think you should give it a try. Use the detailed instructions and photo tutorial below and take it stitch by stitch. YOU CAN DO IT!
- Add Pattern to your Ravelry Library
- Download On Etsy
- Pin Now Make Later
So whether you are looking to make a small basket for jewellery, a medium basket for makeup and hair ties, or a large basket for corralling items on your counter this handmade basket is a great pattern for meeting all your needs and just might become one of your favourite crochet patterns for keeping your house organized!
I have been seeing crochet baskets everywhere and I love the look of them. However, I have been trying to reduce the clutter in my house so the idea of having more baskets around didn’t seem like a good idea. But, I gave in… I have to admit that part of the reason I made them was because of how cute they are plus I was looking to add more fast crochet projects to the blog in time for Christmas.
Scroll down for free crochet basket pattern.
NEW POSTS TO THE BLOG
- Free Crochet Lapghan Pattern: Country Charm Lapghan
- Gardenlace Free Crochet Dishcloth Pattern PDF Download
- Free Montero Crochet Basket Pattern
- Cedar Ridge Free Crochet Towel Holder Pattern – 3 Easy Styles
- Quick Crochet Projects You Can Make This Weekend

What I didn’t realize at the time was truly how useful these little trinket baskets would be – but more on that later.
When I first thought about creating the Brighton Nesting Trinket Baskets, I wanted to create a beautiful basket that was easy to make and would be good storage baskets for all the smaller items. A useful crochet storage basket that had a variety of uses and could house all different sorts of items that seem to collect on all my flat surfaces.
I also was looking to use up my yarn stash and wanted to create an easy crochet basket pattern that would be beautiful using different types of yarns so that it would be a true stash buster!
These crochet basket trays fit the bill perfectly. This crocheted basket pattern includes different sizes small, medium, large and extra large, allowing them to nest within each other for convenient storage, or you can use them separately around your home.
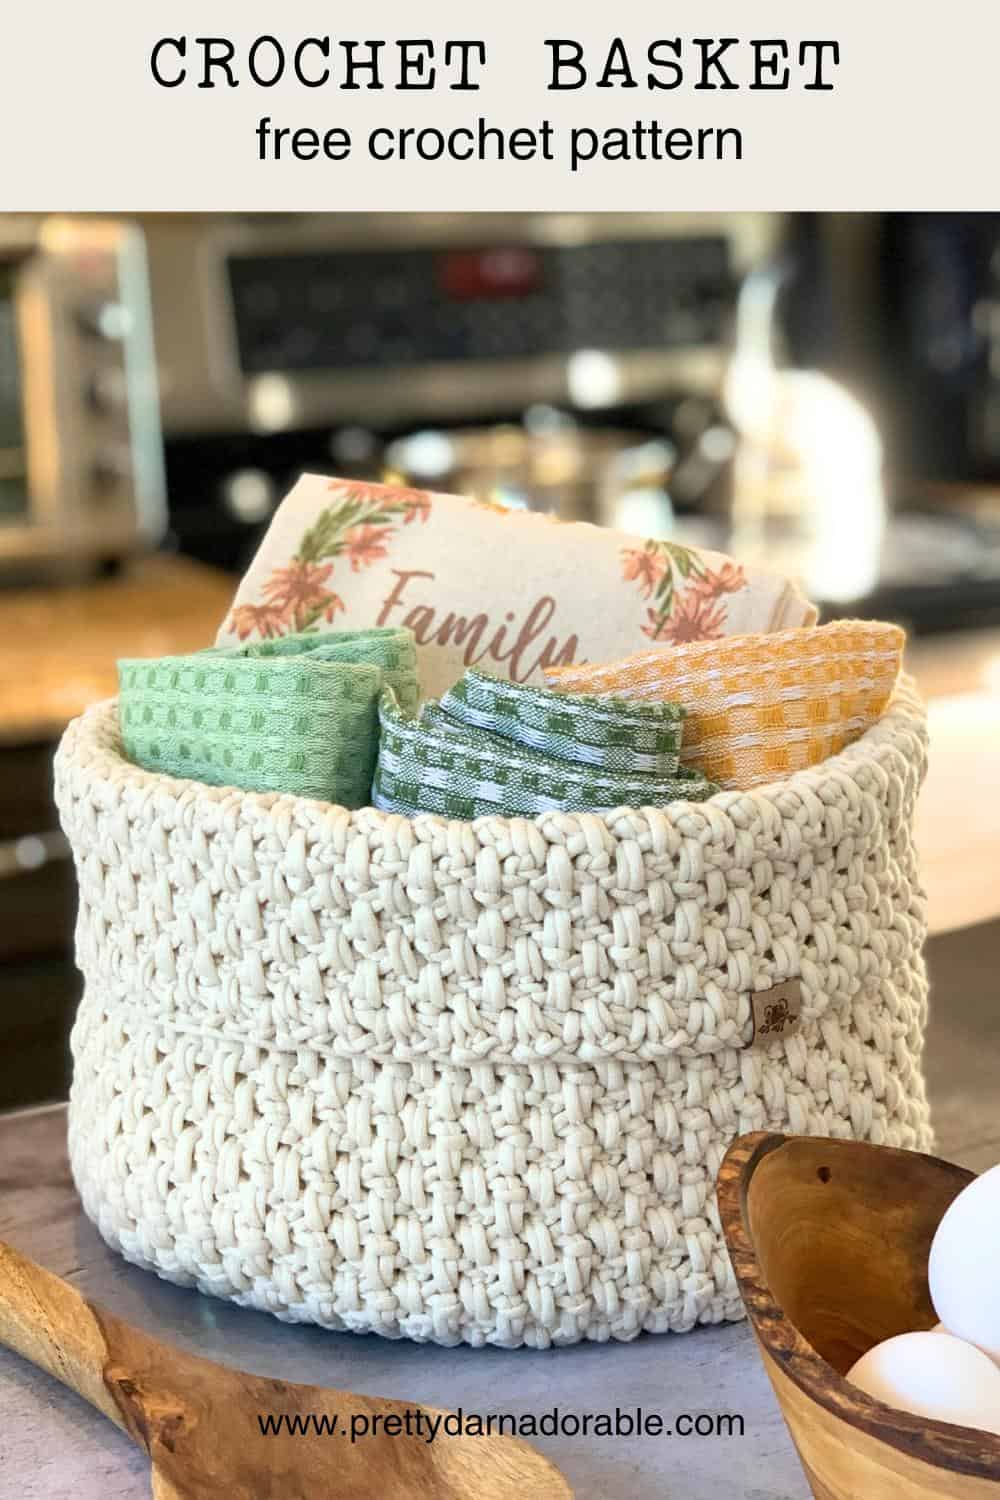
Want to make a really big crochet basket?
CLICK THE PHOTO BELOW
Choosing the Right Yarn
To amp up the speed which I could make these little crochet baskets I used two strands of chunky yarn held together to create a quick to make and sturdy basket. I used Bernat Home Maker Dec chunky yarn but I think if you had just regular cotton worsted weight yarn that would work well too.
One of the key elements to making these trays strong and sturdy is using a smaller hook than the yarn calls for. By doing this you will be creating a sturdier basket. It is important that the sides of the basket remain strong as things are added.

It is also worth mentioning that if you struggle with your hands and pain crocheting with a small hook and heavier yarn will cause extra stress to your hands. I needed to take breaks after a soft tissue injury (yes from crocheting!) That I am still recovering from 5 months later. Take your time and rest as soon as you feel your hand starting to ache.
Versatility and Uses of the Crochet Trinket Trays
Organizing Your Home
I love having these trays in different rooms of my house. I was truly surprised at how useful they are!
One of my favorite uses is keeping a small tray on my nightstand. I toss everything in there, from my earrings and vitamins to scrunchies and even a few dog treats. It just looks so much tidier!
I also have a medium tray on my desk, which currently holds my watch, hair clip, earbuds, and three scrunchies— all items I tend to take on and off throughout the day.

By my front door, I have a large tray with sunscreen, after-sun lotion, bug spray, chapstick, and my earbuds. It’s perfect for keeping everything organized. In the living room, beside my chair, I have another tray holding buttons, stitch markers, measuring tapes, and of course, crochet hooks!
The X-Large tray hasn’t found a purpose yet, but I’m thinking it would be handy for corralling odds and ends inside my dresser drawer.
What will you use yours for?

If you’re new to crocheting, I want to assure you that this pattern is beginner-friendly. The basic crochet stitches used are easy to learn, and I’ll guide you through every step. It is so fun as we learn to crochet seeing how simple stitches can create something so beautiful and functional.
Take It Step by Step
My biggest piece of advice for beginners is to take it one step at a time. Don’t rush through the pattern. Don’t even read ahead! (I feel like this causes more stress) Enjoy the process of creating something with your own hands. If you get stuck, put it down and come back the next day – it is amazing how much taking a break can help.

Brighton Nesting Trinket Baskets – Free Crochet Pattern
Skill Level
Beginner
Abbreviations
Ch – chain
Dc – double crochet
Sc – single crochet
Sk – skip
St – stitch
Sts – sts
Slst – slip stitch
Rpt – repeat
Yarn Gauge
Even though this is for a crochet project that usually does not require you to meet gauge, it is important to note when making a set of these baskets the same gauge of yarn should be used so that they will still nest neatly into one another.
Using a 6.5 mm crochet hook 12 sts & 15 rows = 4” x 4” square
Materials Needed
Bernat Maker Home Dec: Colours Shown – Aqua & Cream
Loops & Threads Bulky Twist Cotton Blend: Colour Shown – Tan
Please note that the actual amount of yarn needed may change depending on the
yarn chosen always purchase a little more than you think you may need.
Small Basket – 35 grams
Medium Basket – 64 grams
Large Basket – 70 grams
X-Large Basket – 115 grams
Yarn Needle
Measurements
Small Basket – 2” x 4”
Medium Basket – 2 ½” x 5”
Large Basket – 3” x 6”
X-Large Basket – 3 ½” x 7”
Scroll down for free written crochet pattern and refer to the photos below if you get stuck.
Instructional Photos – Starting the Side of Basket


Free Crochet Nesting Trinket Basket Pattern
Small Crochet Basket
Increase rounds – Base of Basket will be worked in continuous rounds without
joining.
Use a stitch marker in first stitch of each round to indicate the beginning of each round for easier counting.
Ch 2
Rnd 1: Work 8 sc in 2nd ch from hook. (8)
Rnd 2: 2 Sc in each st around. (16)
Rnd 3: 1 sc in first st *2 sc in next st, 1 sc in next st* rpt from * to * till end of round. (24)
Rnd 4: 1 sc in first 2 sts *2 sc in next st, 1 sc in next 2 sts* rpt from * to * till end of round. (32). Join to 1st sc with slst and ch 3. Do not turn.
Starting the Sides – Texture Starts Here
Note: When working in the stitch under ch 1 space be sure to work around/over the ch 1 space not behind or through it.
Rnd 5: Chain 3 of previous round counts as first (dc, ch1). Skip 1st st, *dc in next, ch 1 and skip next st* rpt from *to* till end of rnd. Join with slst to the ch 3. Ch 1, turn (32)
Note: If you want to make your basket shorter or taller repeat round 6 below moreor less times to achieve the desired height.
Rnd 6: Dc in 1st skipped st under ch space, ch 1, skip next st, *dc in skipped st under ch space, ch 1 skip next st* rpt from *to* till end of rnd. Join with slst to ch 1. Ch, 1 turn (32)
After Round 6, you’ll notice some small holes where stitches were skipped. To close these holes, you’ll work a finishing round. Turn your work if necessary to make sure the side of the basket you want on the outside (the right side) is facing you while you do this. This will ensure that the basket looks neat and finished when you’re done.
Finishing Round: Dc in skipped stitch under ch space, sc in next st *dc in skipped st under ch space, sc in next st* rpt from * to * till end of rnd. (32) Join to 1st st with slst, fasten off and weave in ends.
Medium Crochet Basket
Increase rounds – Base of Basket will be worked in continuous rounds without joining.
Use a stitch marker in first stitch of each round to indicate the beginning of each round for easier counting.
Ch 2
Rnd 1: Work 8 sc in 2nd ch from hook. (8)
Rnd 2: 2 Sc in each st around. (16)
Rnd 3: 1 sc in first st *2 sc in next st, 1 sc in next st* rpt from * to * till end of round. (24)
Rnd 4: 1 sc in first 2 sts *2 sc in next st, 1 sc in next 2 sts* rpt from * to * till end of round. (32)
Rnd 5: 1 sc in first 3 sts *2 sc in next st, 1 sc in next 3 sts* rpt from * to * till end of round. (40) Join to 1st sc with slst and ch 3, turn.
Starting the Sides – Texture Starts Here
Note: When working in the stitch under ch 1 space be sure to work around/over the ch 1 space not behind or through it.
Join and turn as indicated for each round.
Rnd 6: Chain 3 of previous round counts as first (dc, ch1). Skip 1st st, *dc in next, ch 1 and skip next st* rpt from *to* till end of rnd. Join with slst to the ch 3. Ch 1, turn (40)
Note: If you want to make your basket shorter or taller repeat round 7 below more or less times to achieve the desired height.
Rnds 7 – 8: Dc in 1st skipped st under ch space, ch 1, skip next st, *dc in skipped st under ch space, ch 1 skip next st* rpt from *to* till end of rnd. Join with slst to ch 1. Ch, 1 turn (40)
After Round 8, you’ll notice some small holes where stitches were skipped. To close these holes, you’ll work a finishing round. Turn your work if necessary to make sure the side of the basket you want on the outside (the right side) is facing you while you do this. This will ensure that the basket looks neat and finished when you’re done.
Finishing Round: Dc in skipped stitch under ch space, sc in next st *dc in skipped st under ch space, sc in next st* rpt from * to * till end of rnd. (40) Join to 1st st with slst, fasten off and weave in ends.
Large Crochet Basket
Increase rounds – Base of Basket will be worked in continuous rounds without
joining.
Use a stitch marker in first stitch of each round to indicate the beginning of each round for easier counting.
Ch 2
Rnd 1: Work 8 sc in 2nd ch from hook. (8)
Rnd 2: 2 Sc in each st around. (16)
Rnd 3: 1 sc in first st *2 sc in next st, 1 sc in next st* rpt from * to * till end of round. (24)
Rnd 4: 1 sc in first 2 sts *2 sc in next st, 1 sc in next 2 sts* rpt from * to * till end of round. (32)
Rnd 5: 1 sc in first 3 sts *2 sc in next st, 1 sc in next 3 sts* rpt from * to * till end of round. (40)
Rnd 6: 1 sc in first 4 sts *2 sc in next st, 1 sc in next 4 sts* rpt from * to * till end of round. (48) Join to 1st sc with slst and ch 3.
Starting the Sides – Texture Starts Here
Note: When working in the stitch under ch 1 space be sure to work around/over the ch 1 space not behind or through it.
Join and turn as indicated for each round.
Rnd 7: Chain 3 of previous round counts as first (dc, ch1). Skip 1st st, *dc in next, ch 1 and skip next st* rpt from *to* till end of rnd. Join with slst to the ch 3. Ch 1, turn (48)
Note: If you want to make your basket shorter or taller repeat round 8 below more or less times to achieve the desired height.
Rnds 8 – 10: Dc in 1st skipped st under ch space, ch 1, skip next st, *dc in skipped st under ch space, ch 1 skip next st* rpt from *to* till end of rnd. Join with slst to ch 1. Ch, 1 turn (48)
After Round 10, you’ll notice some small holes where stitches were skipped. To close these holes, you’ll work a finishing round. Turn your work if necessary to make sure the side of the basket you want on the outside (the right side) is facing you while you do this. This will ensure that the basket looks neat and finished when you’re done.
Finishing Round: Dc in skipped stitch under ch space, sc in next st *dc in skipped st under ch space, sc in next st* rpt from * to * till end of rnd. (48) Join to 1st st with slst, fasten off and weave in ends.
X-Large Crochet Basket
Increase rounds – Base of Basket will be worked in continuous rounds without joining.
Use a stitch marker in first stitch of each round to indicate the beginning of each round for easier counting.
Ch 2
Rnd 1: Work 8 sc in 2nd ch from hook. (8)
Rnd 2: 2 Sc in each st around. (16)
Rnd 3: 1 sc in first st *2 sc in next st, 1 sc in next st* rpt from * to * till end of round. (24)
Rnd 4: 1 sc in first 2 sts *2 sc in next st, 1 sc in next 2 sts* rpt from * to * till end of round. (32)
Rnd 5: 1 sc in first 3 sts *2 sc in next st, 1 sc in next 3 sts* rpt from * to * till end of round. (40)
Rnd 6: 1 sc in first 4 sts *2 sc in next st, 1 sc in next 4 sts* rpt from * to * till end of round. (48)
Rnd 7: 1 sc in first 5 sts *2 sc in next st, 1 sc in next 5 sts* rpt from * to * till end of round. (56) Join to 1st sc with slst and ch 3. Turn.
Starting the Sides – Texture Starts Here
Note: When working in the stitch under ch 1 space be sure to work around/over the ch 1 space not behind or through it.
Join and turn as indicated for each round.
Rnd 8: Chain 3 of previous round counts as first (dc, ch1). Skip 1st st, *dc in next, ch 1 and skip next st* rpt from *to* till end of rnd. Join with slst to the ch 3. Ch 1, turn (56)
Note: If you want to make your basket shorter or taller repeat round 9 below more or less times to achieve the desired height.
Rnds 9 – 12: Dc in 1st skipped st under ch space, ch 1, skip next st, *dc in skipped st under ch space, ch 1 skip next st* rpt from *to* till end of rnd. Join with slst to ch 1. Ch, 1 turn (56)
After Round 12, you’ll notice some small holes where stitches were skipped. To close these holes, you’ll work a finishing round. Turn your work if necessary to make sure the side of the basket you want on the outside (the right side) is facing you while you do this. This will ensure that the basket looks neat and finished when you’re done.
Finishing Round: Dc in skipped stitch under ch space, sc in next st *dc in skipped st under ch space, sc in next st* rpt from * to * till end of rnd. (56) Join to 1st st with slst, fasten off and weave in ends.
Crochet baskets, crochet basket patterns, affiliate links, large basket, free crochet patterns, sl st, free crochet basket pattern, next st, strands of yarn, single crochet, stitch marker, bulky yarn, crochet projects, small commission, video tutorials, t-shirt yarn, facebook group, fun way, crocheted basket, cotton yarn, storage baskets, hook size, worsted weight yarn, slip stitch, free patterns, sturdy basket, crochet hook, different colors, beautiful basket, best yarn, jumbo yarn, small basket, skeins of yarn, 3rd ch, oval basket, home decor, back loop, continuous rounds, super bulky weight yarn, gift basket, variety of uses, easy crochet basket pattern, crochet storage basket, valentine’s day, simple design, different sizes, hanging basket, basic crochet stitches, fun things, double crochet, own basket, photo tutorial, magic ring, 2nd ch, rectangle baskets, different types of yarns, yarn stash, caron tea cake, great way, little bit, additional cost, smaller baskets, ideal choice, great choice, skill level, detailed instructions, toy storage, living room, social media, thick yarn, strand of yarn, handmade basket, last stitch, perfect way, great stash busters, plastic canvas, beautiful spa basket, next sc, variety of yarn weights, great option, first st, great pattern, office supplies, fast crochet project, sturdier basket, hair ties, sides of the basket, smaller hook, easy project, couple of hours, mm hook, medium basket, easy crochet patterns.