


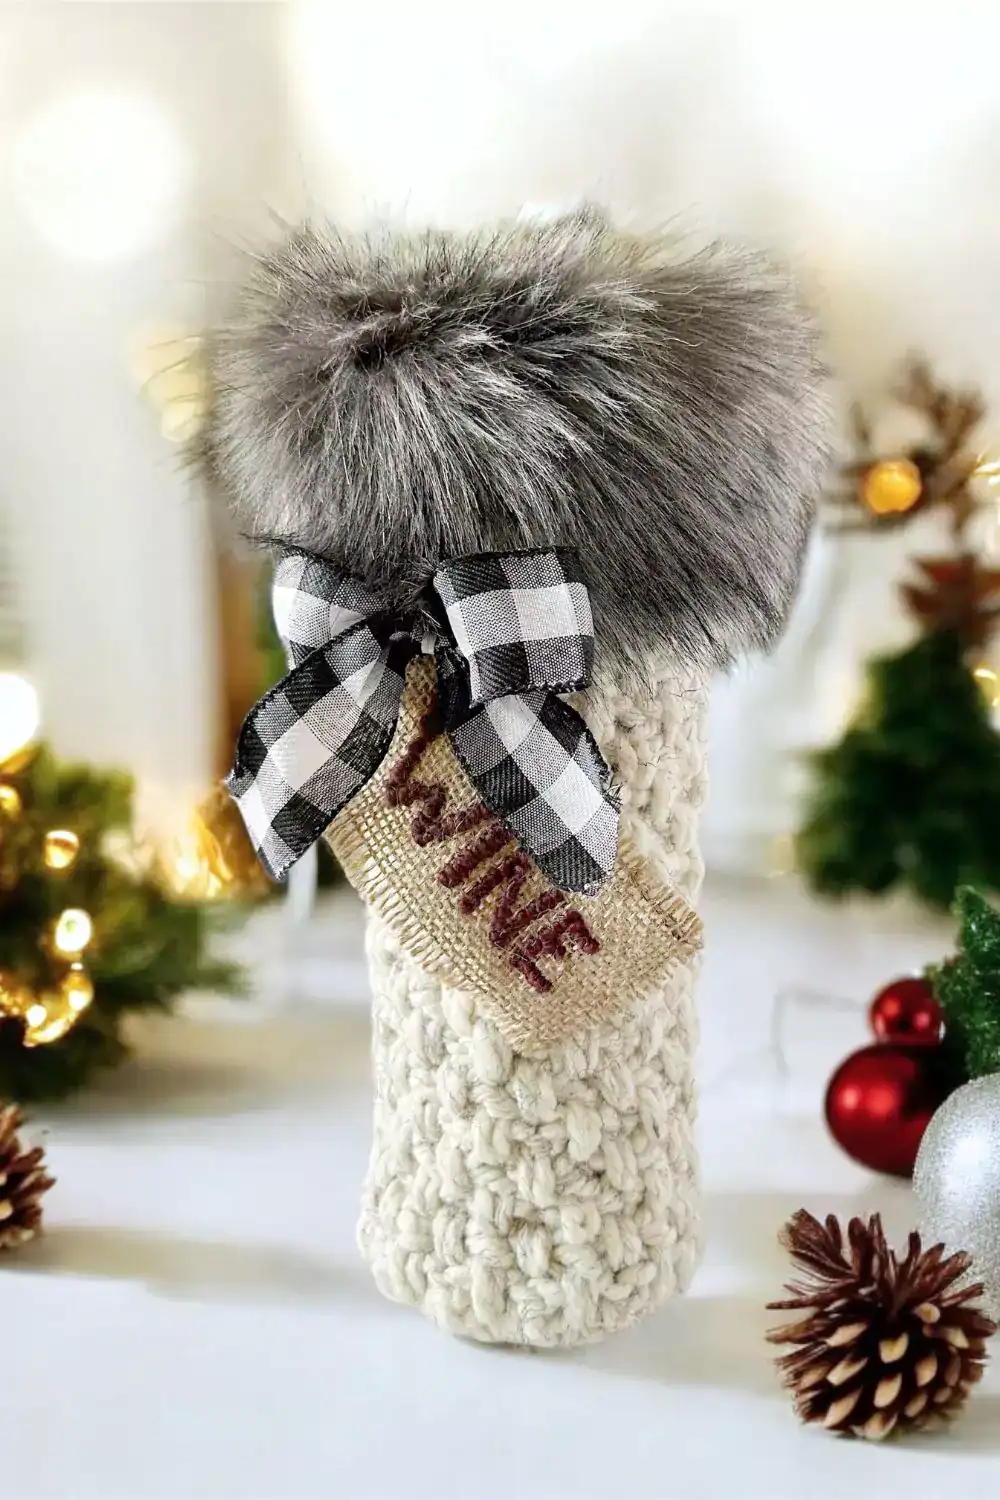
Looking for a quick and unique gift idea for the Christmas holidays? This free crochet pattern for a crochet wine bottle holder is just what you need! Perfect for wrapping up a nice bottle of wine, this wine bottle gift bag features an adorable faux fur trim that adds a cozy, festive touch.
With a picture tutorial included for the faux fur trim, and a video for special stitch help, this easy crochet project is ideal for most skill levels. Whether you’re looking for a thoughtful gift for a friend’s birthday or a charming way to present a nice bottle of wine at a dinner party, this wine bottle bag is a thoughtful gift.
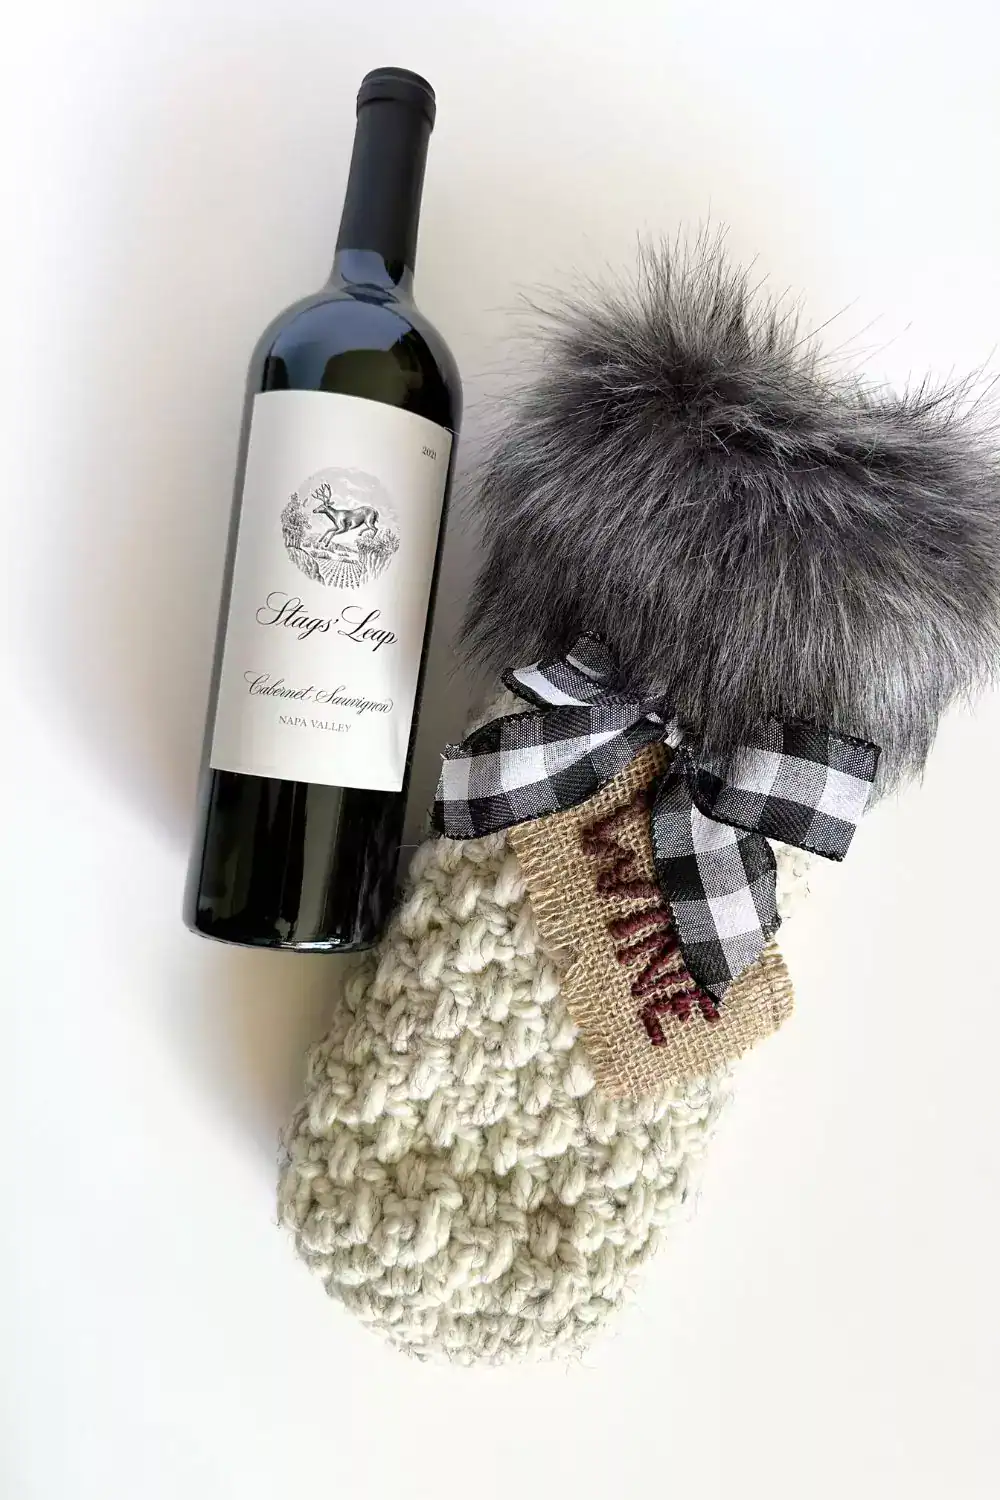
This crochet wine bag, isn’t just for wine though! Use it for cans of flavoured coffee, bubble bath and here you can even by little chocolates in a champagne shaped bottle! This crochet bottle bag makes a quick gift just that much more special. Use your imagination because the possibilities are endless!
To crochet your wine bottle cozy, you’ll need a skein of Lion Brand Wool Ease Thick & Quick, a 9.00 mm crochet hook (or a smaller one for a snug fit), a stitch marker for tracking rounds, and basic supplies: a tapestry needle, scissors, and measuring tape. You can also use up some of your chunky or worsted weight yarn by holding two strands of yarn together.
Purchase Ad Free Pattern – Instant Download!
Purchase the ad-free PDF for a smooth, distraction-free crocheting experience anytime, anywhere.
Already a subscriber? Check your latest email for your special discount code. Not subscribed yet? Sign up here to get yours!
Thanks so much for supporting my blog!
Did you make any of these?
I would love to see what you have made be sure to mention @prettydarnadorable or tag me using #prettydarnadorable on Instagram so I can see your creations!
Brighton Crochet Bottle Bag – Free Pattern
Skill Level
Easy
Abbreviations
- ch – chain
- dc – double crochet
- rnd – round
- sc – single crochet
- sk – skip
- sp – space
- st – stitch
- sts – stitches
- slst – slip stitch
- rpt – repeat
Gauge
Not required for this pattern. Finished dimensions are approximate and will vary depending on the yarn chosen.
Materials Needed
- 1 full skien of Lion Brand Wool Ease Thick & Quick – Wheat
- 9.00 mm crochet hook
- Faux fur fabric (or trim) approximately 3” x 13” – 14” long
- Sewing needle and thread or hot glue gun (depending on your preference)
- Pins (optional)
- Tapestry Needle
- Stitch Markers
- Scissors
- Measuring Tape
- Ribbon or strip of fabric to tie around top of bag
Note: The actual amount of yarn needed may change depending on the yarn chosen. Always purchase a little more than needed.
Measurement
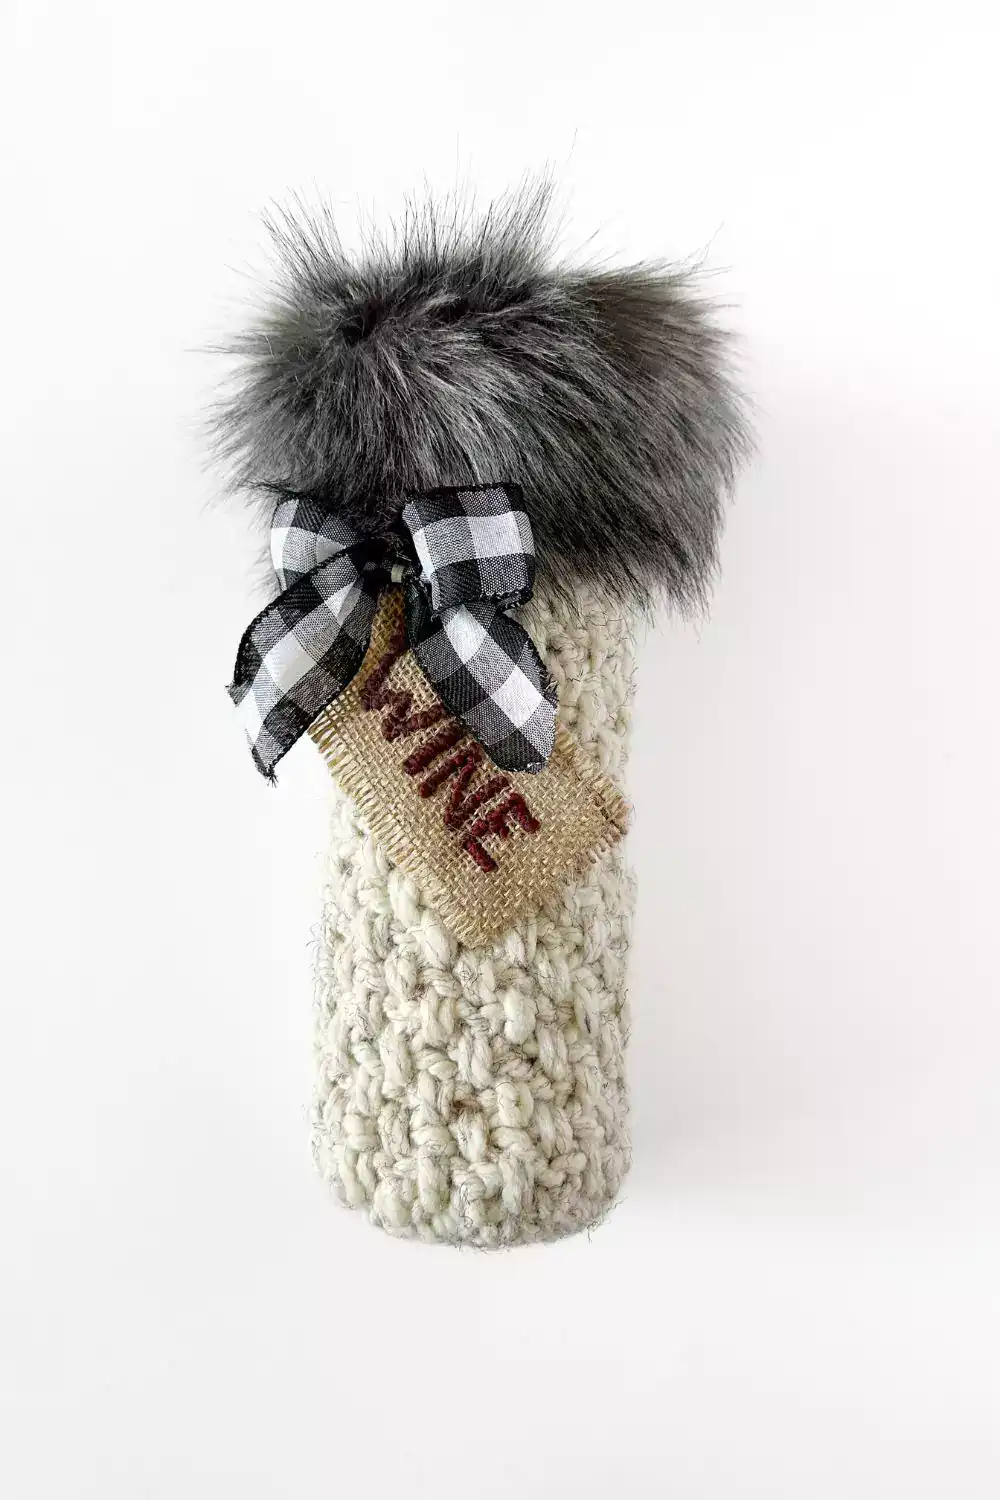
Laying flat, the bag measures approximately 6” across x 12” tall.
Pattern Instructions
Rounds 1 through 6 are worked continuously. Do not join. Use a stitch marker at the beginning of each round for easier counting.
Bottle Bag is crocheted starting at the bottom and working your way up the sides.
For help with the special stitch, watch my YouTube tutorial. Although it’s from a previous project, it can still help with the sides of this one. I hope it’s helpful!
Chain 2
Rnd 1: Work 6 sc in 2nd ch from hook. (6)
Rnd 2: 2 sc in 1st st and each st around. (12)
Rnd 3: 1 sc in 1st st *2 sc in next st, 1 sc in next st* rpt from * to * till end of rnd. (18)
Rnd 4: 1 sc in 1st 2 sts *2 sc in next st, 1 sc in next 2 sts* rpt from * to * till end of rnd. (24)
Rnd 5: Sc 1st and each sc around. Join with slst, ch 3, turn. (24)
Note: You will now be joining and turning at each round as written below.
Rnd 6: Ch 3 of previous rnd counts as first (dc, ch1). Skip 1st st, *dc in next, ch 1 and skip next st* rpt from *to* till end of rnd. Join with slst in 1st ch 3 sp. Ch 1 turn. (24)
Rnds 7: Dc in 1st skipped st under ch space, ch 1, skip next st, *dc in skipped st under ch space, ch 1 skip next st* rpt from *to* till end of rnd. Join with slst to ch 1. Ch 1 turn. (24)
Repeat round 7 until you have reached the desired height of the bottle bag.
Finishing round: *Dc in skipped stitch under ch space, sc in next.* Rpt from * to * in each till end of round. Join to 1st st, fasten off and weave in ends. (24)
Adding Faux Fur Fabric Trim to Your Crochet Wine Bag
1. Cut faux fur to 13” – 14” for this pattern.
OR
- Measure across the opening of you bag then multiply x 2. Cut the faux fur trim fabric to this measurement, adding an extra 1 inch for seam allowance. ½ inch on each end.
- To make the seam less bulky you can carefully trim the fur off the seam allowance.

2. Prepare the Faux Fur Trim
- Fold the faux fur trim in half, right sides together, so the fur side is inside.
- Sew the two short edges of the trim together using a needle and thread (or sewing machine, if you prefer), creating a loop that fits into the wine bag’s opening.

3. Position the Faux Fur Trim
- Turn the fur loop right side out (so the fur is now on the outside).
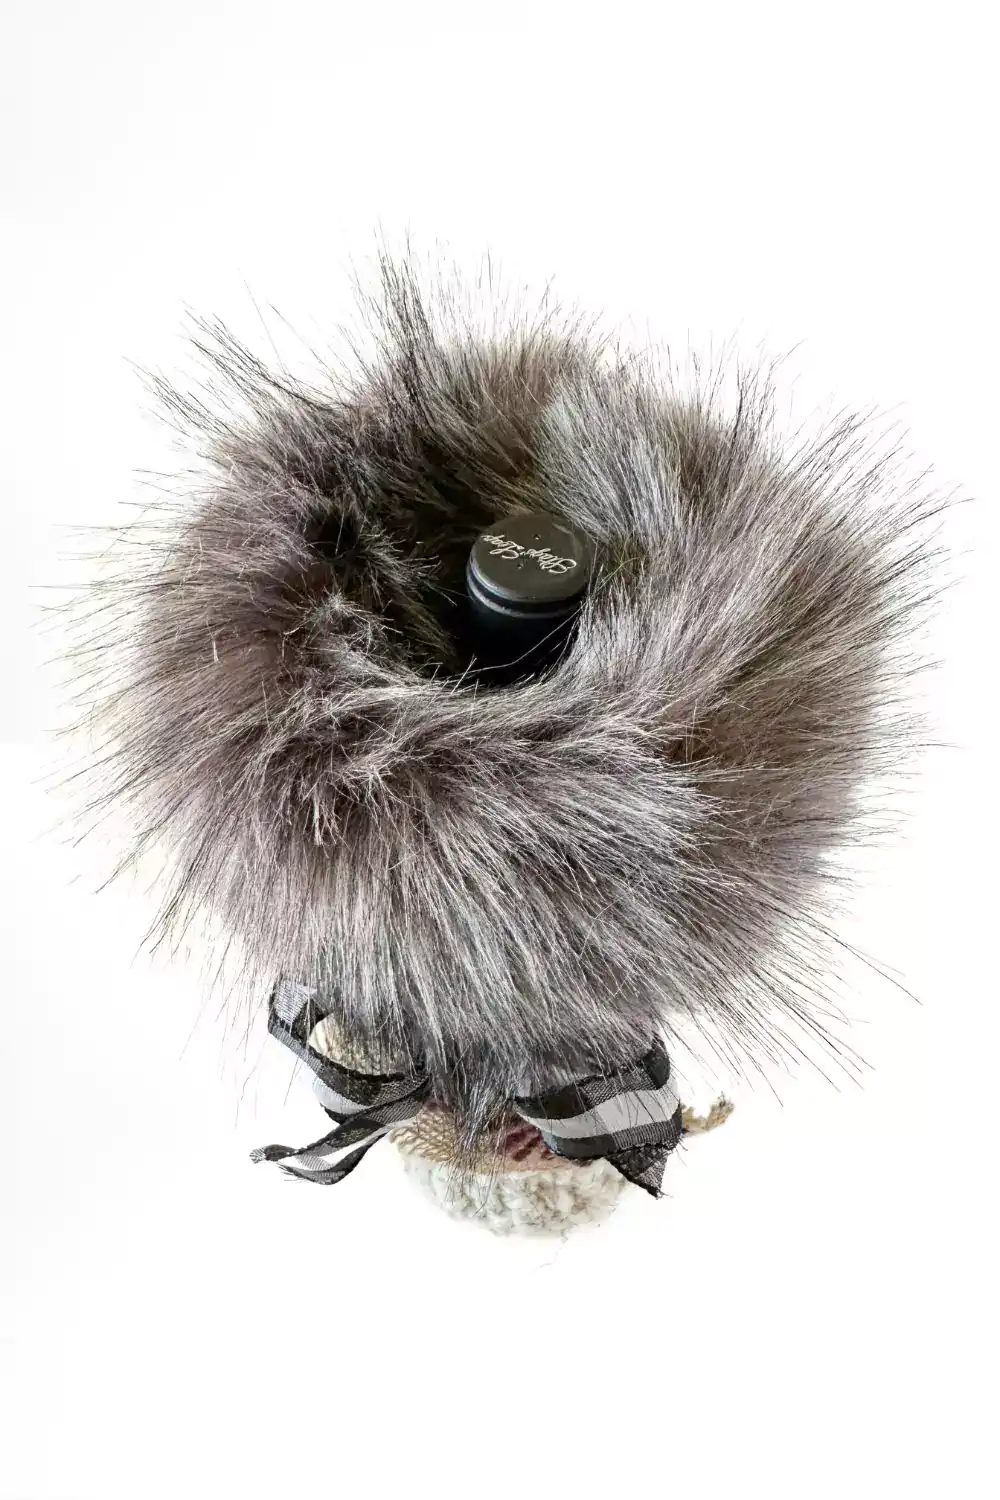
- Slip the fur trim inside the wine bag making sure to line up evenly with the top edge of the wine bag. Make sure the seam of the fur is at the back of the bag to keep it hidden.
- Align the raw edge of the faux fur trim with the top edge of the wine bag. The fur will hang over the bag.

4. Pin the Faux Fur (Optional)
- If you find it easier to keep everything in place, pin the faux fur trim to the wine bag, placing pins every 2 inches around the circumference. This helps prevent shifting as you sew.
5. Sew the Faux Fur to the Crochet Wine Bag
- With needle and thread (or yarn), begin sewing the raw edge of the faux fur trim to the crochet wine bag.
- Go all the way around the bag, keeping your stitches as even as possible.

6. Secure and Finish
- Once you’ve sewn the trim all around, tie off the thread securely and trim any excess.
- Check to make sure the faux fur is securely attached, adjusting if needed.
- Pull the fur out fold against the outside of the wine bag.


Now your crochet wine bag has a cozy and festive faux fur trim! Add ribbon and or labels for the perfect touch for gifting during the holidays or for special occasions.
How to make wine tags using burlap and yarn.

Materials Needed
- Burlap fabric (craft burlap from a dollar store works well)
- Scissors
- Worsted (or lighter) Yarn
- Yarn needle (a larger needle suitable for yarn)
- Paper and pen (for planning your words/design)
- Optional: Ribbon, twine, or string for hanging
- Instructions
Cut the Burlap: Decide the size of your tag. A common size is about 3×5 inches, but you can make it larger or smaller as desired.
Use scissors to cut the burlap to your chosen dimensions. Make sure to cut carefully to avoid fraying.
Plan Your Design: Think of a word or phrase you’d like to write on the tag, such as Wine, Bubbles, Coffee etc. If needed, sketch your design on a piece of paper to visualize the layout.
Prepare the Yarn: Cut a length of yarn (around 2-3 feet should be sufficient) to ensure you have enough for the embroidery.
Thread the Yarn Needle: Use the yarn needle to thread the yarn. If the yarn is thick, you may need to separate the strands to fit it through the needle’s eye.
Embroidery Instructions: here’s a helpful video tutorial you can follow I think it will be helpful.
Start from the back of the burlap and pull the needle through to the front at the starting point of your word.
Use a simple backstitch or running stitch to form the letters. Here’s a quick guide:
Backstitch: Bring the needle up through the burlap, then back down a short distance to create a stitch. Pull the needle through to create a straight line, then bring it back up where you want the next stitch to start. Continue until the word is complete.
Running Stitch: Simply push the needle in and out of the burlap in a continuous line to form the letters.
For added texture, you can use different stitch techniques, like a chain stitch or a whip stitch.
Finishing the Embroidery: Once you’ve completed your word, tie a knot at the back of the burlap to secure the yarn. Trim any excess yarn.
Add a Hanging Option (Optional): If you’d like to hang your tag, cut a piece of ribbon or twine.
Puncture a hole in the top of the burlap tag and thread the ribbon or twine through, tying a knot to secure it.
This free crochet pattern for a crochet wine bottle holder includes essential techniques like the magic ring, double crochet, and single crochet. As you work through the pattern, remember to use a stitch marker to keep track of your next st and to help with the last round of your project. You’ll need a crochet hook and may find it helpful to have a smaller hook on hand for tight stitches. The design features ch spaces and a puff stitch heart for added charm, while the cotton yarn or worsted weight yarn in your favorite colors—like blue yarn or white yarn—will give it a cozy look. Be sure to follow the detailed photo tutorial provided, which also includes color changes and guidance for creating a flat circle. The finished size is perfect for a nice bottle of wine, making this wine bottle gift bag an ideal quick gift. If you love this project, check out my blog post for more crochet projects and cozy patterns. Don’t forget to look for my affiliate links for the yarn skeins you need, and consider using the coupon code for extra savings on your next yarn purchase