


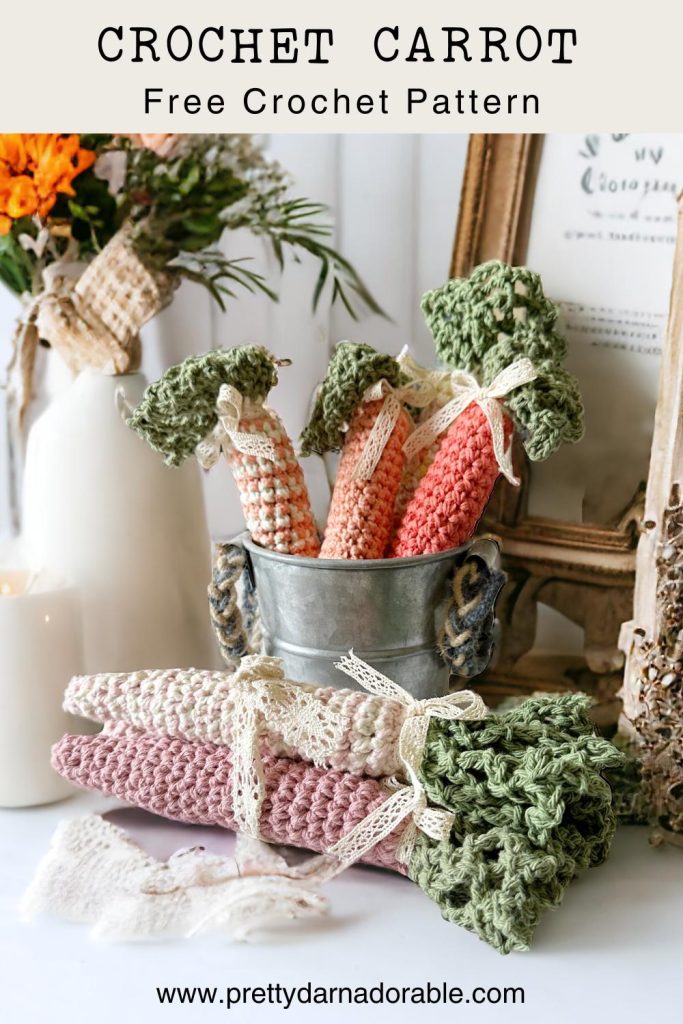
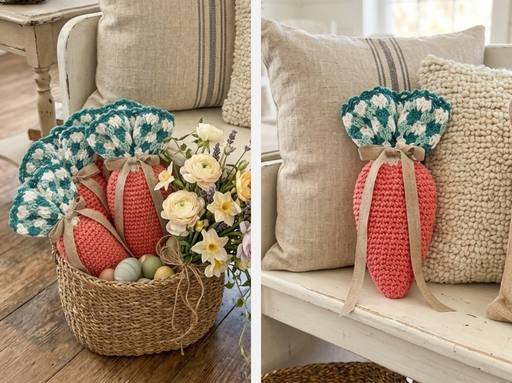
This year, I couldn’t resist making some crochet carrots to decorate around the house so I’m excited to share this sweet little carrot as a free crochet pattern here on my blog so you can make them too!
Before I started deciding on how these carrots would look I knew I wanted to create something unique and, I also wanted to make sure that little treats could be hidden inside these carrots. So off I went to local stores to see what they were doing this year.
I specifically wanted to find ideas for what to do at the top of the carrot and how I could make them fit perfectly into my Easter decor. I wasn’t sure if I would make them different sizes or not but truly with this easy crochet carrot pattern you can make them in any yarn weight you like to get the look you’re aiming for.

- Add Pattern to your Ravelry Library
- Download On Etsy
- Pin Now Make Later
I also liked the idea of rainbow carrots. I didn’t think I would make rainbow ones this year but they seemed to naturally evolve as I worked through my yarn stash of worsted weight yarn.
Looking to make a carrot garland to compliment one I had purchased from Michaels I chose different colours to bring out the sweet tiny flowers in the ribbon of the garland and in the end also added some lace to coordinate with the lace in the garland as well.
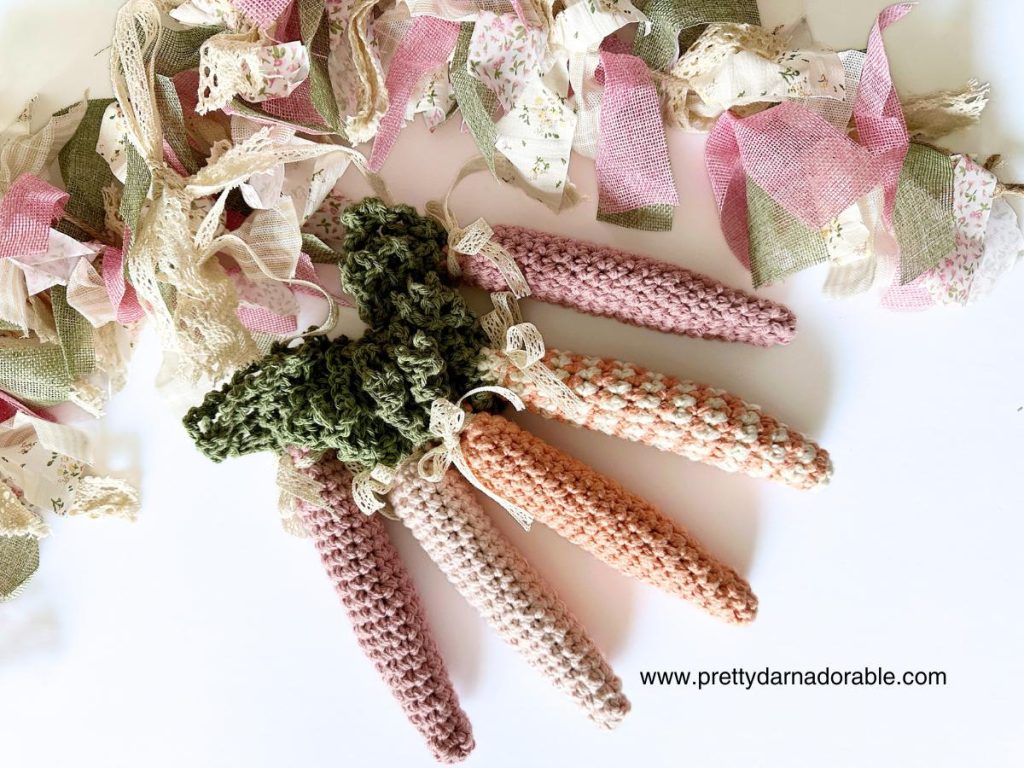
Then I found some pretty fabric carrots that were striped and polka dots finished with twine I knew I was in love. I decided to make the carrot body in stripes as well as plain for a great addition to my Easter baskets and carrot garland.
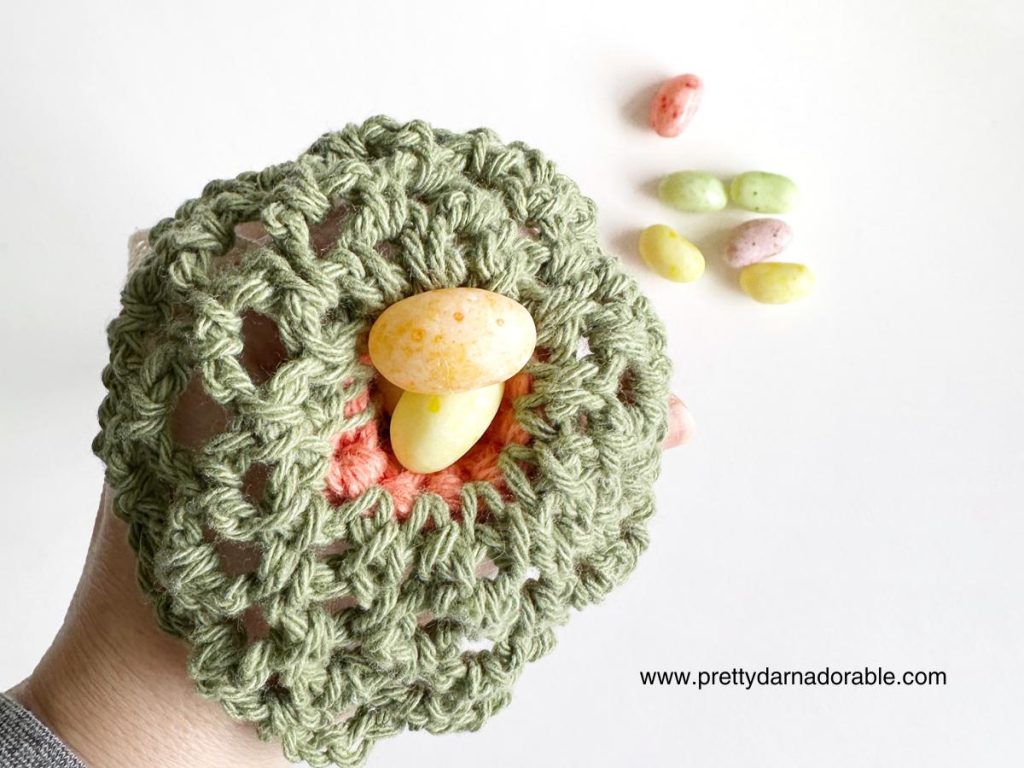
These carrots also gave me so many ideas for the carrot top! But, in the end I went with a lacey crochet leafy design for the top so that people didn’t have to search for greenery.
The Carrot Top
I tried artificial greenery at the top of mine. You can use any greenery at all I even plucked a few sprigs from a little artificial boxwood I have on my dresser to try and that looks super cute too! But! No one else liked it :(. My husband and son felt it looked too fake so I decided to use green yarn to finish the top of the carrot. Also the other issue was if you wanted to use your carrots as play food this would not be a good idea!
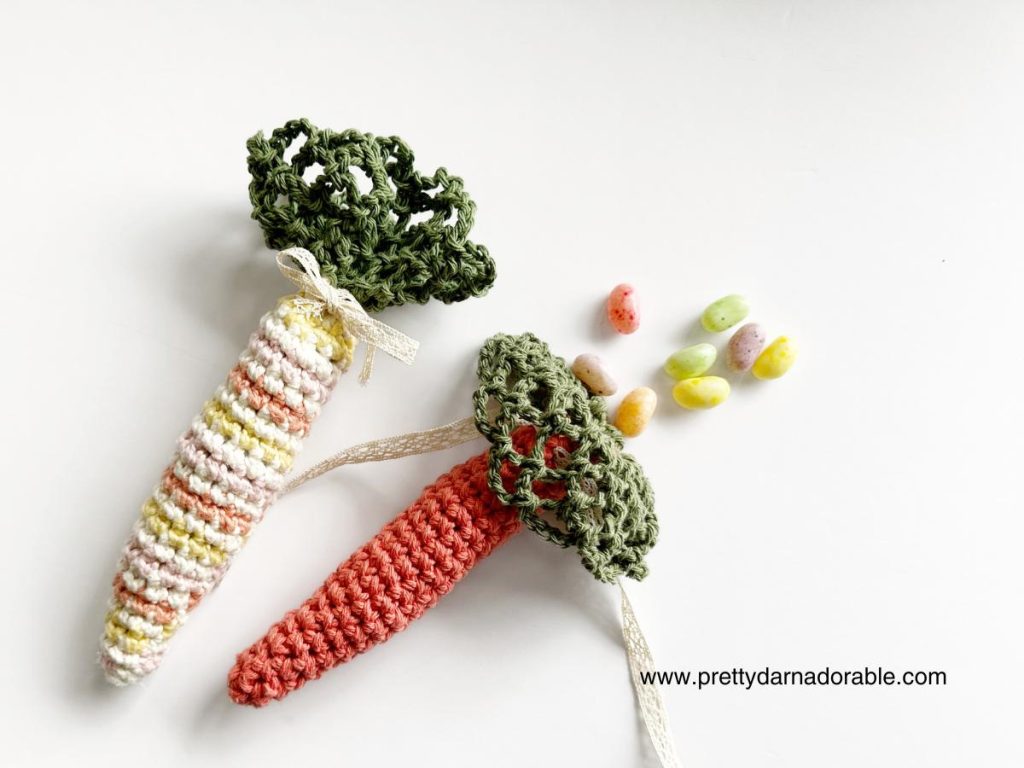
So I used the lace for a bow at the top that could easily be opened to reveal treats and keep the tops simple and easy for little hands to open.
I then decided to use green yarn crochet a lacy top to mimic the delicate bushy green portion at the top of real carrots. Another plus when I did this is that when making the garland the ribbon easily fit through the open lace stitches. You will see what I mean soon…
With all my decisions made I got to making these carrots – they were fun, fast and just like my pumpkins, a little addictive. I am really beginning to enjoy the instant gratification of smaller projects. And have lots of ideas for new designs to come.
Construction of the Carrot
This carrot is worked entirely in chain and single crochet stitch. However, the single crochet is made using the yarn under technique. I have not made very many amigurumi projects before, but I did know that using a single strand of yarn and a 4.00 mm crochet hook, I would never be able to work my stitches tight enough. My hands simply cannot do it.
So to fix this problem I doubled up my yarn holding two strands together so that I could go up to a 6.50 mm crochet hook size and used the yarn under technique so that the single crochet would naturally become a tighter stitch. This made things so much easier! Plus working the crochet carrot in continuous rounds kept them working up quickly, a win-win in my book – who doesn’t love instant gratification? Well… almost instant?
If you have no issue with your hands, of course, try different methods of single crochet for the one you like and feel most comfortable using.
One thing I also want to mention – because like I said before I do not have a lot of experience with amigurumi is when it comes to stuffing them. I found the best way to stuff them is by using a little bit of stuffing at a time. Push it all the way down to the bottom of the carrot and add bit by bit until you finish stuffing them. When I did my first, I took a huge chunk and stuffed it in; this did not work well for getting the bottom of the carrot filled and resulted in a very lumpy bumpy carrot.
Changing the Size of your Carrots
These carrots are so easy to crochet and if you want to make different sizes it couldn’t be easier! I would consider these large crochet carrots so want to include easy instruction on how to change the size.
Starting from the bottom of the crochet carrot we will be doing increases every other round. The reason we do the increases this way is to stop the carrot from flaring out too quickly. By adding a round of single crochet before increase the allows for a more gradual shaping of the carrot.
If you want to make a smaller carrot you will just want to decrease the number of stitches and the number of rounds you make before continuing on to the body of the carrot.
Another option is to change the yarn weight you are using keep follow the crochet pattern as written and use something like a dk weight yarn with a smaller hook size than is called for on the yarn label.
The Yarn
As I mentioned before I raided my yarn stash to make these carrots. The ones in this blog post are all made from a worsted weight cotton or cotton blend yarn. Of course you can use acrylic yarn like red heart super saver yarn for a cost-effective option – especially if you might be selling these at craft fairs. The good news is though – these work up great with almost any yarn.

I should note that two of my testers said that cotton worked better resulting in that soft “lacey texture” when it is bunched together. I also tried acrylic when I couldn’t find the colour I wanted which I think would work if it was something like Lion Brand Heartland that is quite soft. Just something to keep in mind.
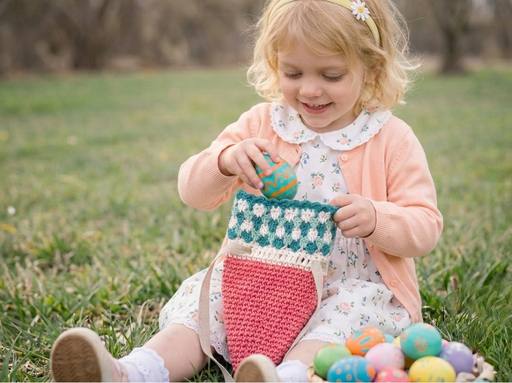
Okay that is everything I can think of. I will put the free crochet carrot pattern below along with some helpful photos below. I hope you all love making these sweet little carrots and remember pairing them with a cute bunny hat, or easter eggs can be the perfect Easter Surprise.
You might love this carrot pattern too!
How to print this pattern
If you’re looking for a crochet pattern that you can take with you anywhere, and that is easy to read and follow, then look no further!
I’ve created an INEXPENSIVE ad-free version of my popular crochet pattern that you can easily download from Etsy. This way, you can mark up the pattern as needed without any distractions, and enjoy crocheting it wherever you go.
Thanks so much for supporting my blog!
- Add Pattern to your Ravelry Library
- Download On Etsy
- Pin Now Make Later
Free Crochet Carrot Pattern
This carrot is made from cotton worsted weight yarn. But feel free to try with any yarn you have around. I recommend using a hook size 1 size smaller than indicated on the yarn. This will ensure that your carrot stitches have a nice tight weave and the stuffing won’t show through.
Have fun making these festive carrots!

Vintage Farmhouse Carrot Free Crochet Pattern
Skill Level
Beginner
Abbreviations
Ch – chain
Sc – single crochet
Sk – skip
St – stitch
Sts – sts
Slst – slip stitch
Rpt – repeat
Gauge
Not required
Measurement
7.5” x 5 ½” will vary depending on tension and yarn used.
Materials Needed
Carrot Top – 5 grams – Worsted Weight Yarn
Main Colour of Carrot 25 grams – Worsted Weight Yarn
The following yarns were all used to make these carrots.
Caron Ripple Cakes, Bernat Handicrafter
Loops & Threads Capri Eco-Cotton
Ribbon approx ½ inch or smaller cut to 15 inches OR Make a chain 15 inches in length using contrast yarn.
Poly-fil or anything else for stuffing.
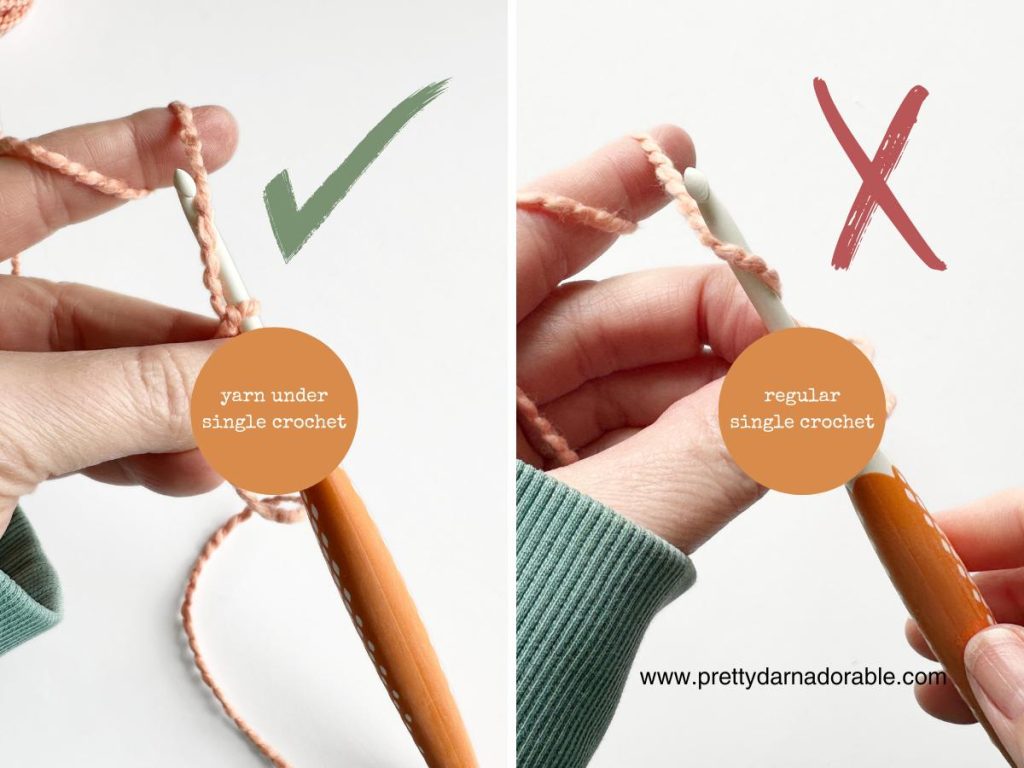
How to Yarn Under Single Crochet
The yarn under single crochet stitch is a variation of the traditional single crochet stitch. It’s used to create a denser and tighter fabric compared to regular single crochet stitches.
The yarn under single crochet stitch creates a subtle texture and is commonly used in amigurumi projects or any pattern where a tighter gauge is desired.
Instructions:
1. Insert your hook into the next stitch as if to make a regular single crochet stitch.
2. Instead of yarn over (YO) as you would for a traditional single crochet stitch, bring the working yarn under the hook from back to front, creating a loop around the hook.
3. With the working yarn under the hook, draw up a loop through the stitch, ensuring the loop is even and not too tight.
4. You should now have two loops on your hook.
5. Yarn over (YO) as usual, this time wrapping the yarn over the hook from back to front.
6. Draw the yarn through both loops on the hook to complete the yarn under single crochet stitch.
Free Vintage Farmhouse Crochet Carrot Pattern
- Carrot is crocheted using 2 strands of yarn held together for the body of the carrot.
- Work in continuous rounds do not join – do not turn.
- Stuff carrot as you go. Leave the last two rounds unstuffed.
- All single crochet stitches are worked using the YU – Yarn Under method (see above to learn how to do this stitch.)
- Place stitch marker in first stitch to mark the beginning of each round.
- Stripes are made changing colour every round.
- Carrot worked bottom up.
- Magic Ring/Circle can be used instead of chain 2 method.
- To make taller carrot repeat round 9 until you reach desired length.

Instructions
Ch 2
Rnd 1: Work 4 sc into 2nd ch from hook (4)
Rnd 2: Sc in 1st st,*2 sc in next, sc in next st* rpt from *to* till end of rnd (6)
Rnd 3: Sc in 1st and each st around (6)
Rnd 4: Sc in 1st 2 sts,*2 sc in next, sc in next 2 sts* rpt from *to* till end of rnd (8)
Rnd 5: Sc in 1st and each st around (8)
Rnd 6: Sc in 1st 3 sts,*2 sc in next, sc in next 3 sts* rpt from *to* till end of rnd (10)
Rnd 7: Sc in 1st and each st around (10)
Rnd 8: Sc in 1st 4 sts,*2 sc in next, sc in next 4 sts* rpt from *to* till end of rnd (12)
Remember stuffing is easiest if you stuff as you go. Leave the last two rounds unstuffed.
Rnds 9 – 23 or until carrot measures 7.5” or desired length: Sc in 1st and each st around (12)
Top of the Carrot
Change to green yarn and continue below
Use only 1 strand of yarn for the rest of the carrot.
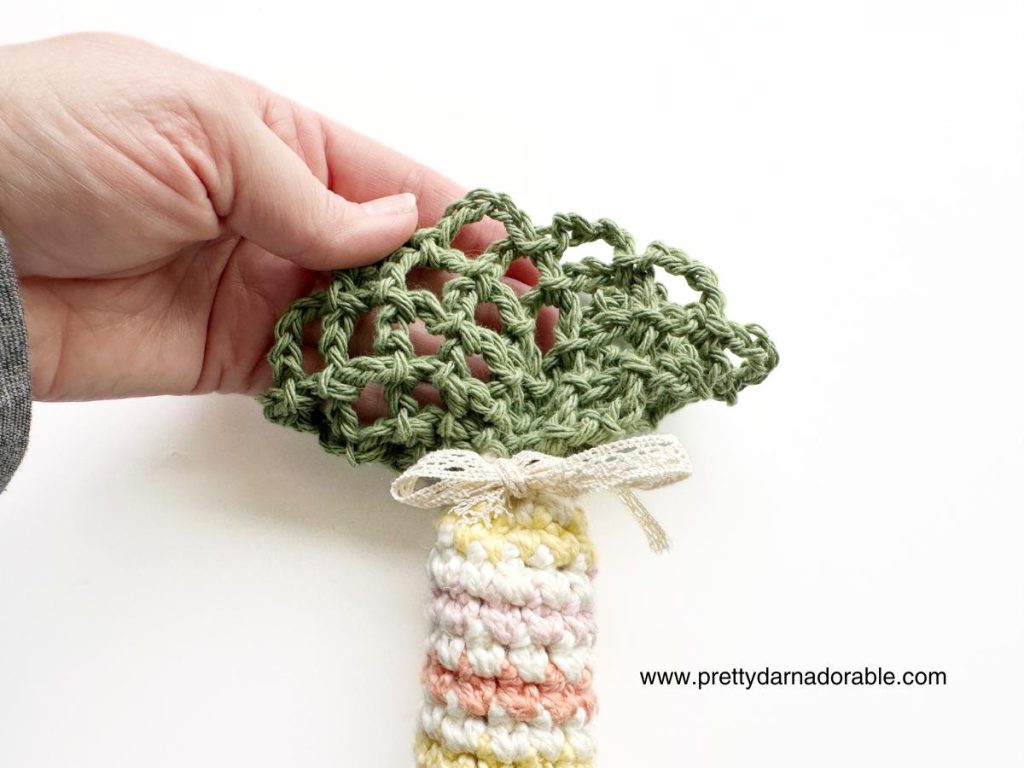
Rnd 24: Join to 1st sc with slst. Ch 2, slst in next st. *Ch 2, slst in next st.*. Repeat from * to * until you reach the end of the round.
Rnd 25: Join yarn to 1st ch 2 space with a slst. *Ch 3, slst in next chain 2 space.*. Repeat from * to * until you reach the end of the round.
Rnd 26: Join yarn to 1st ch 3 space with a slst. *Ch 4, slst in next chain 3 space.*. Repeat from * to * until you reach the end of the round.
Rnd 27 – 29: Join yarn to 1st ch 4 space with a slst. *Ch 5, slst in next chain 4 space.*. Repeat from * to * until you reach the end of the round.
Fasten off and weave in ends.
Closing Carrot
Cut piece of ribbon 15 inches long. Thread yarn needle and pull through back loop of carrot to secure the ribbon.
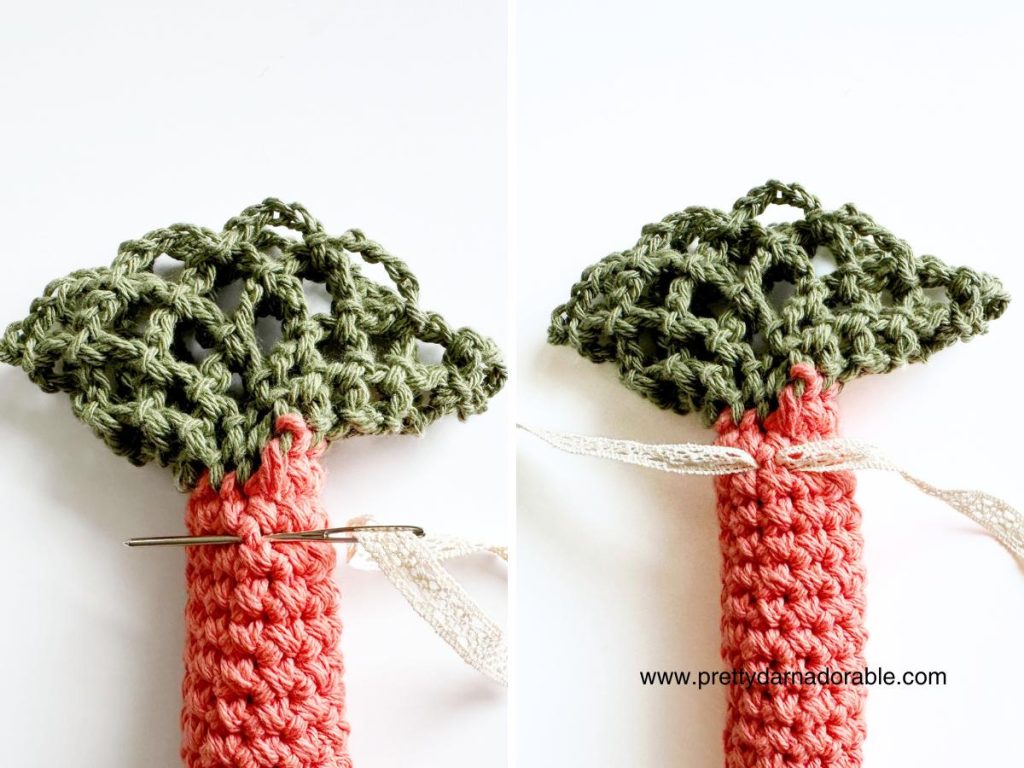
Wrap around front and tie in a bow.
Then – keep making ‘em!
Hope you really enjoyed making these carrots and have fun with them different coloured yarns and textures will all look great!
- Add Pattern to your Ravelry Library
- Download On Etsy
- Pin Now Make Later
Get Social with Me
Thank you for making me part of your day! If you enjoyed making it and want more crochet inspiration, be sure to follow me on social media and subscribe to my YouTube channel. I share all my latest patterns, tips, and tutorials there, and you don’t want to miss out!
Plus, if you make something using one of my patterns, I would absolutely love to see it – and I bet other crocheters would, too.
So, use the links below to connect with me on your favourite platforms, and let’s create something beautiful together. Thank you for your support, and happy hooking!
