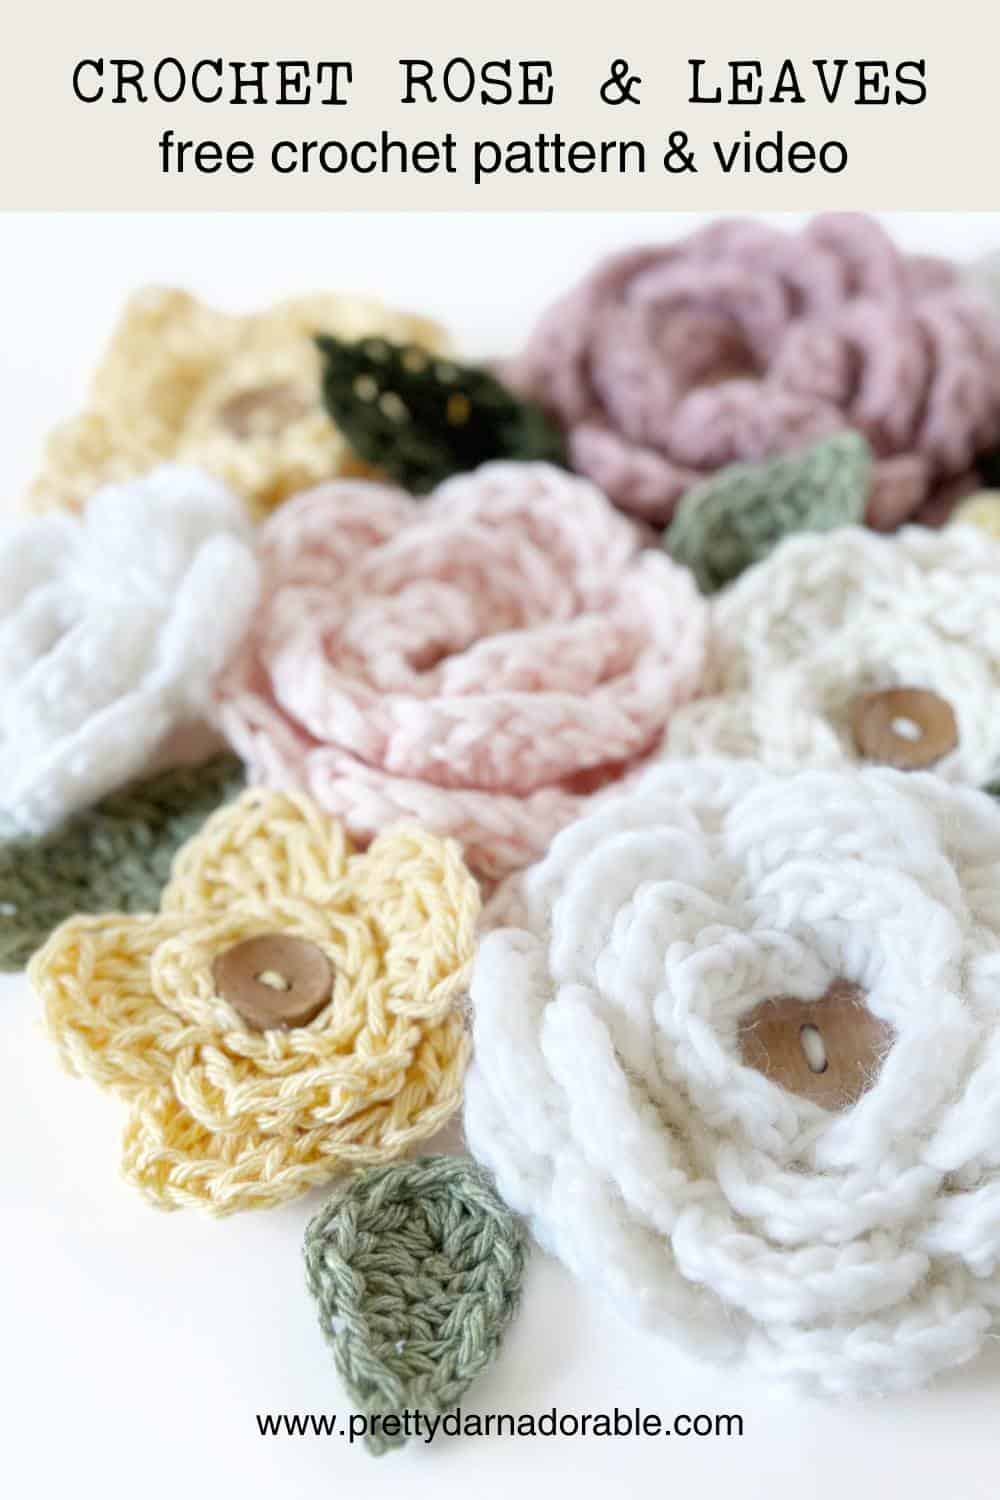
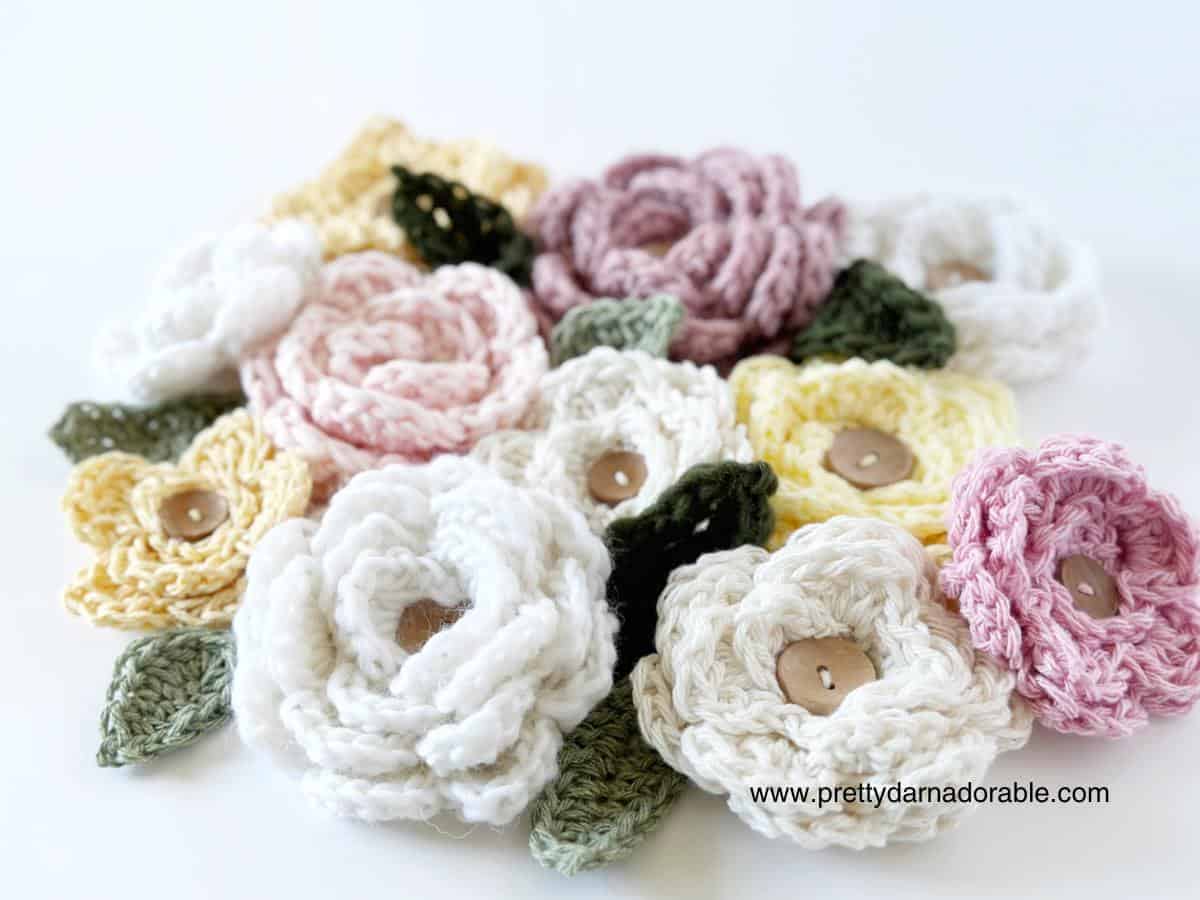
All the spring flowers are budding and soon the roses will be in full bloom. But today you don’t need to wait for your gardens to enjoy a beautiful rose bud – just grab your crochet hook and yarn and you can make these beautiful crochet roses with this free pattern and video tutorial!
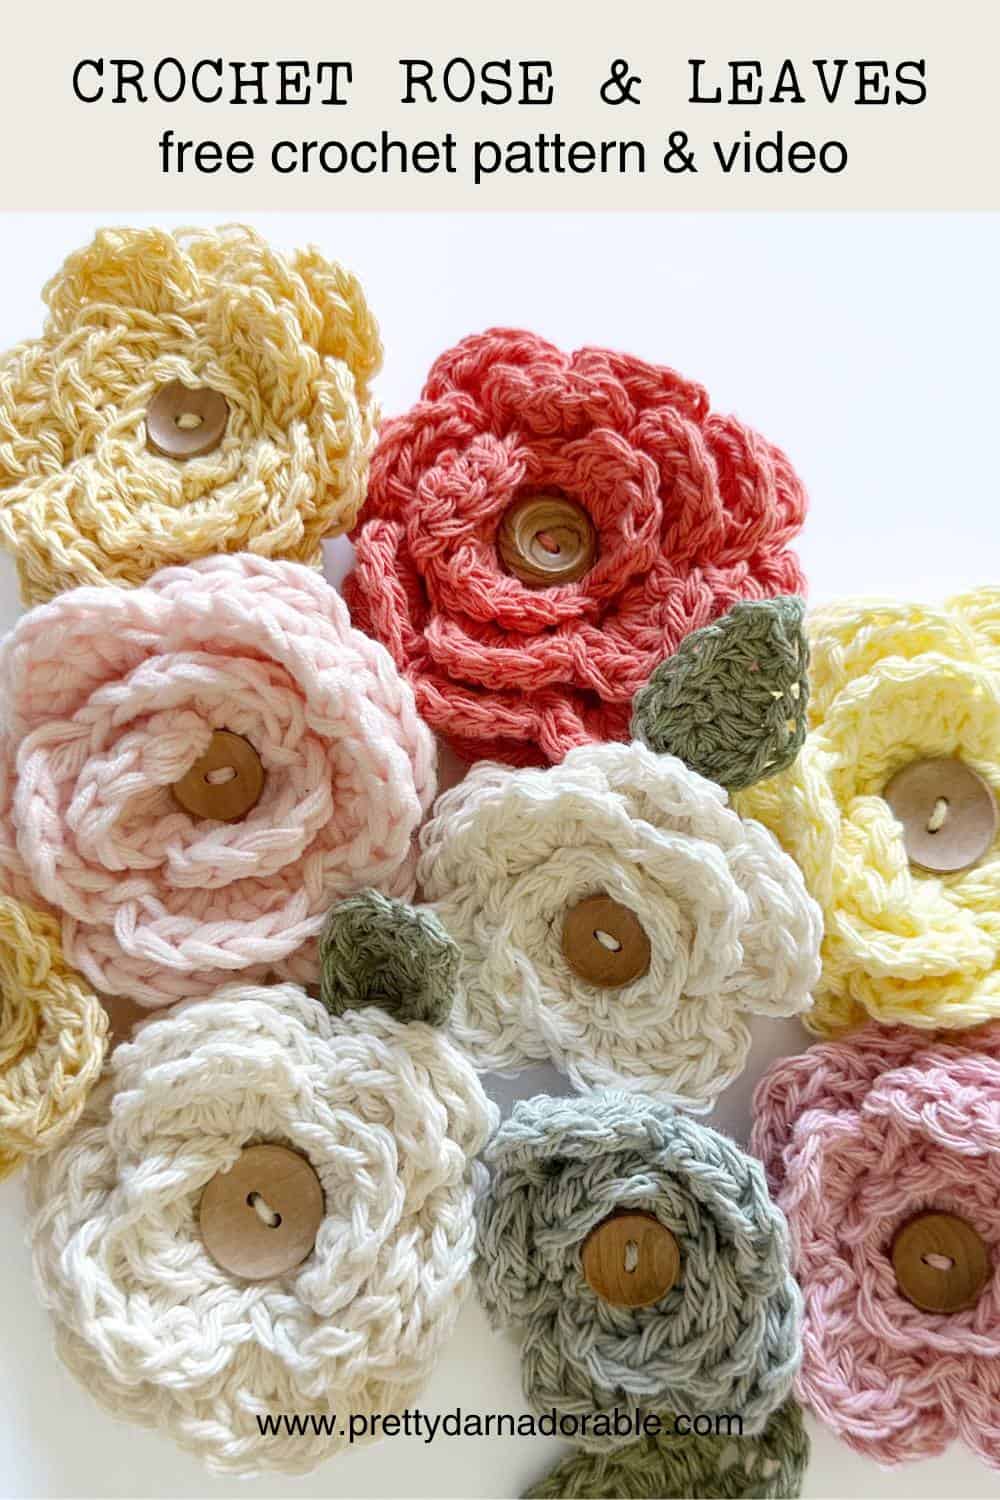
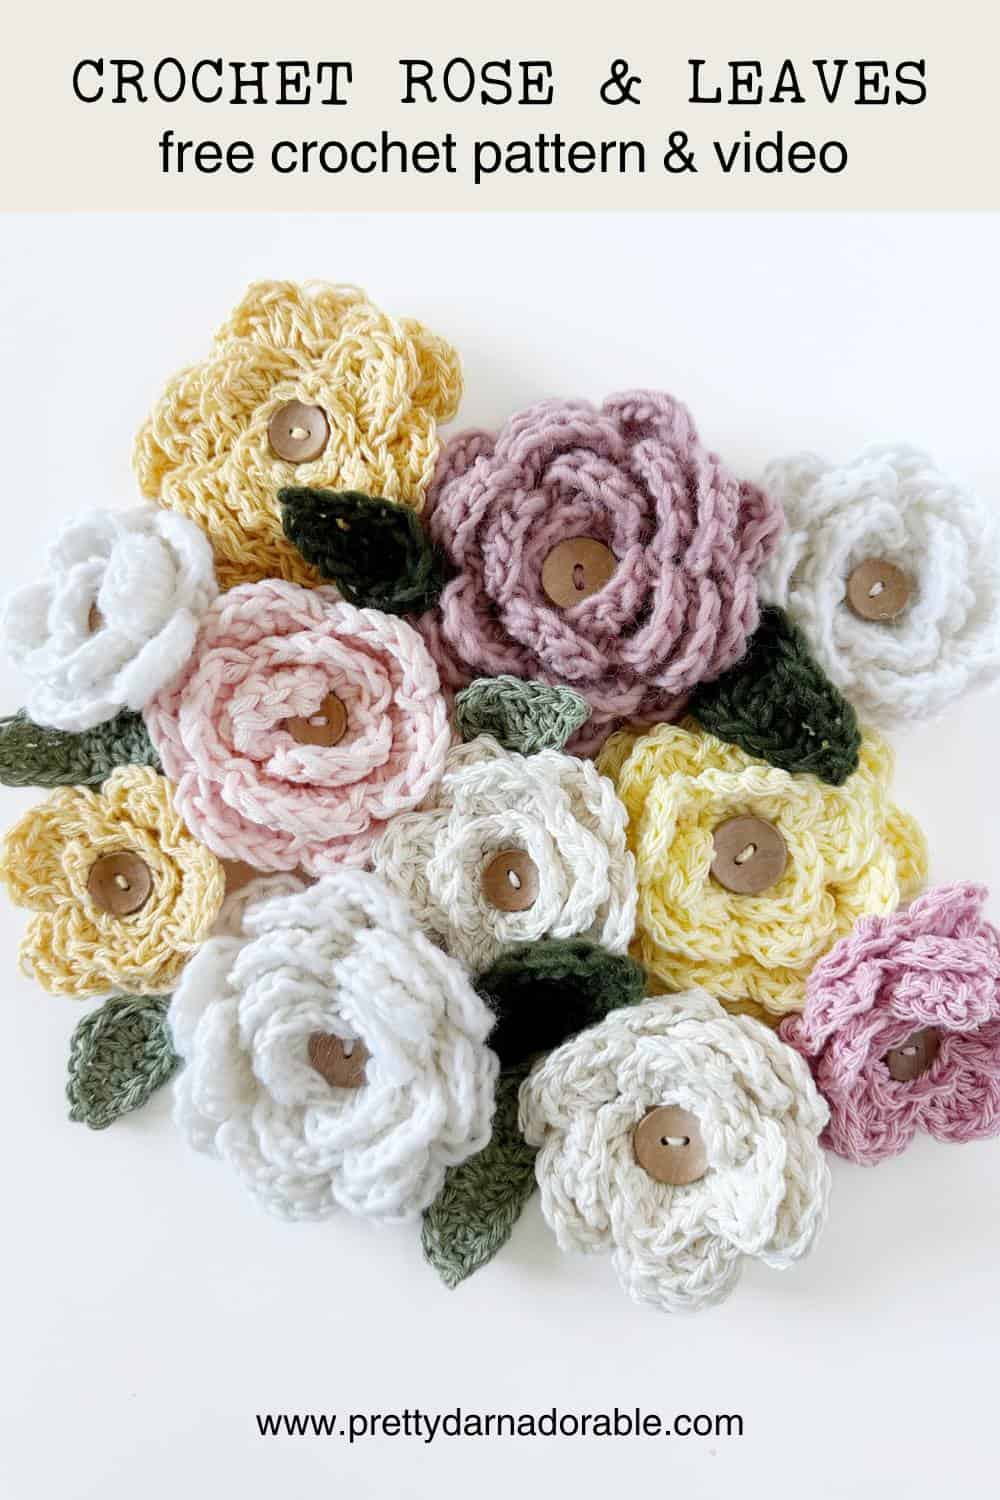
I have included 3 sizes in this blog post but resizing is so simple you can really make any size you want! Just have to increase or decrease your foundation chain by a multiple of 5 and you can make as many different sizes as you need. Then just a few simple rows and you will be done!
The roses shown here are made in worsted weight yarn but these would work up great in chunky weight as well – just adjust your hook size accordingly so you get the look and feel that you want.
As you can see from the photos these roses look beautiful in both cotton and acrylic yarn – so play around and have fun using up all those scrap bits you have piling up.
If you don’t have enough to make a whole rose crochet flower you could try making the bottom of the rose in one colour and the top of the rose in a different colour. I haven’t tried it but now that I am writing this thought out I may give it a go – I will post on Instagram if I do.
While you are scrounging through your scraps this is also a great way to use up all those buttons that get tossed into a container. There are so many options. I used wood for all mine but in the video you will see that I also chose a tiny ladybug button which is so cute for little ones.

Scroll down for written pattern.
I know sometimes we see beautiful patterns and make them but not really having a plan on how to use them. Perhaps they get tossed into the pile of tried it, liked it, don’t know what to do with it. So here are some ideas to use these beautiful roses.
15 creative ideas for how to use your crochet roses:
- Hair Accessories: Attach crochet roses to hair clips or headbands for a whimsical touch to your hairstyle.
- Brooches: Sew pin backings onto crochet roses to create charming brooches for jackets, sweaters, or bags.
- Home Decor: String crochet roses together to make delicate garlands to hang on walls or drape across mantles.
- Gift Toppers: Use crochet roses as decorative accents on gift packages for an extra-special touch.
- Car Mirror Hangers: Crochet a chain and attach a rose at each end then hang over the rear view mirror – so cute!
- Table Centerpieces: Place crochet roses in vases or mason jars to create beautiful centerpieces for dining tables or mantles.
- Corsages: Make mini bouquets of crochet roses to wear as corsages for weddings, proms, or special events.
- Scrapbooking: Glue crochet roses onto scrapbook pages to add pops of color and texture to memories.
- Keychains: Attach crochet roses to keychains for cute and functional accessories.
- Baby Headbands: Sew crochet roses onto stretchy headbands for adorable baby accessories.
- Bookmarks: Glue crochet roses onto cardstock to make charming bookmarks for favorite novels.
- Christmas Ornaments: Hang crochet roses on Christmas trees or use them to decorate holiday wreaths.
- Garlands: String crochet roses onto lengths of yarn or ribbon to create festive garlands for any occasion.
- Earrings: Turn crochet roses into statement earrings by attaching them to earring hooks.
- Embellished Clothing: Sew crochet roses onto sweaters, scarves, or hats for personalized touches to wardrobes.
Of course some of these ideas may require you to use a smaller yarn and hook but you get the idea. What will you do with your roses?
How to Attach Your Crochet Rose to a Project
To secure a crochet rose’s shape in place, thread a tapestry needle with yarn matching the rose color. Starting at the base of the rose, stitch through the layers of petals, focusing on areas where the petals naturally fold. Use small, discreet stitches to anchor the petals in place.
Continue stitching around the entire rose, adjusting the shape as needed. Once satisfied with the shape, weave in the yarn ends to secure and trim any excess.
To attach a crochet rose to a crochet hat or project, thread a tapestry needle with yarn matching the project or rose color. Position the rose on the hat and stitch it securely using small, discreet stitches around the base and through the petals. Weave in the yarn ends to secure, ensuring the rose is firmly attached. Adjust as needed for placement and enjoy your beautifully embellished hat.
Happy Crocheting!
Free Crochet Rose Pattern
Skill Level
Easy
Abbreviations
ch – chain
dc – double crochet
hdc – half double crochet
sc – single crochet
st – stitch
sts – stitches
slst – slip stitch
rpt – repeat
Gauge
Not required for this project
Materials Needed
Some items below click through to an affiliate link at no extra cost to you.
You can check out all my favourites HERE
Free Crochet Rose & Leaf Pattern
Use 6.50 mm hook,
Small Rose Ch 25
Medium Rose Ch 35 (click for video)
Large Rose Ch 55

Row 1: 1 dc in 5th chain from hook, *Ch 1, sk 1 ch, (dc, ch1, dc) in next st* rpt from *to* till end of row, ch 2 turn

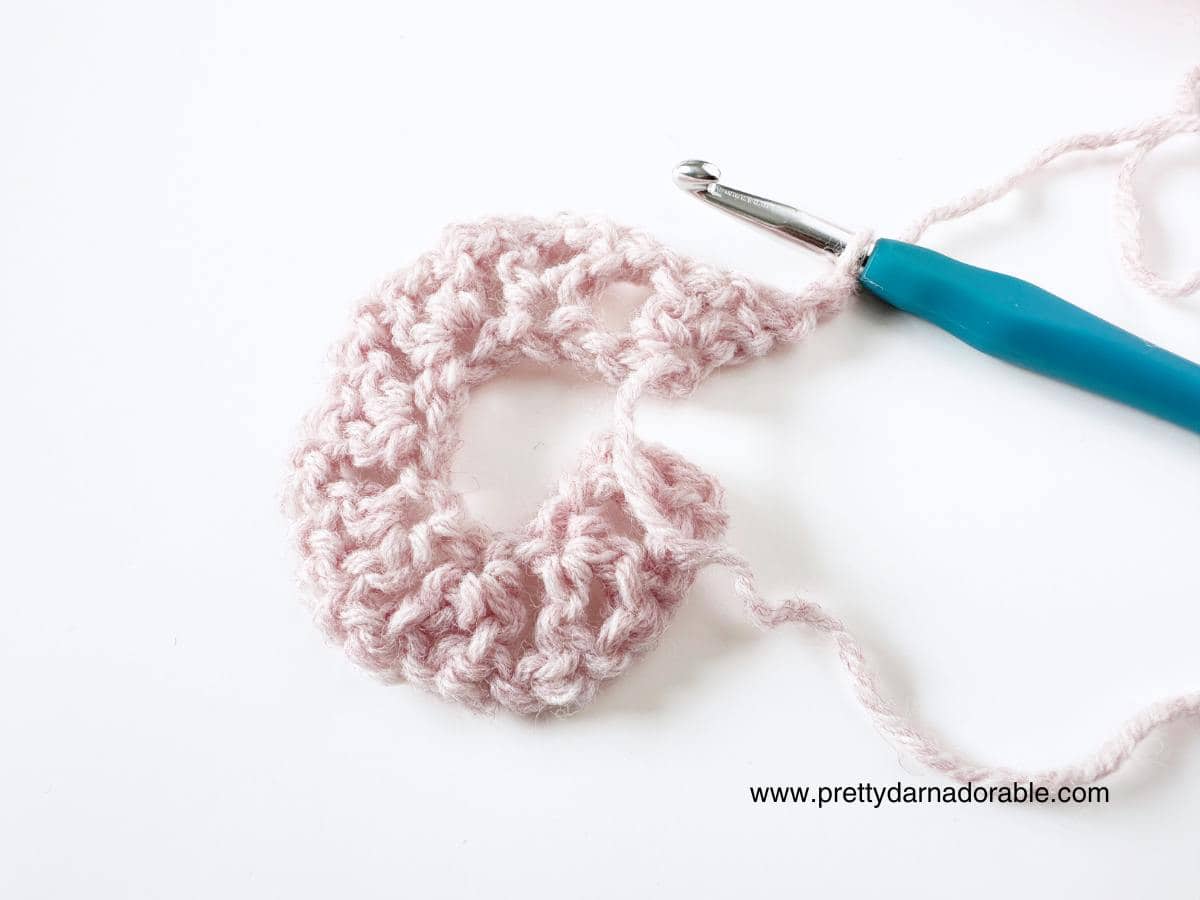
Row 2: (Hdc, 4 dc, hdc) 1st ch 1 sp, slst in next ch 1 sp. *(Hdc, 4 dc, hdc) in next ch 1 sp, slst in next ch 1 sp.* Rpt from *to* till end of row. Leave long tail to secure rose into place and for attaching to hat.


Shaping the Rose (click to watch this part in video)
Roll rose into shape very loosely so that it takes a flower shape and the rose stays large and flat. Thread tapestry yarn with long tail of yarn.

Starting at the base – back of the rose, stitch through the layers of petals.
Use small, discreet stitches with the yarn needle to anchor the petals in place. Continue stitching around the entire rose, adjusting the shape as needed.
Once satisfied with the shape, weave in the yarn ends to secure and trim any excess.
LEAF 6.5 mm hook Ch 9 (click to watch this part in video)
Row1: Sc 2nd ch from hook, hdc next 3, dc next 3, 3 hdc in last ch (this will bring to the bottom loops, which will be called row 2)
Row 2: Dc in next 3 sts, hdc next 3 sts, sc in last st and fasten off leaving long tail for attaching to hat.
To attach a crochet rose and leaves to hat, thread a tapestry needle with yarn. Sew leaves to rose then position the rose on the hat and stitch it securely using small, discreet stitches around the base and through the petals. Weave in the yarn ends to secure, ensuring the rose is firmly attached.
Whether you prefer the warmth of worsted weight yarn or the coziness of chunky yarn, these roses are versatile and adaptable. Let your imagination bloom (lol see what I did there?) alongside these crochet roses, and have fun making these beautiful buds.
Happy crocheting!
Get Social with Me
Thank you for making me part of your day! If you enjoyed making it and want more crochet inspiration, be sure to follow me on social media and subscribe to my YouTube channel. I share all my latest patterns, tips, and tutorials there, and you don’t want to miss out!
Plus, if you make something using one of my patterns, I would absolutely love to see it – and I bet other crocheters would, too.
So, use the links below to connect with me on your favourite platforms, and let’s create something beautiful together. Thank you for your support, and happy hooking!