


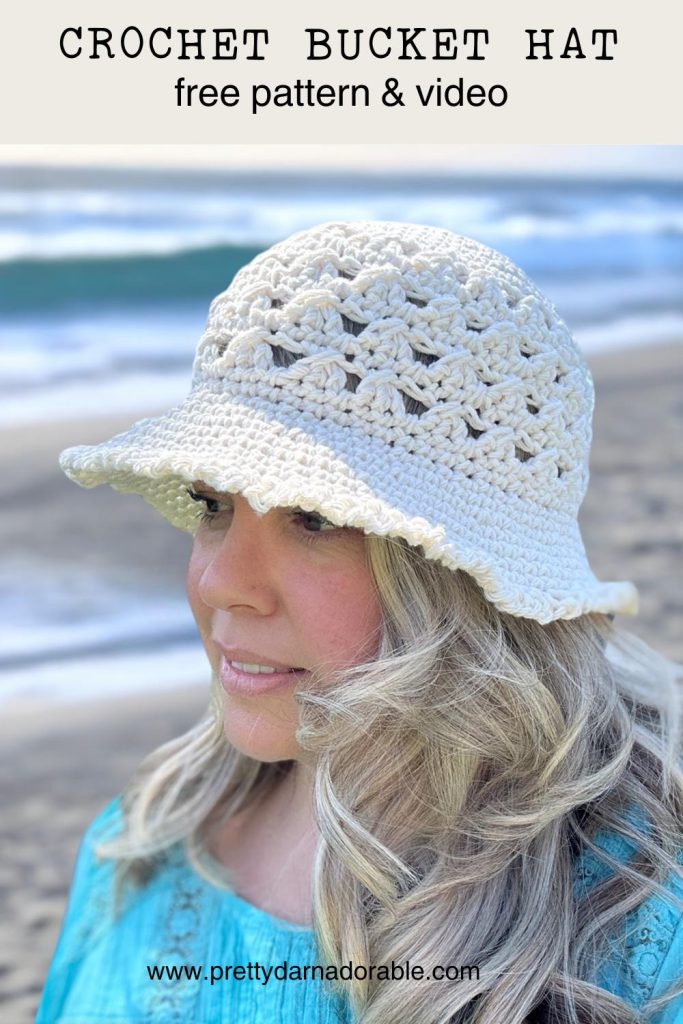
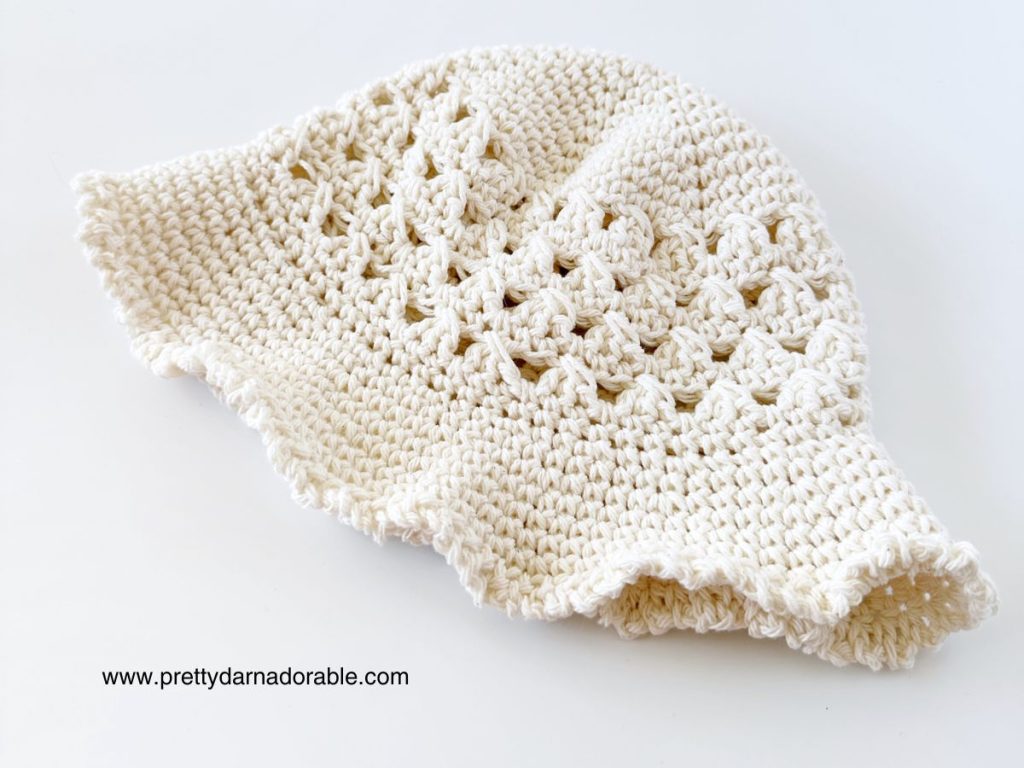
Bucket hats and crochet granny squares are both the hottest trends right now! So why not merge them in this free crochet pattern and accompanying video tutorial, with the Chloe Bucket Hat?
Drawing inspiration from the frayed edge of a denim bucket hat I stumbled upon when shopping, this pattern features a charming ruffle completes the brim of the hat.

Crocheted with a twist on the classic granny stitch using double crochet stitches, this simple bucket hat is not only incredibly fun but also a breeze to whip up for those sunny summer days ahead.
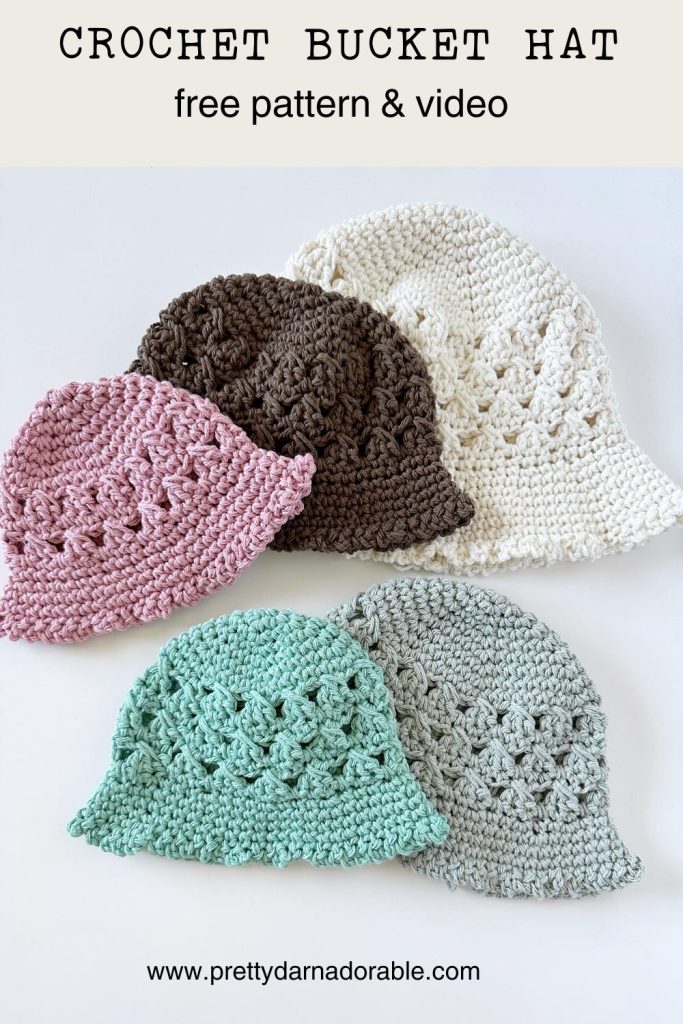
This free pattern includes all sizes from baby to adult perfect for family and friends. The perfect addition to your summer wardrobe pair with a pretty summer dress, jeans or take along this packable hat for a day at the beach this easy free crochet bucket hat pattern is sure to be on repeat this spring and summer.
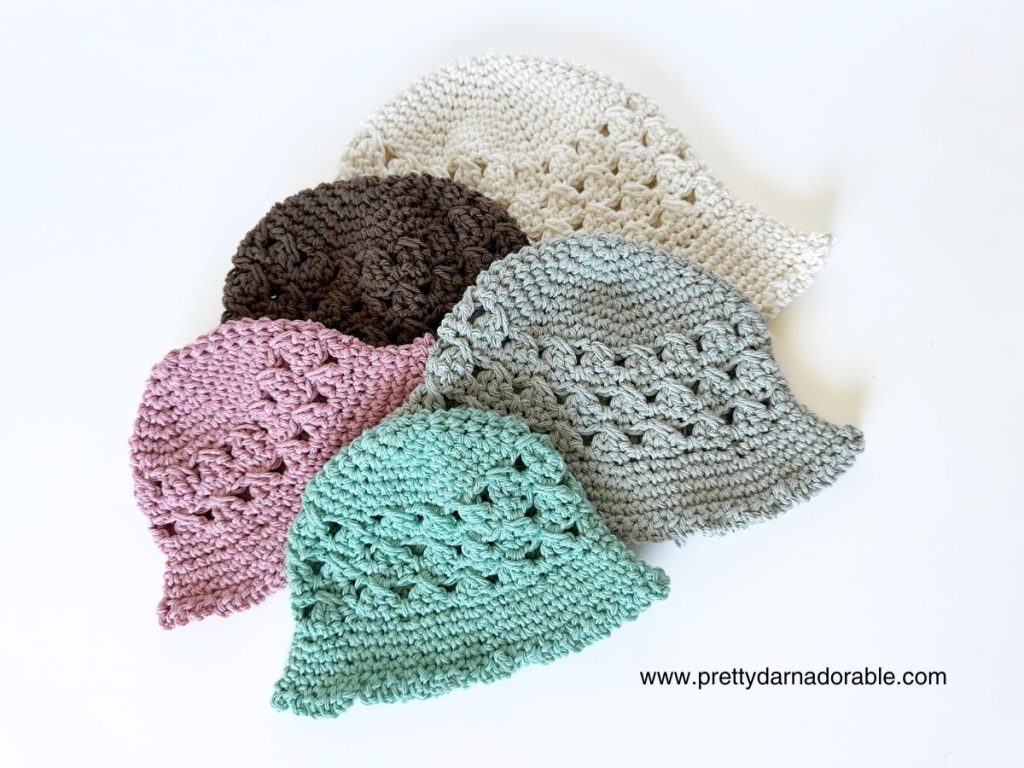
When it comes to yarn choice, I firmly believe that cotton yarn is the best yarn for the warmer months. Its ability to whisk away moisture and keep heads cool sets it apart from acrylic yarn, which can become hot and itchy on warm days.
Construction of the Bucket Hat
- As usual, starting with the chain 2 method, this hat takes shape. However, if you prefer the magic ring, that’s an option too. From there, starting at the top of the hat, it’s worked in continuous single crochet, gradually increasing rounds until reaching the desired stitch count for your size. This completes the crown of the hat.
- Next, the texture begins using basic crochet stitches, alternating between rounds of single crochet and double crochet clusters. Then, transitioning to the sides of the bucket hat, a twist on the granny stitch is incorporated.
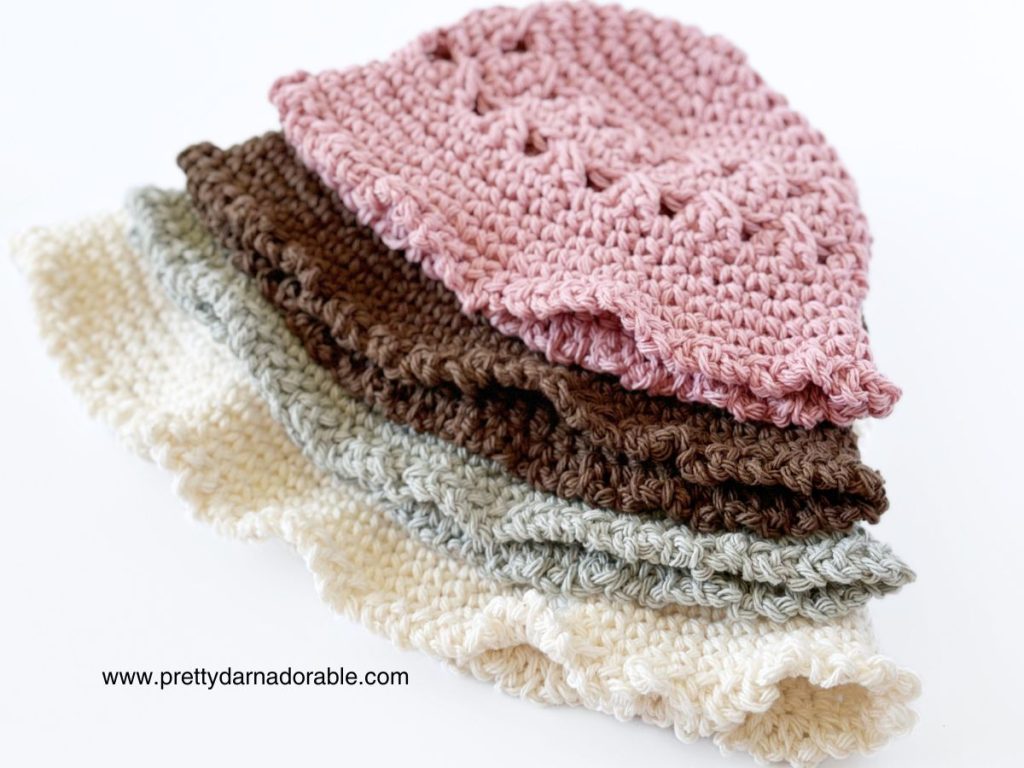
- Moving on, using a smaller hook, craft the brim. To give the brim some dimension, a round of single crochet is worked in the back loop only, and finished off by an optional ruffled edge to finish it off.

Customization of the Free Granny Stitch Bucket Hat
This crochet bucket hat stands out beautifully with its unique twist on the granny stitch and charming ruffled edge. However, if you’re looking to inject some extra fun, consider experimenting with color changes for each round of the granny stitch, reminiscent of vibrant crochet granny squares.
Additionally, adding a delicate flower embellishment (you can find a tutorial on how to make a rose over on my YouTube channel) could further enhance its appeal.
I really hope this becomes one of your favourite easy crochet bucket hat patterns to make for years to come!
Chloe Bucket Hat – Free Crochet Pattern
Skill Level
Easy
Abbreviations
ch – chain
dc – double crochet
sc – single crochet
st – stitch
sts – stitches
sl st – slip stitch
rpt – repeat
Gauge
A gauge swatch is vital for a well-fitting crochet hat. It determines stitch tension and measures the number of stitches and rows. Comparing it to the pattern’s gauge ensures the final hat fits as desired. Adjust hook or tension if needed for a perfectly fitting hat.
To do a crochet gauge swatch using a single crochet stitch, start by using the same type of yarn and crochet hook that you plan to use for your hat. Begin crocheting a square approximately 4” x 4” using the single crochet stitch, making sure to maintain an even tension throughout.
Once your swatch is complete, measure it using a ruler or measuring tape to determine the number of stitches and rows per inch.
Even though the hat is made using a different stitch, this gauge swatch will give you an idea of how your tension will affect the overall size of your finished product.
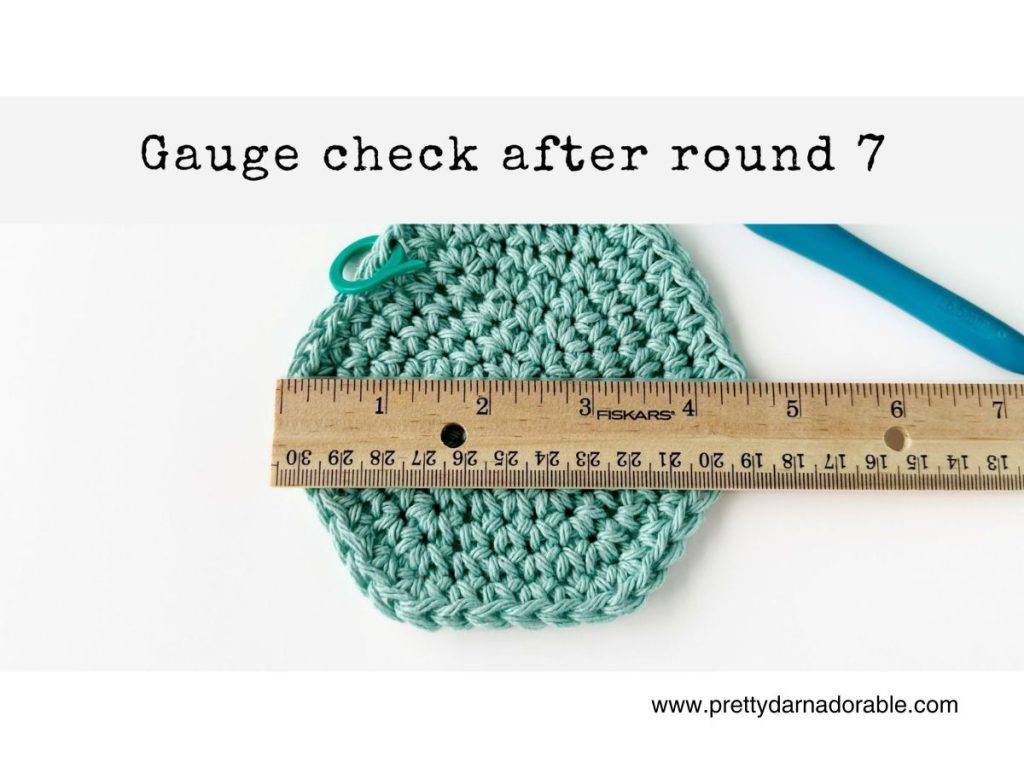
Using 6.50 mm hook and #4 worsted weight yarn
12 rows + 12 sts across of sc = 4″ x 4″
You can do a quick gauge check using the photo below. If you get the same measurement after round 7 your gauge is the same.
Finished Measurements & Yarn Requirements
0 to 6 months
Width: 15”
Height: 5.5”
Yarn: 30 gm / 48 m / 1.06 oz / 53 yd
6 to 12 months
Width: 16.5”
Height: 6”
Yarn: 42 gm / 67 m / 1.48 oz / 74 yd
12 months to 3 years
Width: 18”
Height: 6.75”
Yarn: 52 gm / 83 m / 1.83 oz / 91 yd
3 to 10 years
Width: 19.5”
Height: 9”
Yarn: 62 gm / 99 m / 2.19 oz / 109 yd
Adult
Width: 21”
Height: 9.5”
Yarn: 85 gm / 136 m / 3.00 oz / 149 yd
Please note that the actual amount of yarn needed may change depending on the yarn chosen always purchase a little more than you think you may need..
Materials Needed
Some items below click through to affiliate links at no extra cost to you.
You can check out all my favourites HERE
Yarn Gauge:
Gauge must be matched for the correct fit of this hat, matching the recommended yarn gauge can assist in successful substitution and result in a more accurate finished product.
Recommend Cotton Worsted Weight Yarns
Recommended Acrylic Worsted Weight Yarns
Crochet Hooks
5.50 mm crochet hook used for brim of hat
6.50 mm crochet hook used for main part of hat
Purchase Ad Free Pattern – Instant Download!
Purchase the ad-free PDF for a smooth, distraction-free crocheting experience anytime, anywhere.
Already a subscriber? Check your latest email for your special discount code. Not subscribed yet? Sign up here to get yours!
Thanks so much for supporting my blog!
Special Instructions
This hat will be worked in rounds, do not join or turn. Use a marker in first stitch of each round to indicate the beginning of each round.
When working rounds of single crochet all loops between crossed cluster should be picked up. See reference photo below.

Crochet Rose & Leaves Pattern
Use 6.50 mm hook,
Small Rose Ch 25
Medium Rose Ch 35 (click for video)
Large Rose Ch 55
Row 1: 1 dc in 5th chain from hook, *Ch 1, sk 1 ch, (dc, ch1, dc) in next st* rpt from *to* till end of row, ch 2 turn
Row 2: (Hdc, 4 dc, hdc) 1st ch1 sp, slst in next ch1 sp. *(Hdc, 4 dc, hdc) in next ch1 sp, slst in next ch1 sp.* Rpt from *to* till end of row. Leave long tail to secure rose into place and for attaching to hat.
Shaping the Rose (click to watch this part in video)
Roll rose into shape very loosely so that rose stays large and flat. Thread tapestry yarn with long tail of yarn.
Starting at the base (underside) of the rose, stitch through the layers of petals.
Use small, discreet stitches to anchor the petals in place. Continue stitching around the entire rose, adjusting the shape as needed.
Once satisfied with the shape, weave in the yarn ends to secure and trim any excess.
LEAF 6.5 mm hook Ch 9 (click to watch this part in video)
Row1: Sc 2nd ch from hook, hdc next 3, dc next 3, 3 hdc in last ch (this will bring to the bottom loops, which will be called row 2)
Row 2: Dc in next 3 sts, hdc next 3 sts, sc in last st and fasten off leaving long tail for attaching to hat.
To attach a crochet rose and leaves to hat, thread a tapestry needle with yarn. Sew leaves to rose then position the rose on the hat and stitch it securely using small, discreet stitches around the base and through the petals. Weave in the yarn ends to secure, ensuring the rose is firmly attached.
Watch Video Tutorial – Adult Size
Unlock Exclusive Content on Pretty Darn Adorable Crochet!
Quick heads-up before the sign-up form: some of my free crochet patterns and resources are now tucked behind a subscriber-only wall using a new feature called Grow’s Exclusive Content. This is to protect my content from being scraped by AI tools and popping up on random sites and being duplicated without permission. This new setup helps protect my work and keeps it available for actual crochet lovers like you.
If you’re already on my email list, you’re good, just sign in with a free Grow account when asked, and everything will unlock. And if you’re new, signing up gets you access to all the exclusive stuff (no unlocking things one by one). You can unsubscribe any time with one click right at the top of any email.
Thanks so much for all your support! 😊
Curious about all this AI business? I shared more about it in my post AI and the Crochet Community.
0 – 6 Months
Using 6.50 mm hook Ch 2
Rnd 1: Work 6 sc in 2nd st from hook. (6)
Rnd 2: 2 sc in 1st st and each st around. (12)
Rnd 3: 1 sc in 1st st *2 sc in next st, 1 sc in next st* rpt from * to * to 2nd last st, work 2 sc in last st. (18)
Rnd 4: 1 sc in 1st 2 sts *2 sc in next st, 1 sc in next 2 sts* rpt from * to * to 2nd last st, work 2 sc in last st. (24)
Rnd 5: 1 sc in 1st 3 sts *2 sc in next st, 1 sc in next 3 sts* rpt from * to * to 2nd last st, work 2 sc in last st. (30)
Rnd 6: 1 sc in 1st 4 sts *2 sc in next st, 1 sc in next 4 sts* rpt from * to * to 2nd last st, work 2 sc in last st. (36)
Rnd 7: 1 sc in 1st 5 sts *2 sc in next st, 1 sc in next 5 sts* rpt from * to * to 2nd last st, work 2 sc in last st. (42)
Rnd 8: Sk 1st 2 sts, *2dc in next, dc in 2nd skipped stitch, sk next 2 sts*, rpt from *to* till end of rnd, sk last st (42)
Rnd 9: Sc in 1st and each st around (42)
Rnd 10: Sk 1st st, 2dc in next, dc in skipped stitch *sk next 2 sts, 2dc in next st, dc in 2nd skipped stitch*, rpt from *to* till end of rnd, sk last st (42)
Change to 5.50 mm crochet hook
Rnd 11: Sc in 1st and each st around (42)
Rnd 12: Working in front loop only. Sc in 1st 3 sts, 2 sc in next. *sc in next 3 sts, 2 sc in next* Repeat from * to * to last two stitches. Sc in last 2 sts. (52)
Rnds 13 – 15: Sc in 1st and each st around (52)
Fasten off and weave in ends.
Scalloped Edging (Optional)
Rnd 16: Slst in 1st st, ch 3, slst in next. *Ch 3, slst in next* Repeat from * to * for entire round.
Fasten off and weave in ends.
6–12 Months
Using 6.50 mm hook Ch 2
Rnd 1: Work 8 sc in 2nd st from hook. (8)
Rnd 2: 2 sc in each st around (16)
Rnd 3: 1 sc in first st *2 sc in next st, 1 sc in next st* rpt from * to * to 2nd last st, work 2 sc in last st. (24)
Rnd 4: 1 sc in first 2 sts *2 sc in next st, 1 sc in next 2 sts* rpt from * to * to 2nd last st, work 2 sc in last st. (32)
Rnd 5: 1 sc in first 3 sts *2 sc in next st, 1 sc in next 3 sts* rpt from * to * to 2nd last st, work 2 sc in last st. (40)
Rnd 6: 1 sc in first 4 sts *2 sc in next st, 1 sc in next 4 sts* rpt from * to * to 2nd last st, work 2 sc in last st. (48)
Rnd 7: Sk 1st 2 sts, *2dc in next, dc in 2nd skipped stitch, sk next 2 sts*, rpt from *to* till end of rnd, sk last st (48)
Rnd 8: Sc in 1st and each st around (48)
Rnd 9: Sk 1st st, 2dc in next, dc in skipped stitch *sk next 2 sts, 2dc in next st, dc in 2nd skipped stitch*, rpt from *to* till end of rnd, sk last st (48)
Rnd 10: Sc in 1st and each st around (48)
Rnd 11: Sk 1st st, 2dc in next, dc in skipped stitch *sk next 2 sts, 2dc in next st, dc in 2nd skipped stitch*, rpt from *to* till end of rnd, sk last st (48)
Change to 5.50 mm crochet hook
Rnd 12: Sc in 1st and each st around (48)
BRIM
Rnd 13: Working in front loop only. Sc in 1st 2 sts, 2 sc in next. *sc in next 2 sts, 2 sc in next* Repeat from * to * to end of round. (48)
Rnds 14 – 16: Sc in 1st and each st around (48)
Fasten off and weave in ends.
Scalloped Edging (Optional)
Rnd 17: Slst in 1st st, ch 3, slst in next. *Ch 3, slst in next* Repeat from * to * for entire round.
Fasten off and weave in ends.
Toddler 1 – 3 Years
Using 6.50 mm hook Ch 2
Rnd 1: Work 8 sc in 2nd st from hook. (8)
Rnd 2: 2 sc in each st around (16)
Rnd 3: 1 sc in first st *2 sc in next st, 1 sc in next st* rpt from * to * till end of rnd (24)
Rnd 4: 1 sc in first 2 sts *2 sc in next st, 1 sc in next 2 sts* rpt from * to * till end of rnd (32)
Rnd 5: 1 sc in first 3 sts *2 sc in next st, 1 sc in next 3 sts* rpt from * to * till end of rnd (40)
Rnd 6: 1 sc in first 4 sts *2 sc in next st, 1 sc in next 4 sts* rpt from * to * till end of rnd (48)
Rnd 7: 1 sc in first 11 sts *2 sc in next st, 1 sc in next 11 sts* rpt from *to* till end of rnd (52)
Rnd 8: Sk 1st 2 sts, *2dc in next, dc in 2nd skipped stitch, sk next 2 sts*, rpt from *to* till end of rnd, sk last st (51)
Rnd 9: Sc in 1st and each st around (51)
Rnd 10: Sk 1st st, 2dc in next, dc in skipped stitch *sk next 2 sts, 2dc in next st, dc in 2nd skipped stitch*, rpt from *to* till end of rnd, sk last st (51)
Rnd 11: Sc in 1st and each st around (51)
Rnd 12: Sk 1st st, 2dc in next, dc in skipped stitch *sk next 2 sts, 2dc in next st, dc in 2nd skipped stitch*, rpt from *to* till end of rnd, sk last st (51)
Change to 5.50 mm crochet hook
Rnd 13: Sc in 1st and each st around (51)
BRIM
Rnd 14: Working in front loop only. Sc in 1st 2 sts, 2 sc in next. *sc in next 2 sts, 2 sc in next* Repeat from * to * to last two sts. Sc in last 2 sts. (66)
Rnd 15: Sc in 1st 8 sts, 2 sc in next. *sc in next 8 sts, 2 sc in next* Repeat from * to * to last two sts. Sc in last 2 sts. (72)
Rnds 16 – 19: Sc in 1st and each st around (80)
Scalloped Edging (Optional)
Rnd 20: Slst in 1st st, ch 3, slst in next. *Ch 3, slst in next* Repeat from * to * for entire round.
Fasten off and weave in ends.
Child 3 – 10 Years
Using 6.50 mm hook Ch 2
Rnd 1: Work 6 sc in 2nd st from hook. (6)
Rnd 2: 2 sc in 1st st and each st around. (12)
Rnd 3: 1 sc in 1st st *2 sc in next st, 1 sc in next st* rpt from * to * to 2nd last st, work 2 sc in last st. (18)
Rnd 4: 1 sc in 1st 2 sts *2 sc in next st, 1 sc in next 2 sts* rpt from * to * to 2nd last st, work 2 sc in last st. (24)
Rnd 5: 1 sc in 1st 3 sts *2 sc in next st, 1 sc in next 3 sts* rpt from * to * to 2nd last st, work 2 sc in last st. (30)
Rnd 6: 1 sc in 1st 4 sts *2 sc in next st, 1 sc in next 4 sts* rpt from * to * to 2nd last st, work 2 sc in last st. (36)
Rnd 7: 1 sc in 1st 5 sts *2 sc in next st, 1 sc in next 5 sts* rpt from * to * to 2nd last st, work 2 sc in last st. (42)
Rnd 8: 1 sc in 1st 6 sts *2 sc in next st, 1 sc in next 6 sts* rpt from * to * to 2nd last st, work 2 sc in last st. (48)
Rnd 9: 1 sc in 1st 7 sts *2 sc in next st, 1 sc in next 7 sts* rpt from * to * to 2nd last st, work 2 sc in last st. (54)
Rnd 10: Sk 1st 2 sts, *2dc in next, dc in 2nd skipped stitch, sk next 2 sts*, rpt from *to* till end of rnd sk last st (54)
Rnd 11: Sc in 1st and each st around (54)
Rnd 12: Sk 1st st, 2dc in next, dc in skipped stitch *sk next 2 sts, 2dc in next st, dc in 2nd skipped stitch*, rpt from *to* till end of rnd, sk last st (54)
Rnd 13: Sc in 1st and each st around (54)
Rnd 14: Sk 1st st, 2dc in next, dc in skipped stitch *sk next 2 sts, 2dc in next st, dc in 2nd skipped stitch*, rpt from *to* till end of rnd, sk last st (54)
Rnd 15: Sc in 1st and each st around (54)
Rnd 16: Sk 1st st, 2dc in next, dc in skipped stitch *sk next 2 sts, 2dc in next st, dc in 2nd skipped stitch*, rpt from *to* till end of rnd, sk last st (54)
Change to 5.50 mm crochet hook
Rnd 17: Sc in 1st and each st around (54)
BRIM
Rnd 18: Working in front loop only. Sc in 1st 2 sts, 2 sc in next. *sc in next 2 sts, 2 sc in next* Repeat from * to * to end of round. (72)
Rnd 19: Sc in 1st 8 sts, 2 sc in next. *sc in next 8 sts, 2 sc in next* Repeat from * to * to end of round. (80)
Rnds 20 – 23: Sc in 1st and each st around (80)
Scalloped Edging (Optional)
Rnd 24: Slst in 1st st, ch 3, slst in next. *Ch 3, slst in next* Repeat from * to * for entire round.
Fasten off and weave in ends.

Adult
Using 6.50 mm hook Ch 2
Rnd 1: Work 6 sc in 2nd st from hook. (6)
Rnd 2: 2 sc in 1st st and each st around. (12)
Rnd 3: 1 sc in 1st st *2 sc in next st, 1 sc in next st* rpt from * to * to 2nd last st, work 2 sc in last st. (18)
Rnd 4: 1 sc in 1st 2 sts *2 sc in next st, 1 sc in next 2 sts* rpt from * to * to 2nd last st, work 2 sc in last st. (24)
Rnd 5: 1 sc in 1st 3 sts *2 sc in next st, 1 sc in next 3 sts* rpt from * to * to 2nd last st, work 2 sc in last st. (30)
Rnd 6: 1 sc in 1st 4 sts *2 sc in next st, 1 sc in next 4 sts* rpt from * to * to 2nd last st, work 2 sc in last st. (36)
Rnd 7: 1 sc in 1st 5 sts *2 sc in next st, 1 sc in next 5 sts* rpt from * to * to 2nd last st, work 2 sc in last st. (42)
Rnd 8: 1 sc in 1st 6 sts *2 sc in next st, 1 sc in next 6 sts* rpt from * to * to 2nd last st, work 2 sc in last st. (48)
Rnd 9: 1 sc in 1st 7 sts *2 sc in next st, 1 sc in next 7 sts* rpt from * to * to 2nd last st, work 2 sc in last st. (54)
Rnd 10: 1 sc in 1st 8 sts *2 sc in next st, 1 sc in next 8 sts* rpt from * to * to 2nd last st, work 2 sc in last st. (60)
Rnd 11: Sk 1st st, 2dc in next, dc in skipped stitch *sk next 2 sts, 2dc in next st, dc in 2nd skipped stitch*, rpt from *to* till end of rnd, sk last st (60)
Rnd 12: Sc in 1st and each st around (60)
Rnd 13: Sk 1st st, 2dc in next, dc in skipped stitch *sk next 2 sts, 2dc in next st, dc in 2nd skipped stitch*, rpt from *to* till end of rnd, sk last st (60)
Rnd 14: Sc in 1st and each st around (60)
Rnd 15: Sk 1st st, 2dc in next, dc in skipped stitch *sk next 2 sts, 2dc in next st, dc in 2nd skipped stitch*, rpt from *to* till end of rnd, sk last st (60)
Rnd 16: Sc in 1st and each st around (60)
Rnd 17: Sk 1st st, 2dc in next, dc in skipped stitch *sk next 2 sts, 2dc in next st, dc in 2nd skipped stitch*, rpt from *to* till end of rnd, sk last st (60)
Change to 5.50 mm crochet hook
Rnds 18 & 19: Sc in 1st and each st around (60)
BRIM
Rnd 20: Working in front loop only. Sc in 1st 2 sts, 2 sc in next. *sc in next 2 sts, 2 sc in next* Repeat from * to * to end of round. (80)
Rnd 21: Sc in 1st and each st around (80)
Rnd 22: Sc in 1st 4 sts, 2 sc in next. *sc in next 4 sts, 2 sc in next* Repeat from * to * to end of round. (96)
Rnds 23 – 26: Sc in 1st and each st around (96)
Scalloped Edging (Optional)
Rnd 27: Slst in 1st st, ch 3, slst in next. *Ch 3, slst in next* Repeat from * to * for entire round.
Fasten off and weave in ends.
Get Social with Me
Thank you for making me part of your day! If you enjoyed making it and want more crochet inspiration, be sure to follow me on social media and subscribe to my YouTube channel. I share all my latest patterns, tips, and tutorials there, and you don’t want to miss out!
Plus, if you make something using one of my patterns, I would absolutely love to see it – and I bet other crocheters would, too.
So, use the links below to connect with me on your favourite platforms, and let’s create something beautiful together. Thank you for your support, and happy hooking!

Hello Cyp, thanks very much for this pattern, I’m making 3-10 years hat, in round 18 I just get 70 stitches, I’ve made it three times and always get the same number, I’m frustrated. Really looking forward to make this hat for my daughter ♥️
Hi Paula so sorry for the long response time. You may have been just one stitch short on the previous round you can simply add two extra stitches and proceed as normal.
Hope this helps!
Hello, in hat pattern size 6 month to 12 month, on the row increase for the brim in front loop. The count should be 64 not 48. 48 is the total of the previous rows. That row you sc in 2 and 2 sc in the next. I was wondering how it could still be 48.